Uploading & Downloading
The interactions with Cortex Cloud have undergone some significant changes, and several quality-of-life improvements have been made.
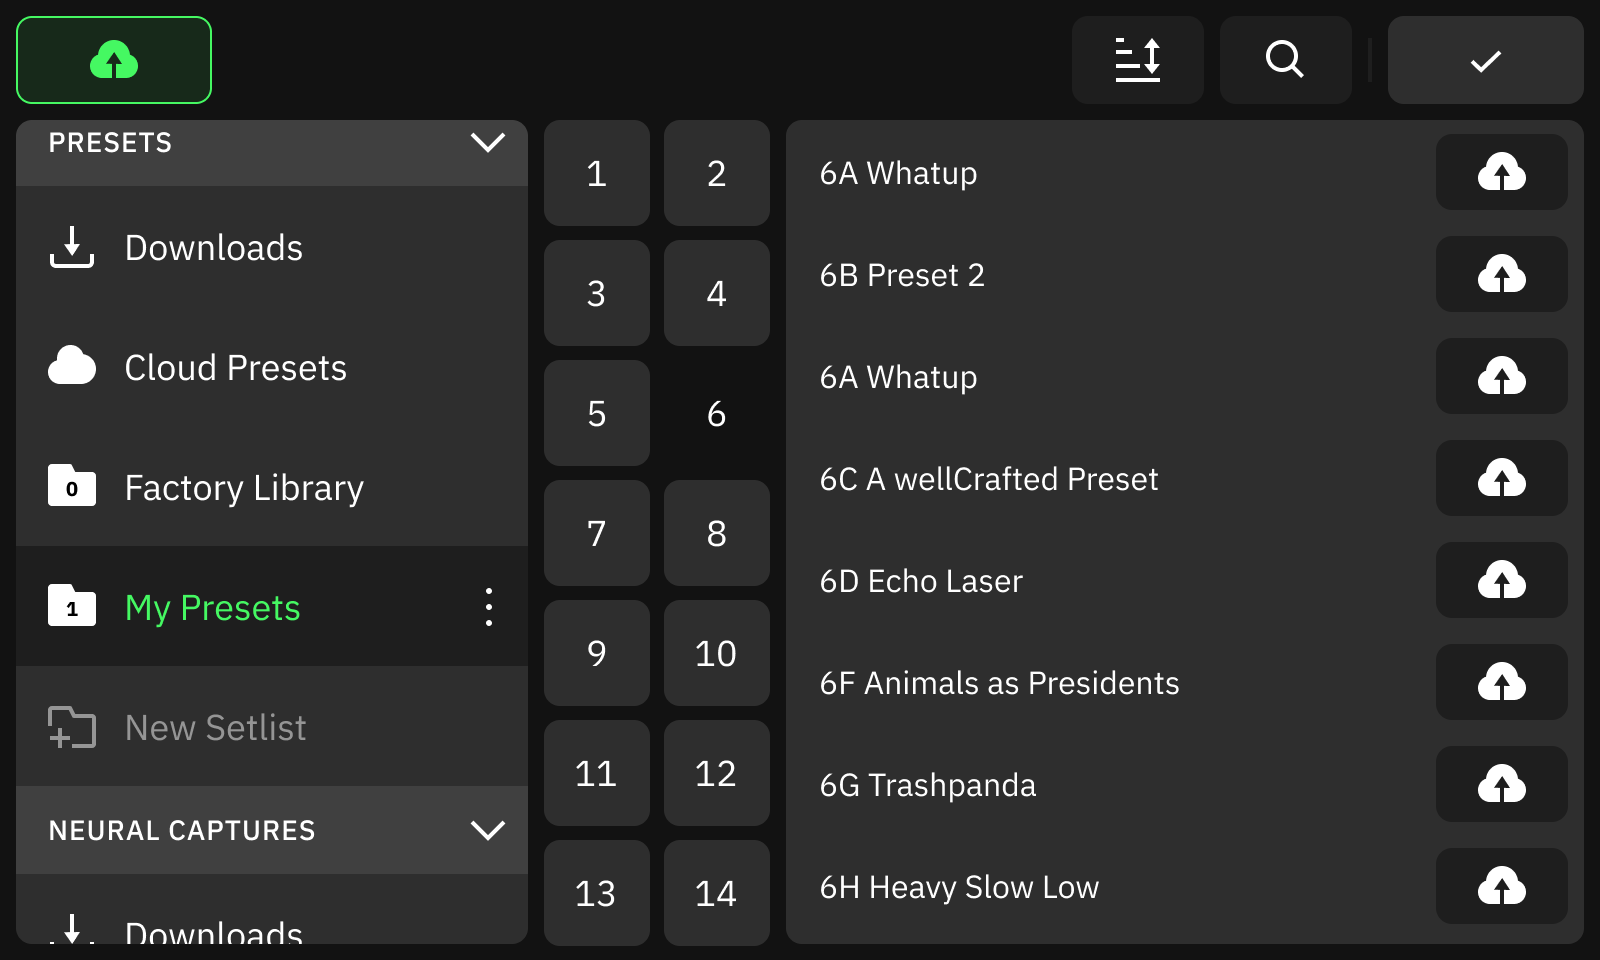
When uploading Presets or Neural Captures, instead of dragging-and-dropping each item to the top of the screen, you now toggle Upload Mode with the button at the top-left.
With Upload Mode toggled, simply tap the Upload button next to each item and it will upload in the background. Press the Upload Mode button again to exit. Items will continue to upload in the background even when you’ve exited Upload Mode.
We’ve removed the Starring system completely, and instead items can just be downloaded.
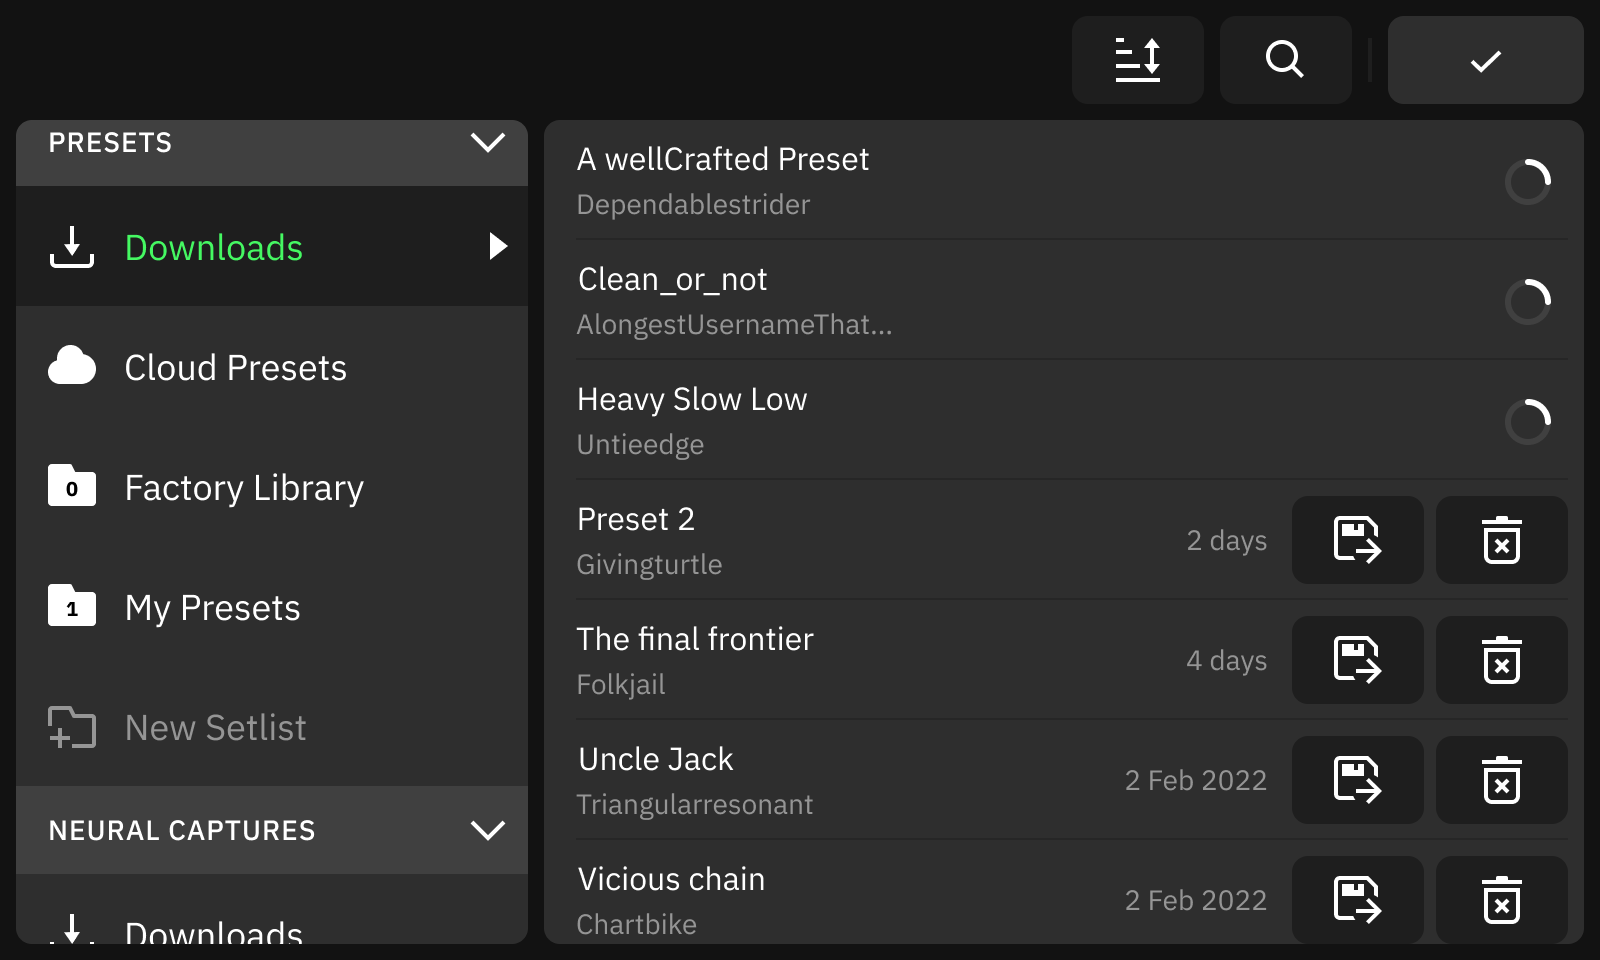
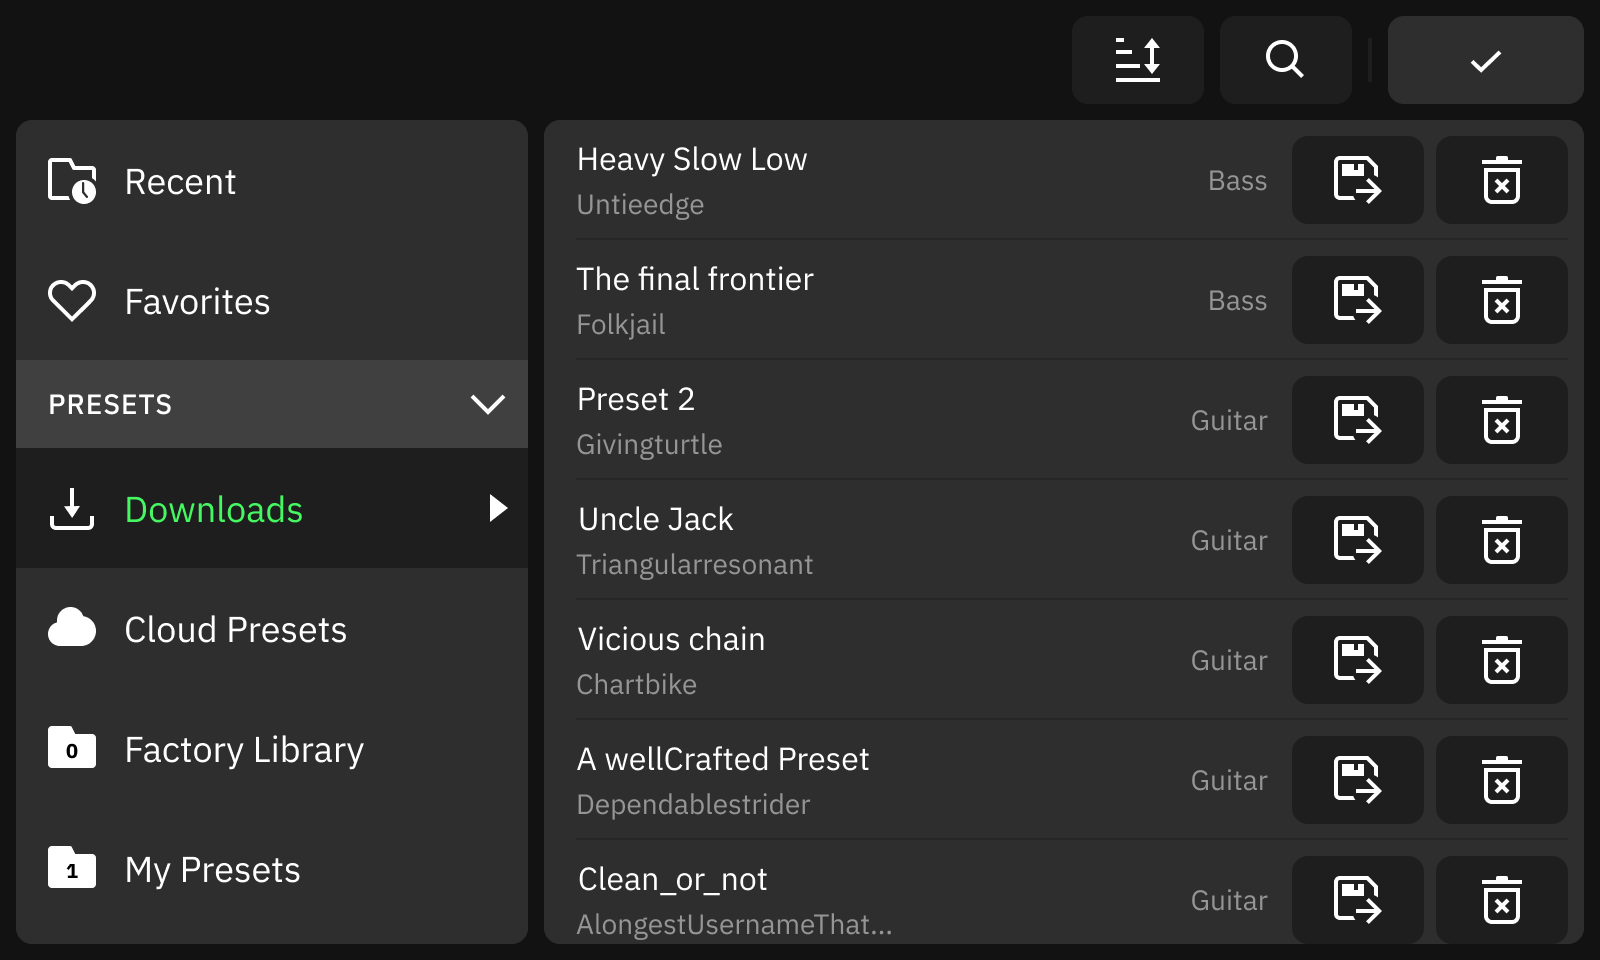
Once you have added items to your download queue on Cortex Cloud/Mobile, when you open a Downloads folder and your Quad Cortex is connected to Wi-Fi, the items will begin downloading immediately.
Once Presets have downloaded, they live in your Downloads folder until they are either moved to a Setlist or deleted.
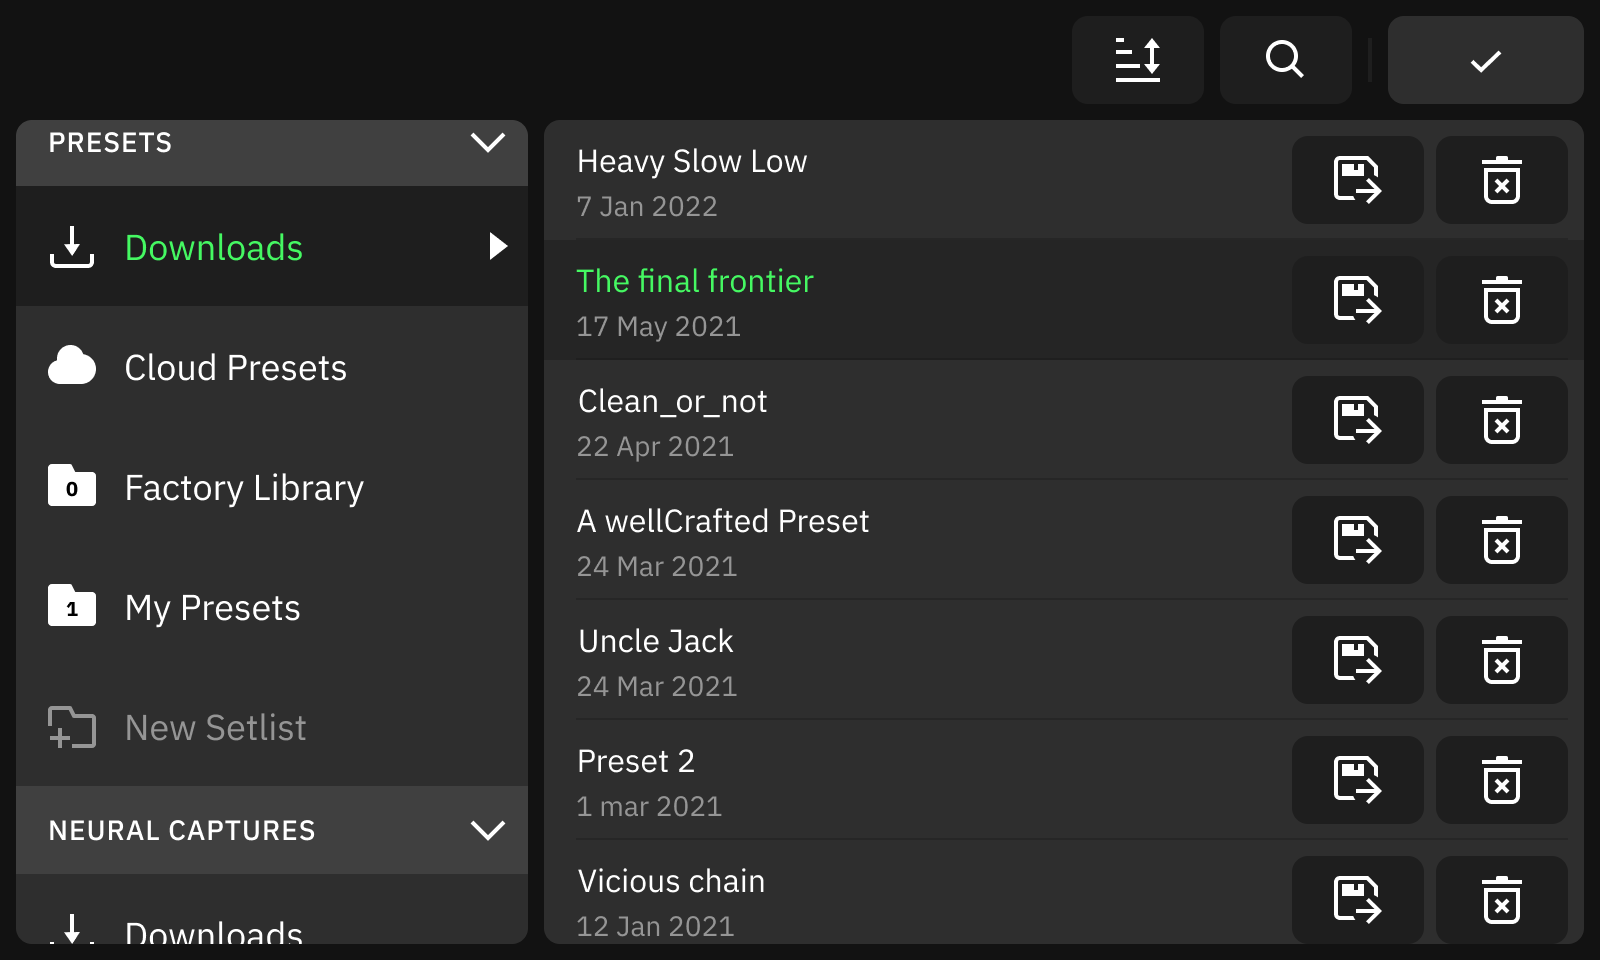
If you would like to move a Preset from your Downloads folder to a Setlist, tap the Save & Move button. From here you can browse your Setlists (or create a new one) and choose where you would like to save the Preset. Once saved, you will be taken back to the Downloads folder.
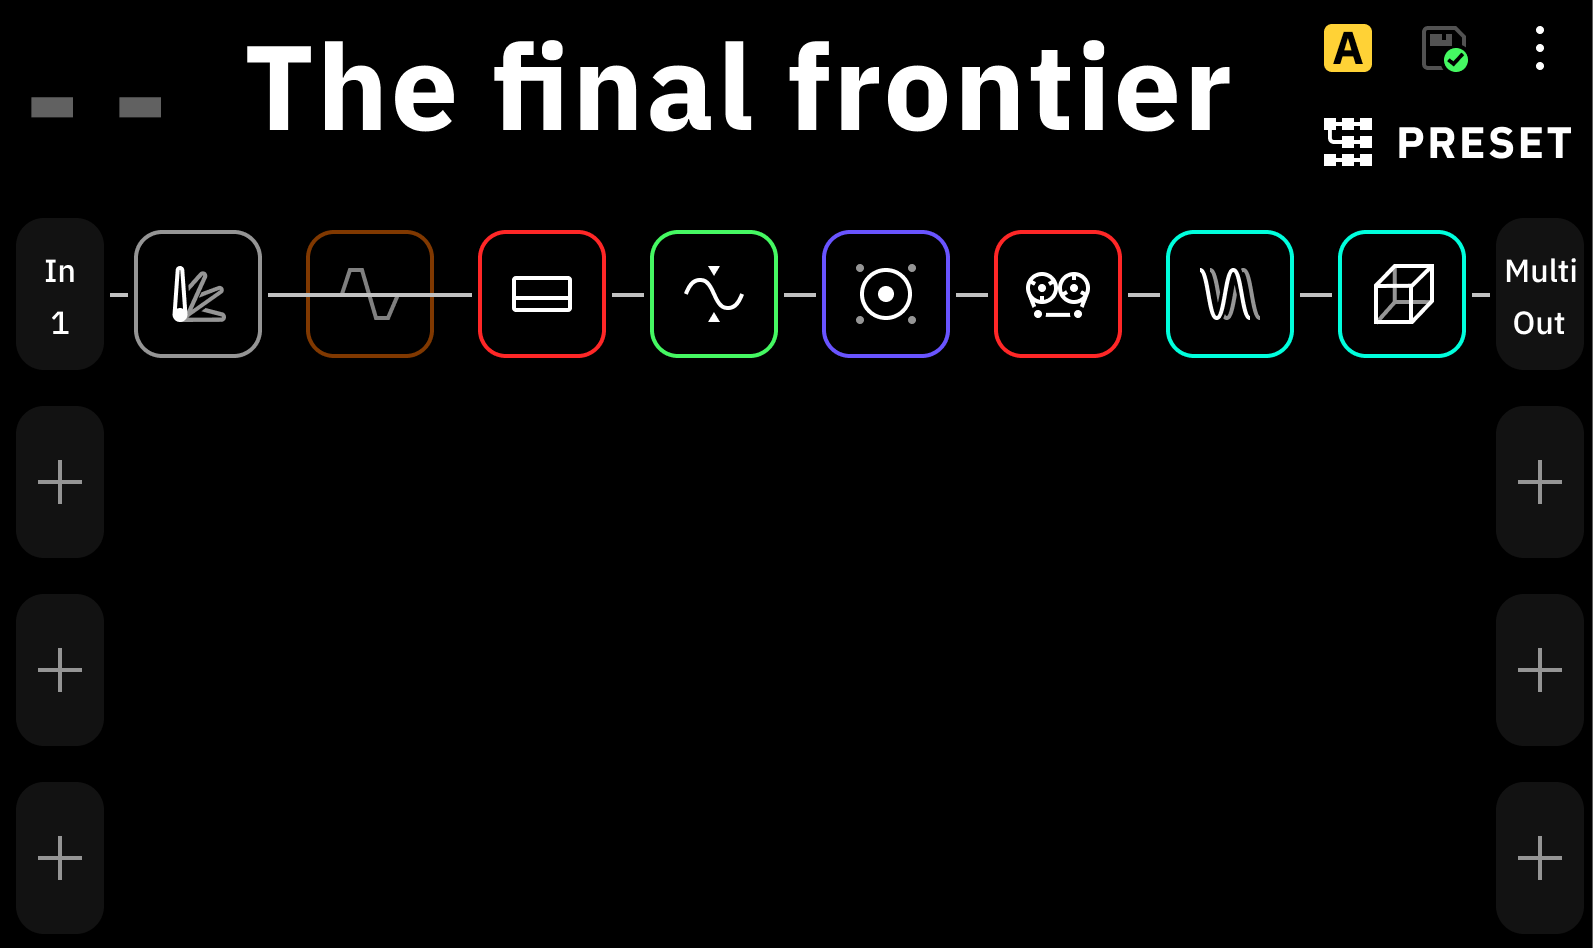
Presets can be auditioned directly from the Downloads folder; just tap a Preset to load it onto The Grid.
The Downloads folder can be sorted like other folders.
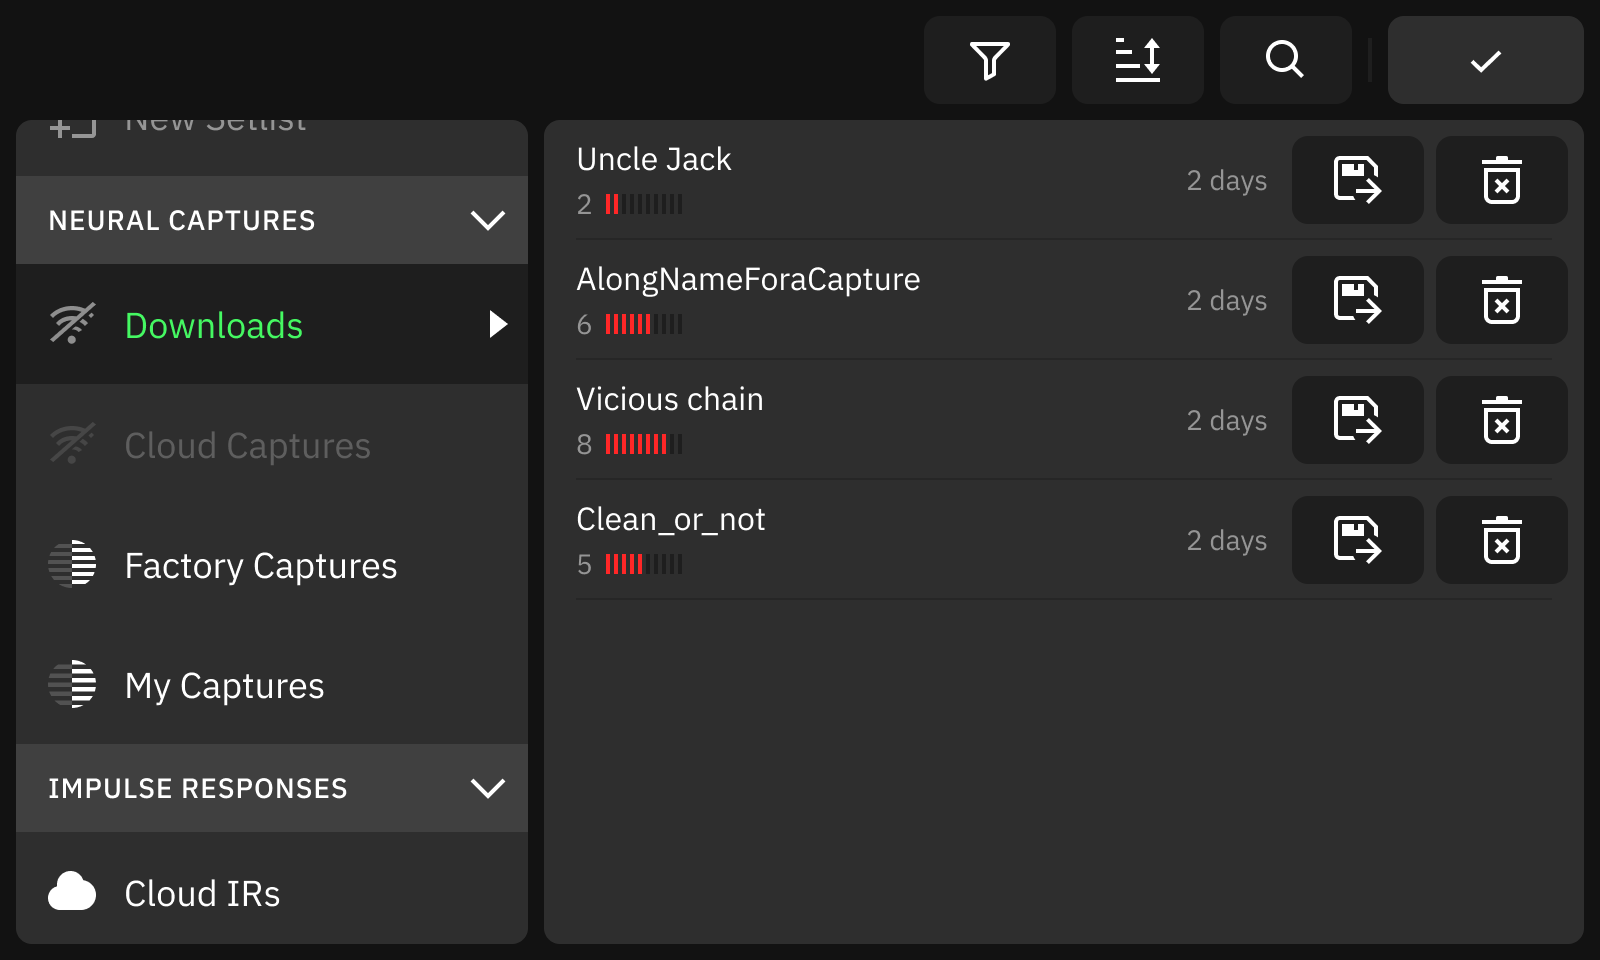
Downloading and managing Neural Captures works very similarly to Presets, however tapping the Save & Move button will simply move the Neural Capture to the My Captures folder, since there are no banks or Setlists to manage for Neural Captures.
Additionally, the Downloads folder icons will change to a Wi-Fi Disconnected icon if Quad Cortex is not connected to Wi-F. Of course, you can continue to use items that have already been downloaded in your Downloads folder when Quad Cortex is offline.
Search
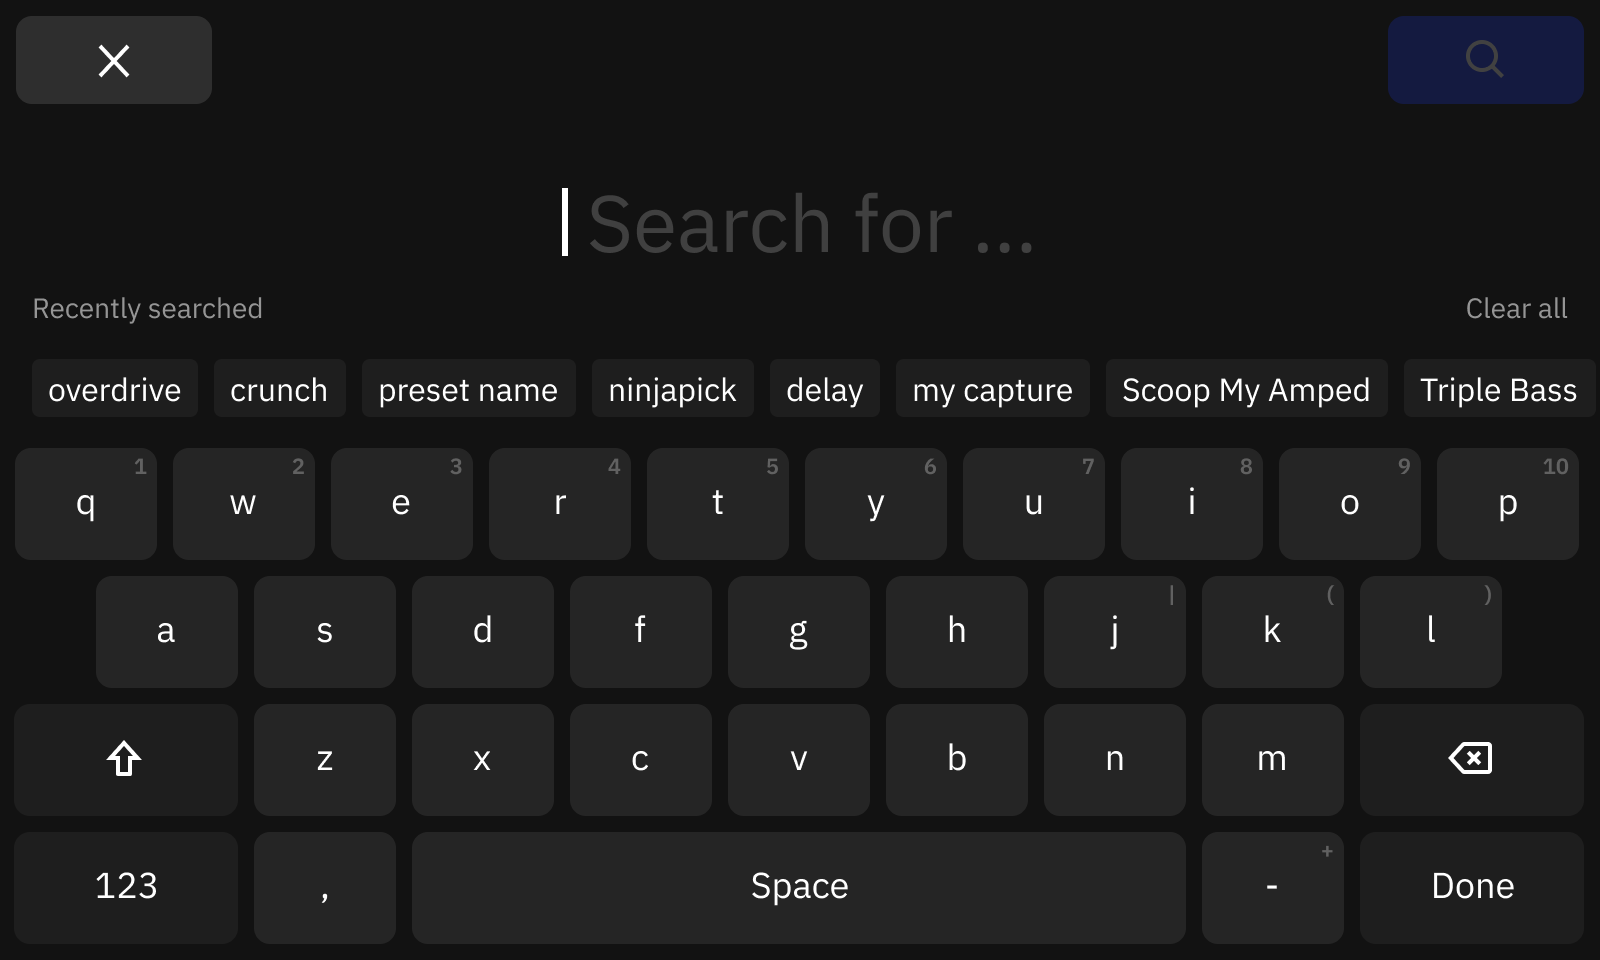
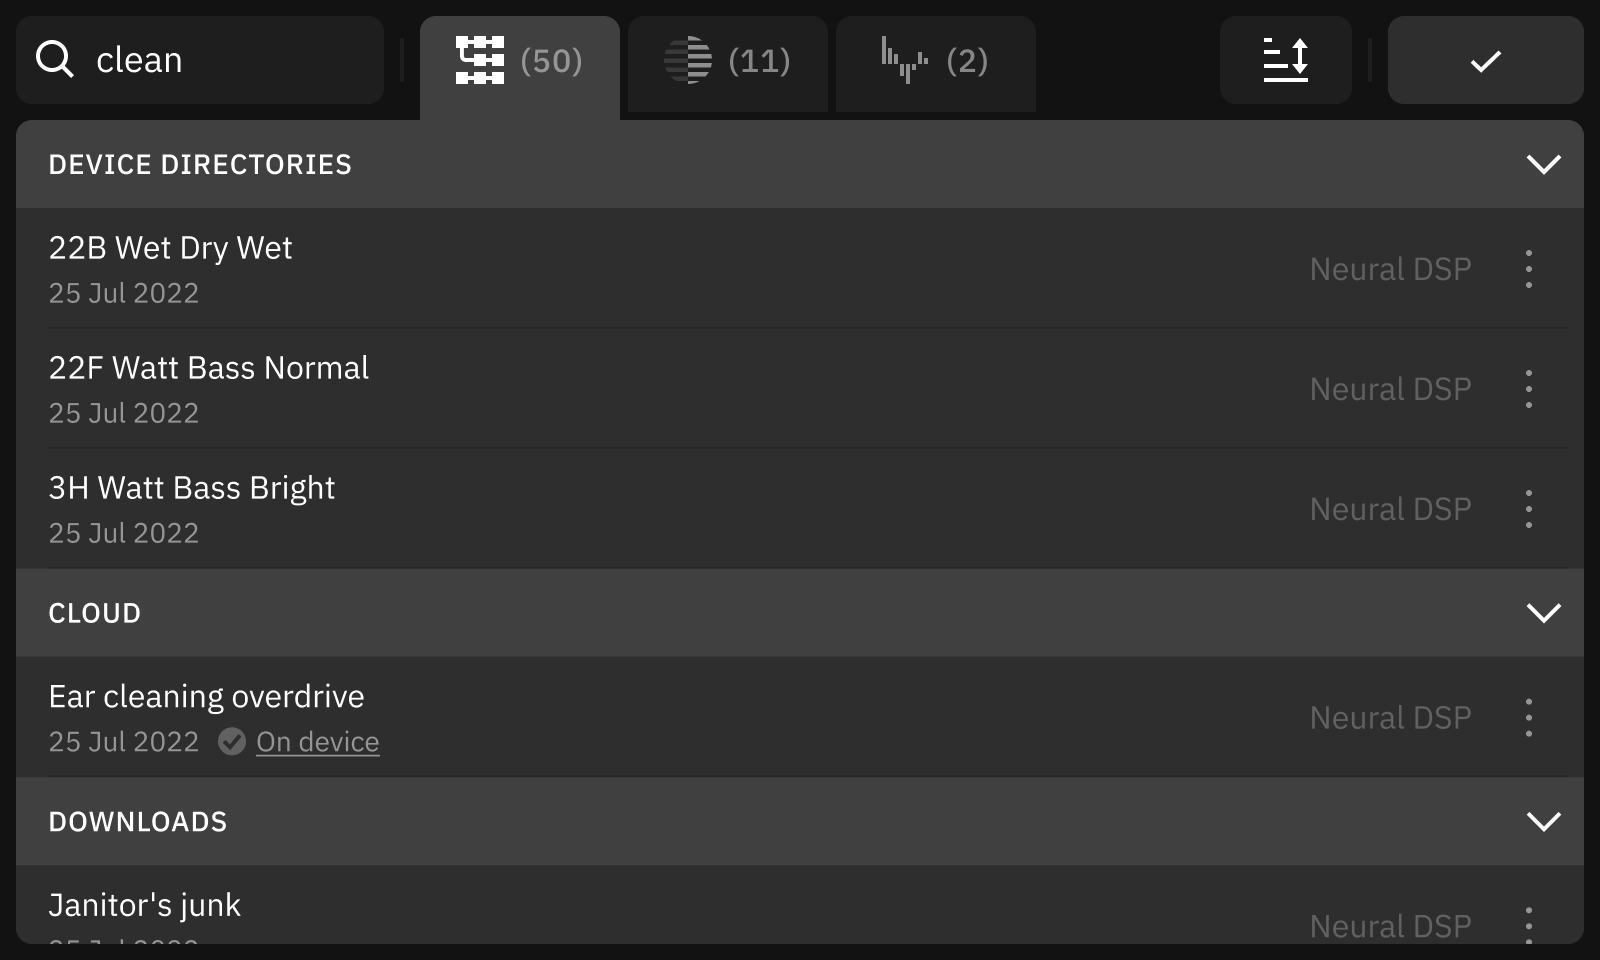
Search has been completely overhauled. Search now spans the entire screen. Recently searched terms are displayed beneath the text entry.
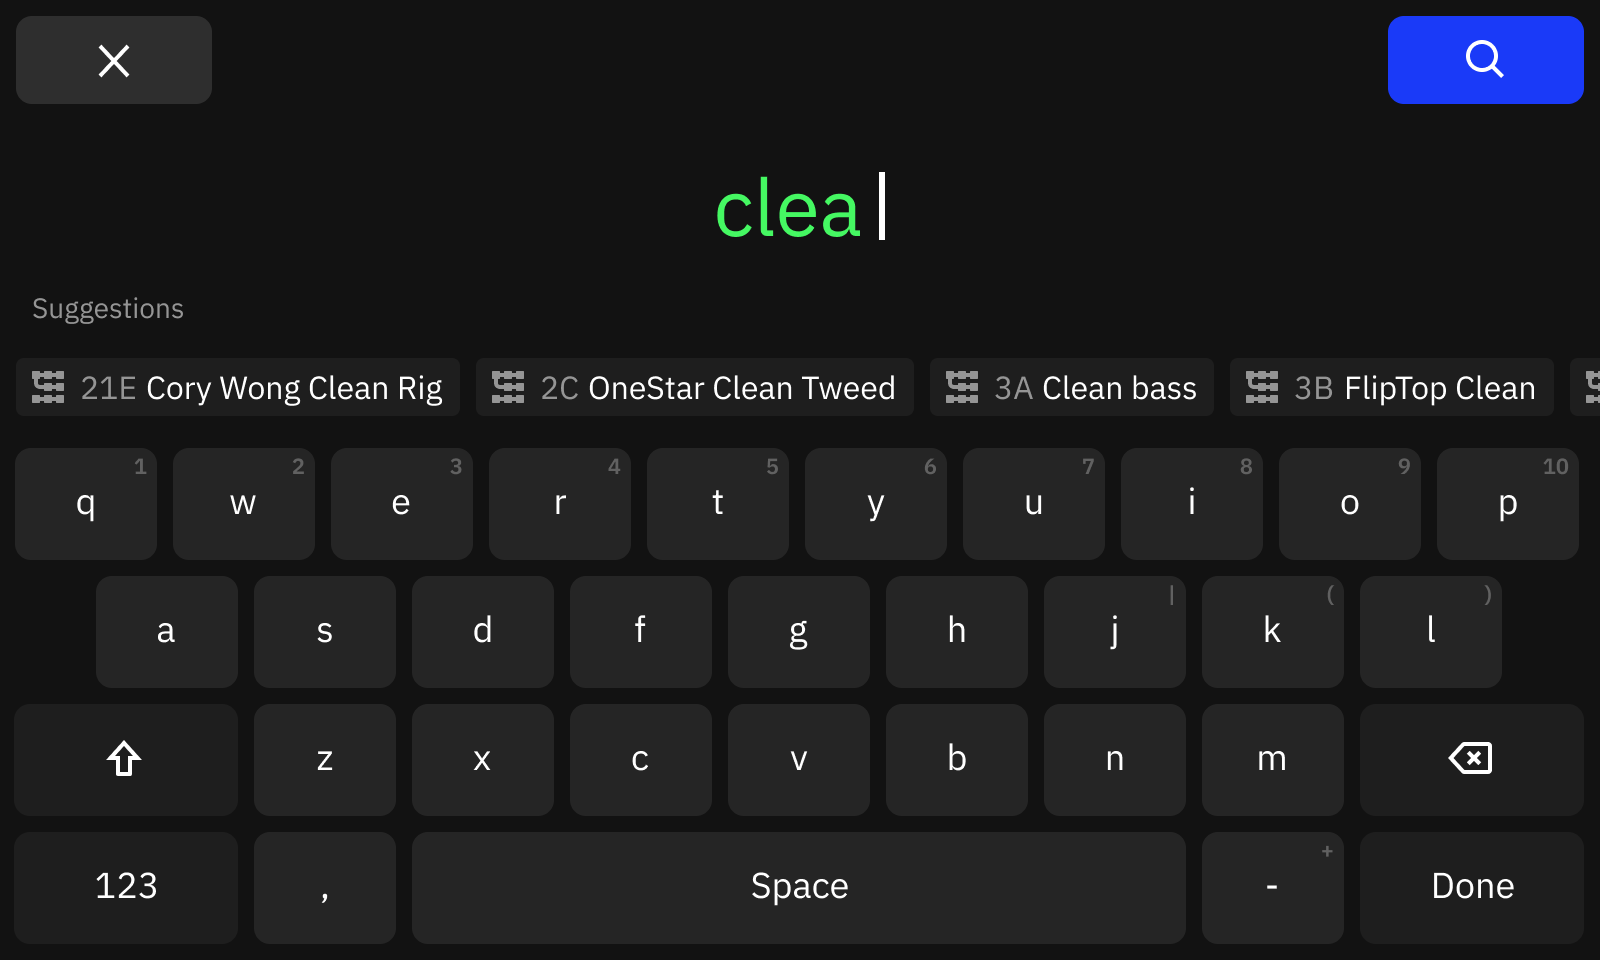
Search displays suggestions beneath the text entry as you type.
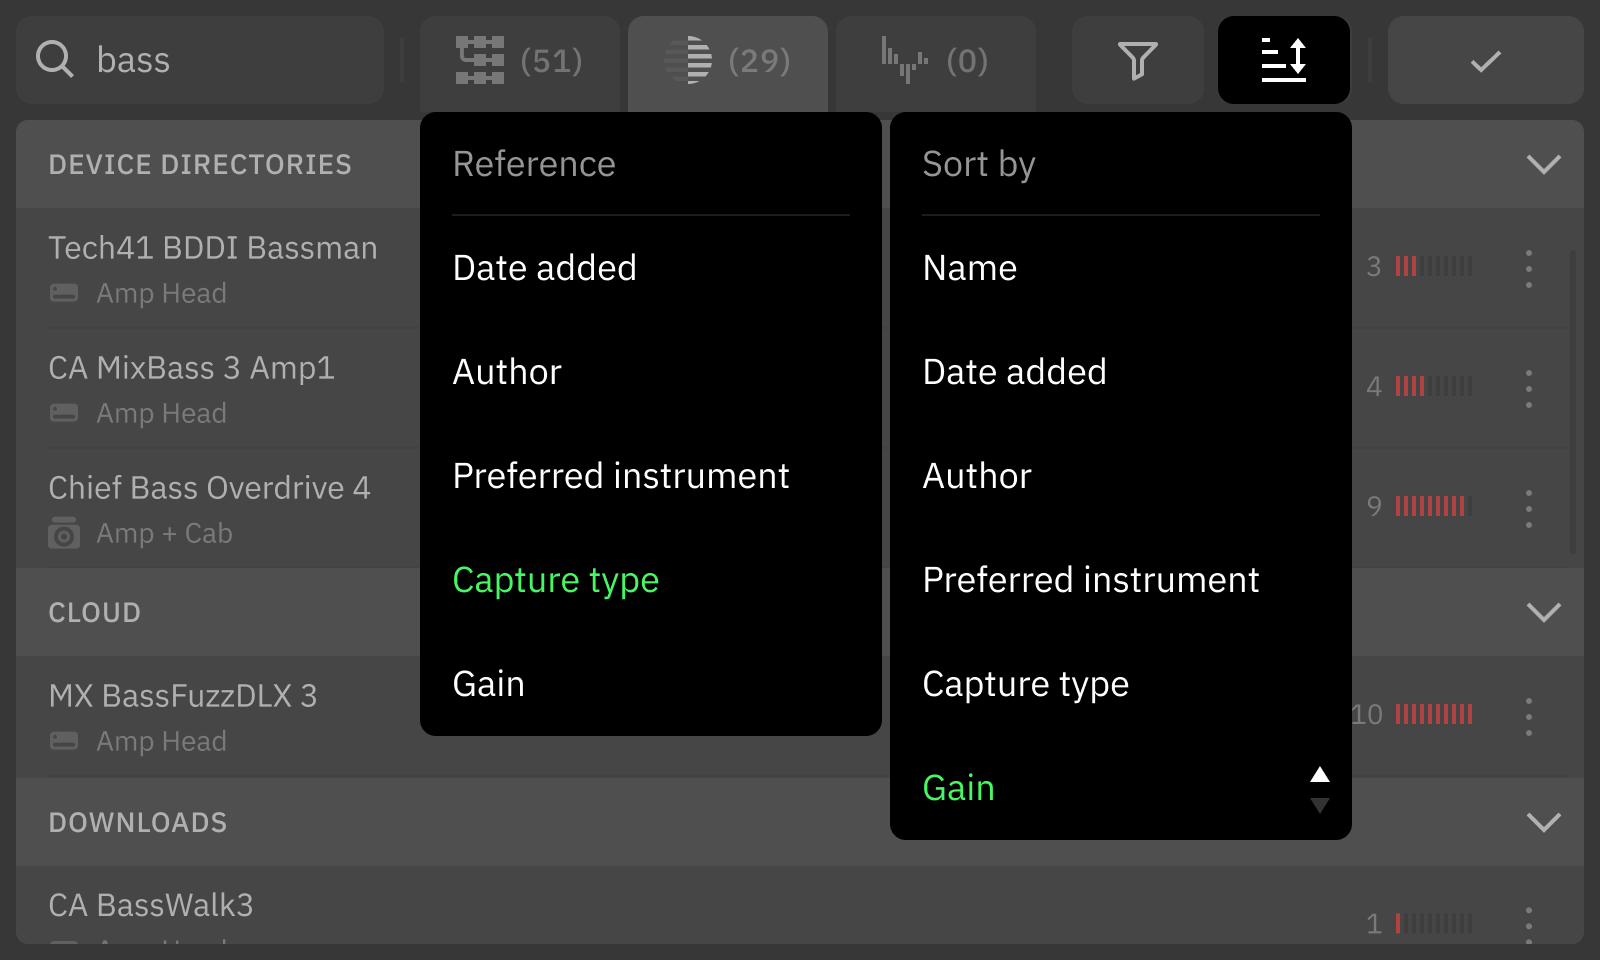
Search results are separated into categories & tabs for Presets, Neural Captures, and IRs. There are also subcategories for each of the locations where files can be found, and these can be collapsed or expanded by tapping the arrows on the right-hand side.
Tapping an item will take you to the file’s location in the Directory and highlight it. From there you can interact with the item, continue browsing the Directory, or tap the Search button to return to the search results.
Search results can be sorted & filtered (depending on the category selected), and all the relevant metadata is available to reference as required.
More to come
The redesigned filemanager is one of several features in CorOS 2.0.0, but certainly our most significant change so far. We’re excited to share more details with you soon, and hopefully have the update available to download in not too long.
If you would like to discuss these changes, please head over to our
forum or
Discord.
Thank you.

