Helix Talk

Because it applies here too:
View attachment 19509

"Line 6 about to release new gear"

This forum:

free money GIF


"...for people outside this group"

Woody Harrelson Crying GIF
 
Let's guess, so there is a product for guitarists that are not primarily multieffect/modeler users that the market needs and will be profitable for Line 6.

Hmm...
I really need Helix's low noise instrument input in a small box with spdif/usb outputs.
All the cool kids are playing with plugins and typical audio interfaces have a quite poor noise floor.
 
Let's guess, so there is a product for guitarists that are not primarily multieffect/modeler users that the market needs and will be profitable for Line 6.
IMG_1391.jpeg


The interface idea does makes sense , assuming the price is really competitive. But, dag, that’s definitely no fun for us. At least with HX One we can conjure up the justification for a spare pedal on the side.
 
Last edited:
Let's guess, so there is a product for guitarists that are not primarily multieffect/modeler users that the market needs and will be profitable for Line 6.

Hmm...
I really need Helix's low noise instrument input in a small box with spdif/usb outputs.
All the cool kids are playing with plugins and typical audio interfaces have a quite poor noise floor.

ANNOUNCED!
Screenshot 2024-03-05 164055.png


Joking aside, Helix-quality inputs in a cheap box would be really nice. I'd normally say "just buy a Stomp", but HX hardware has (comparably) very high latency for live tracking. Every other spec (variable impedance, noise floor, dynamic range) is :chef

I wonder if we're about to see some Variax technology offshoot make its way into a standalone product. @Digital Igloo kinda hinted at this being a possibility on his recent interview with WT. My other bet was a small power amp module to complement their modelers, but that's apparently not happening.
 
ANNOUNCED!
View attachment 19525

Joking aside, Helix-quality inputs in a cheap box would be really nice. I'd normally say "just buy a Stomp", but HX hardware has (comparably) very high latency for live tracking. Every other spec (variable impedance, noise floor, dynamic range) is :chef

I wonder if we're about to see some Variax technology offshoot make its way into a standalone product. @Digital Igloo kinda hinted at this being a possibility on his recent interview with WT. My other bet was a small power amp module to complement their modelers, but that's apparently not happening.
optimus prime transformers GIF
 
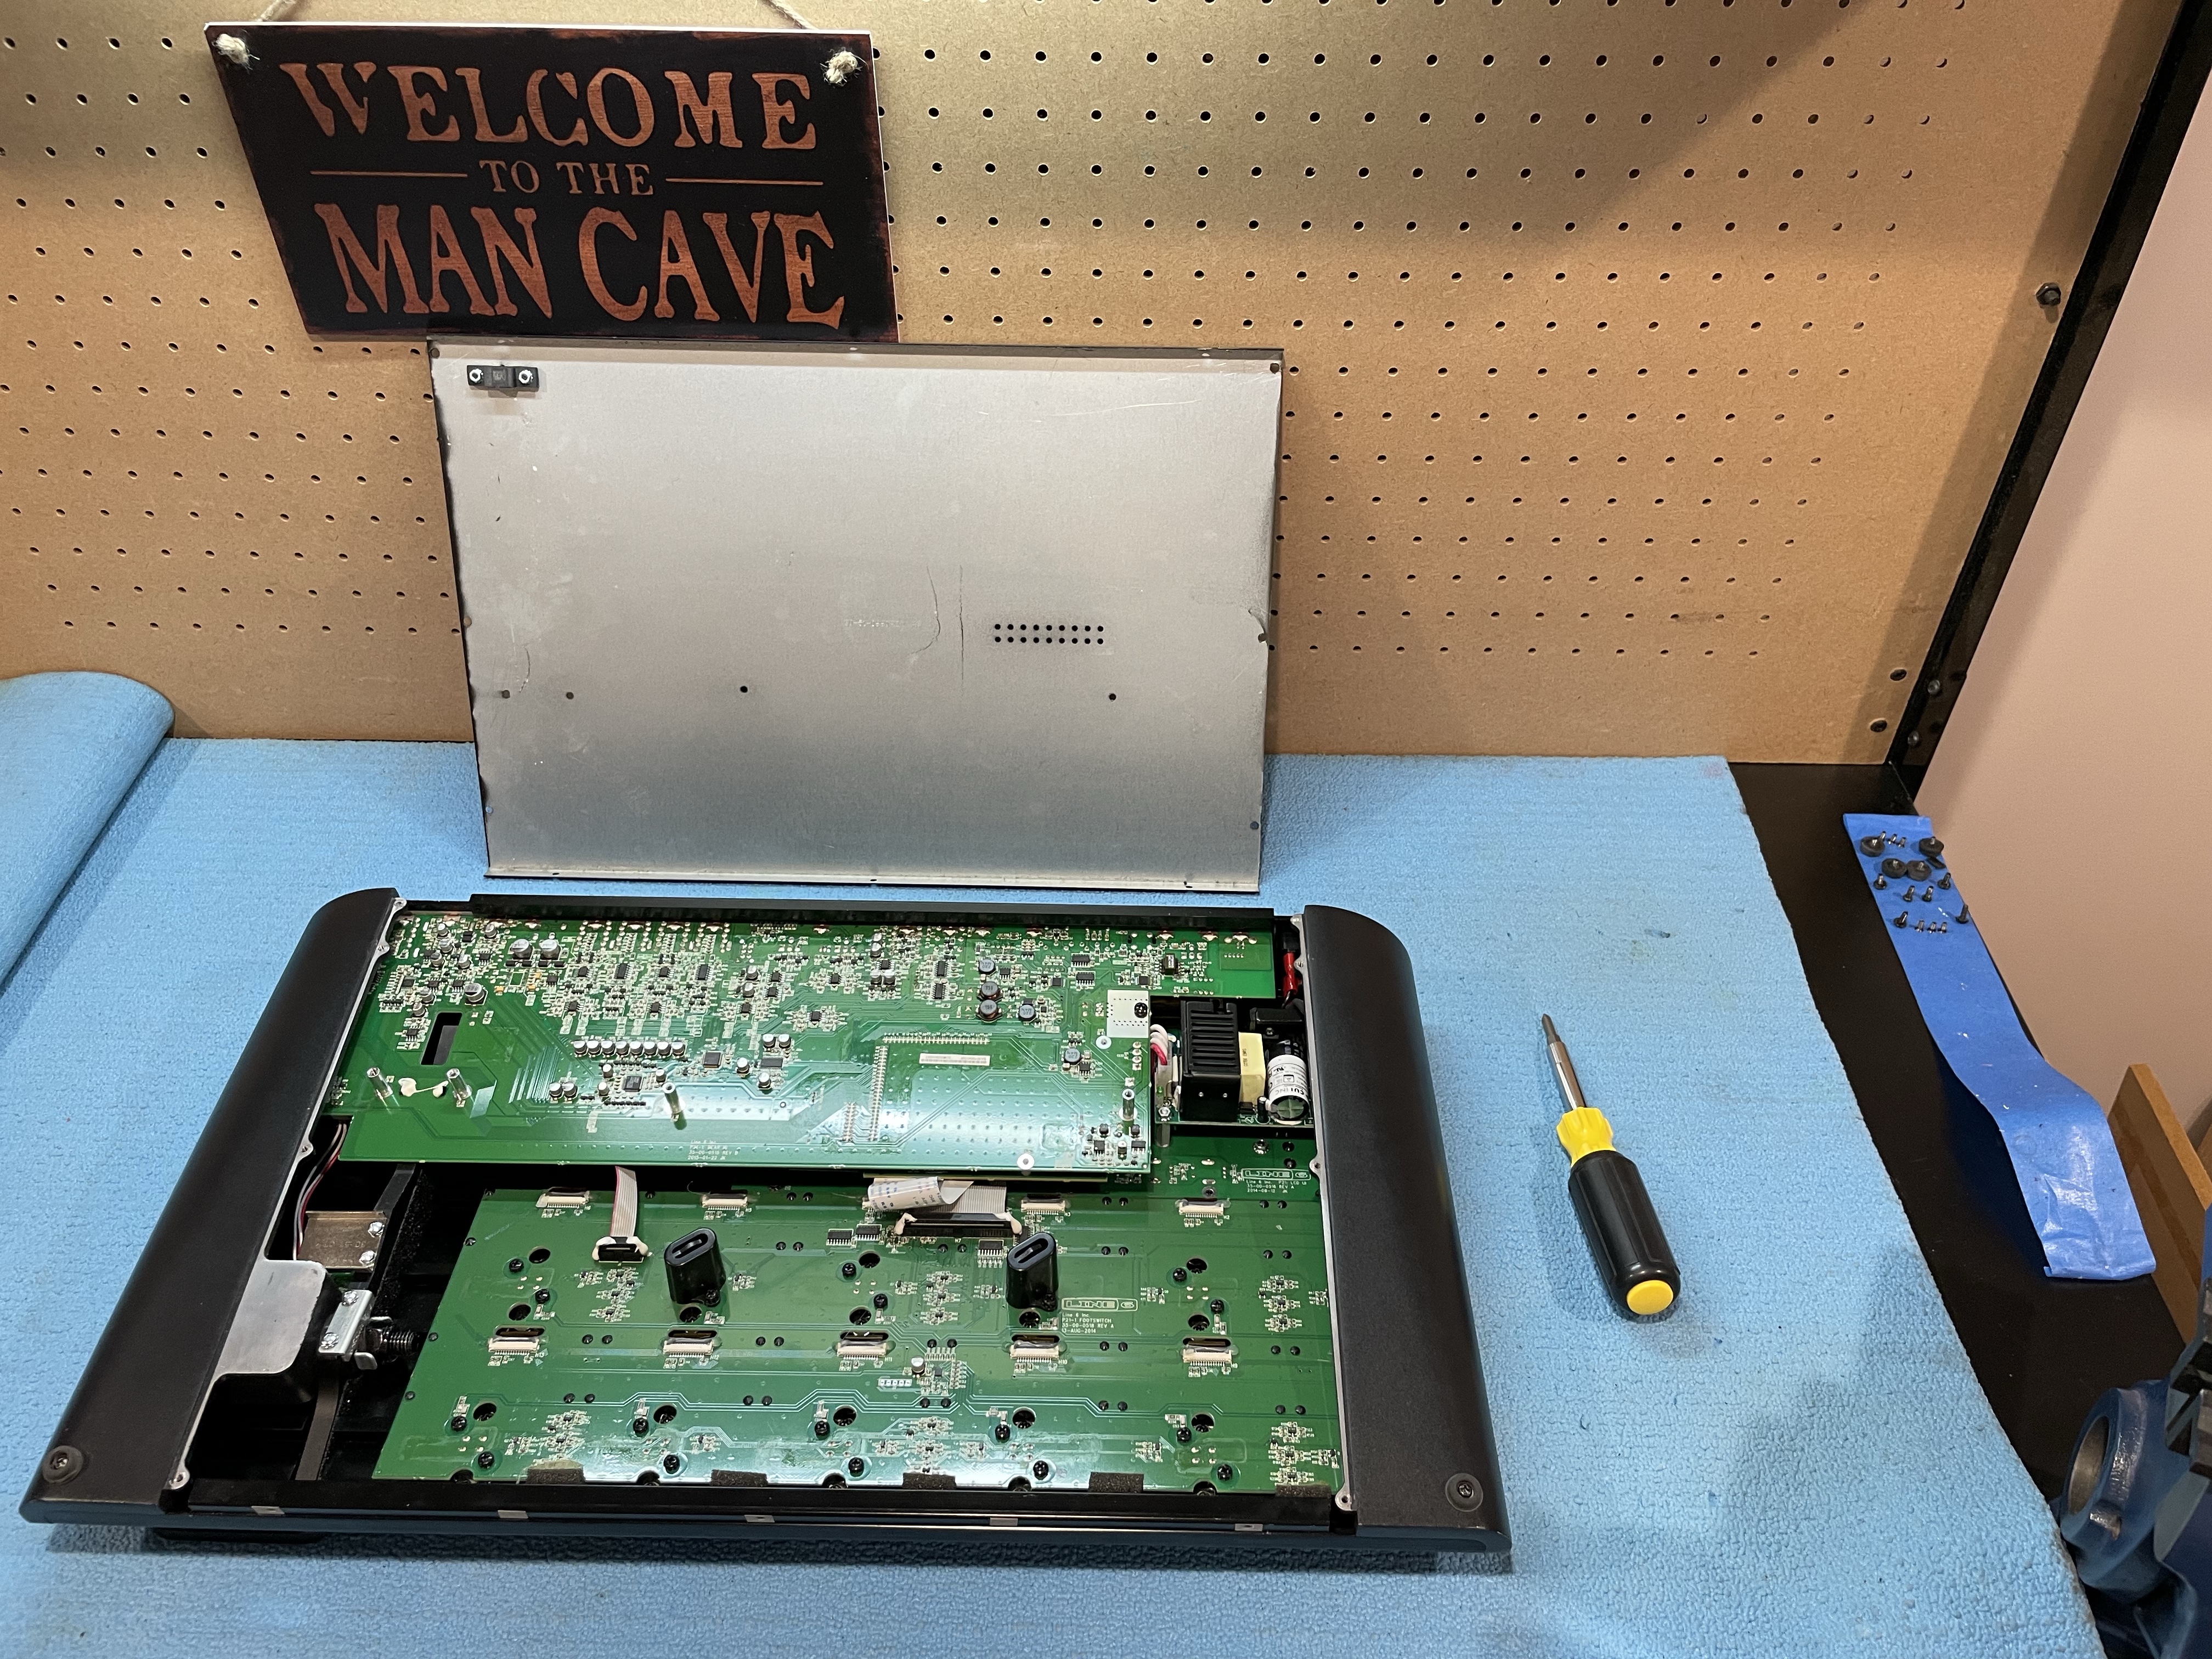
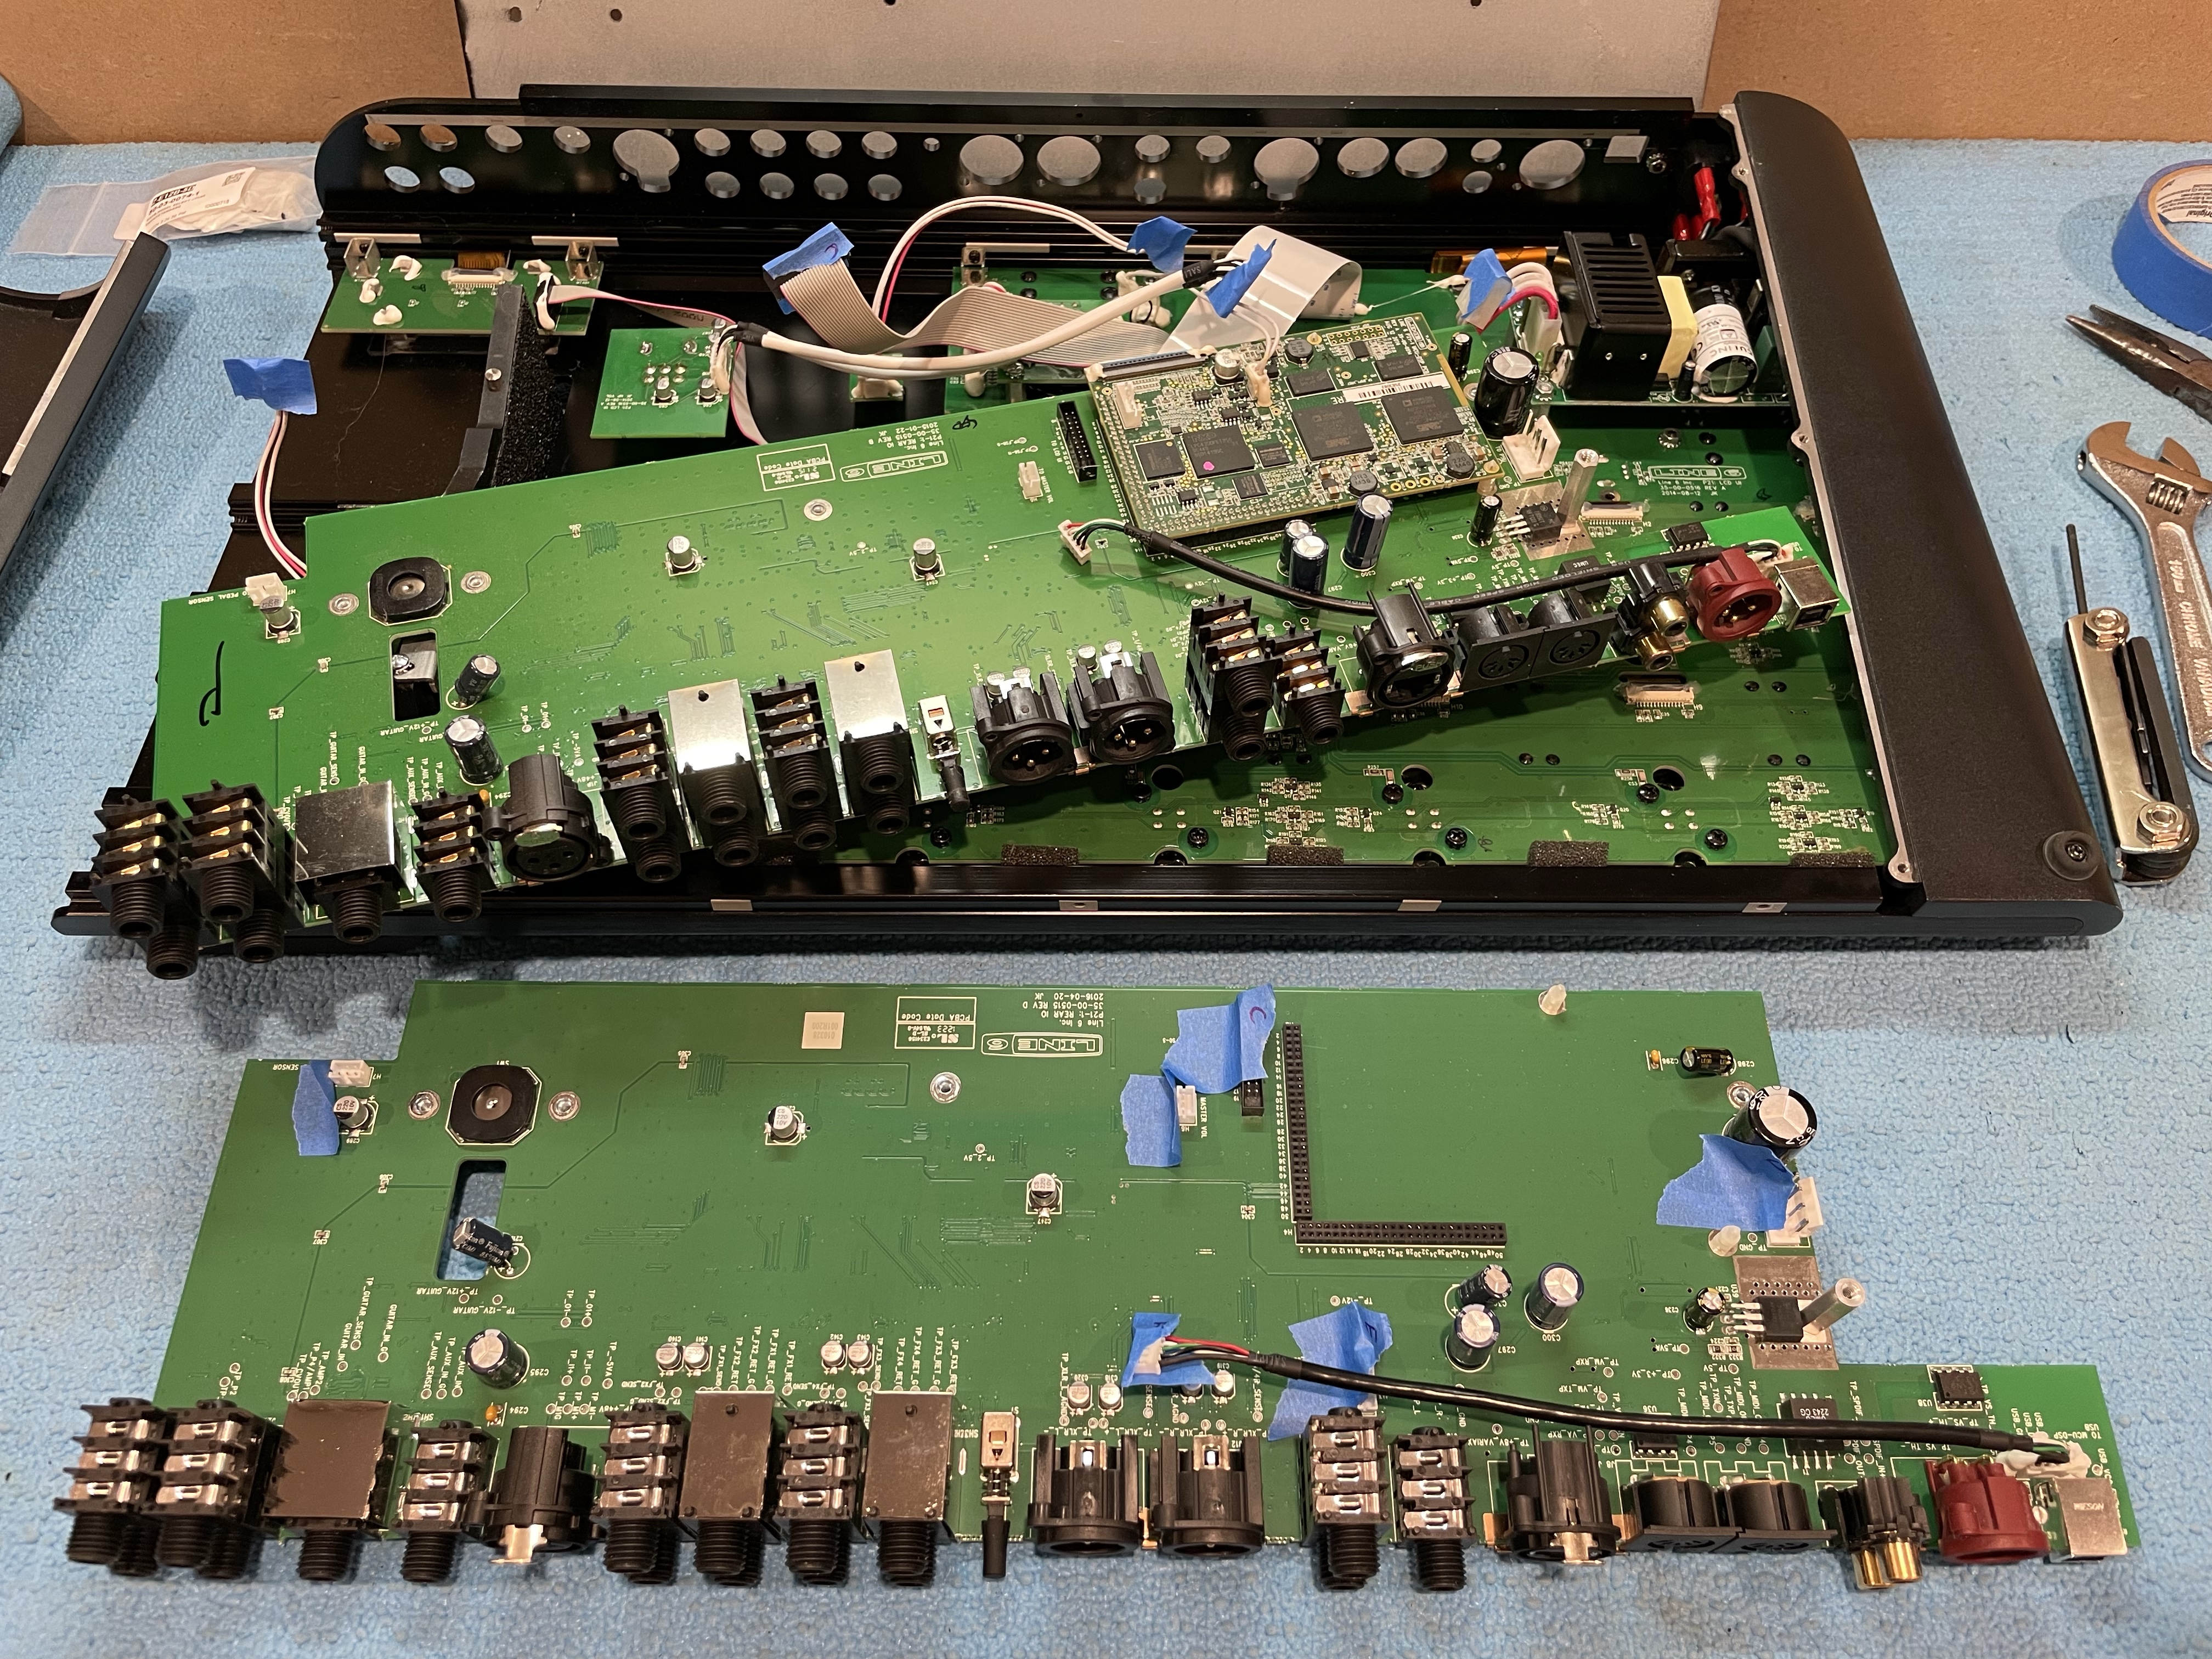
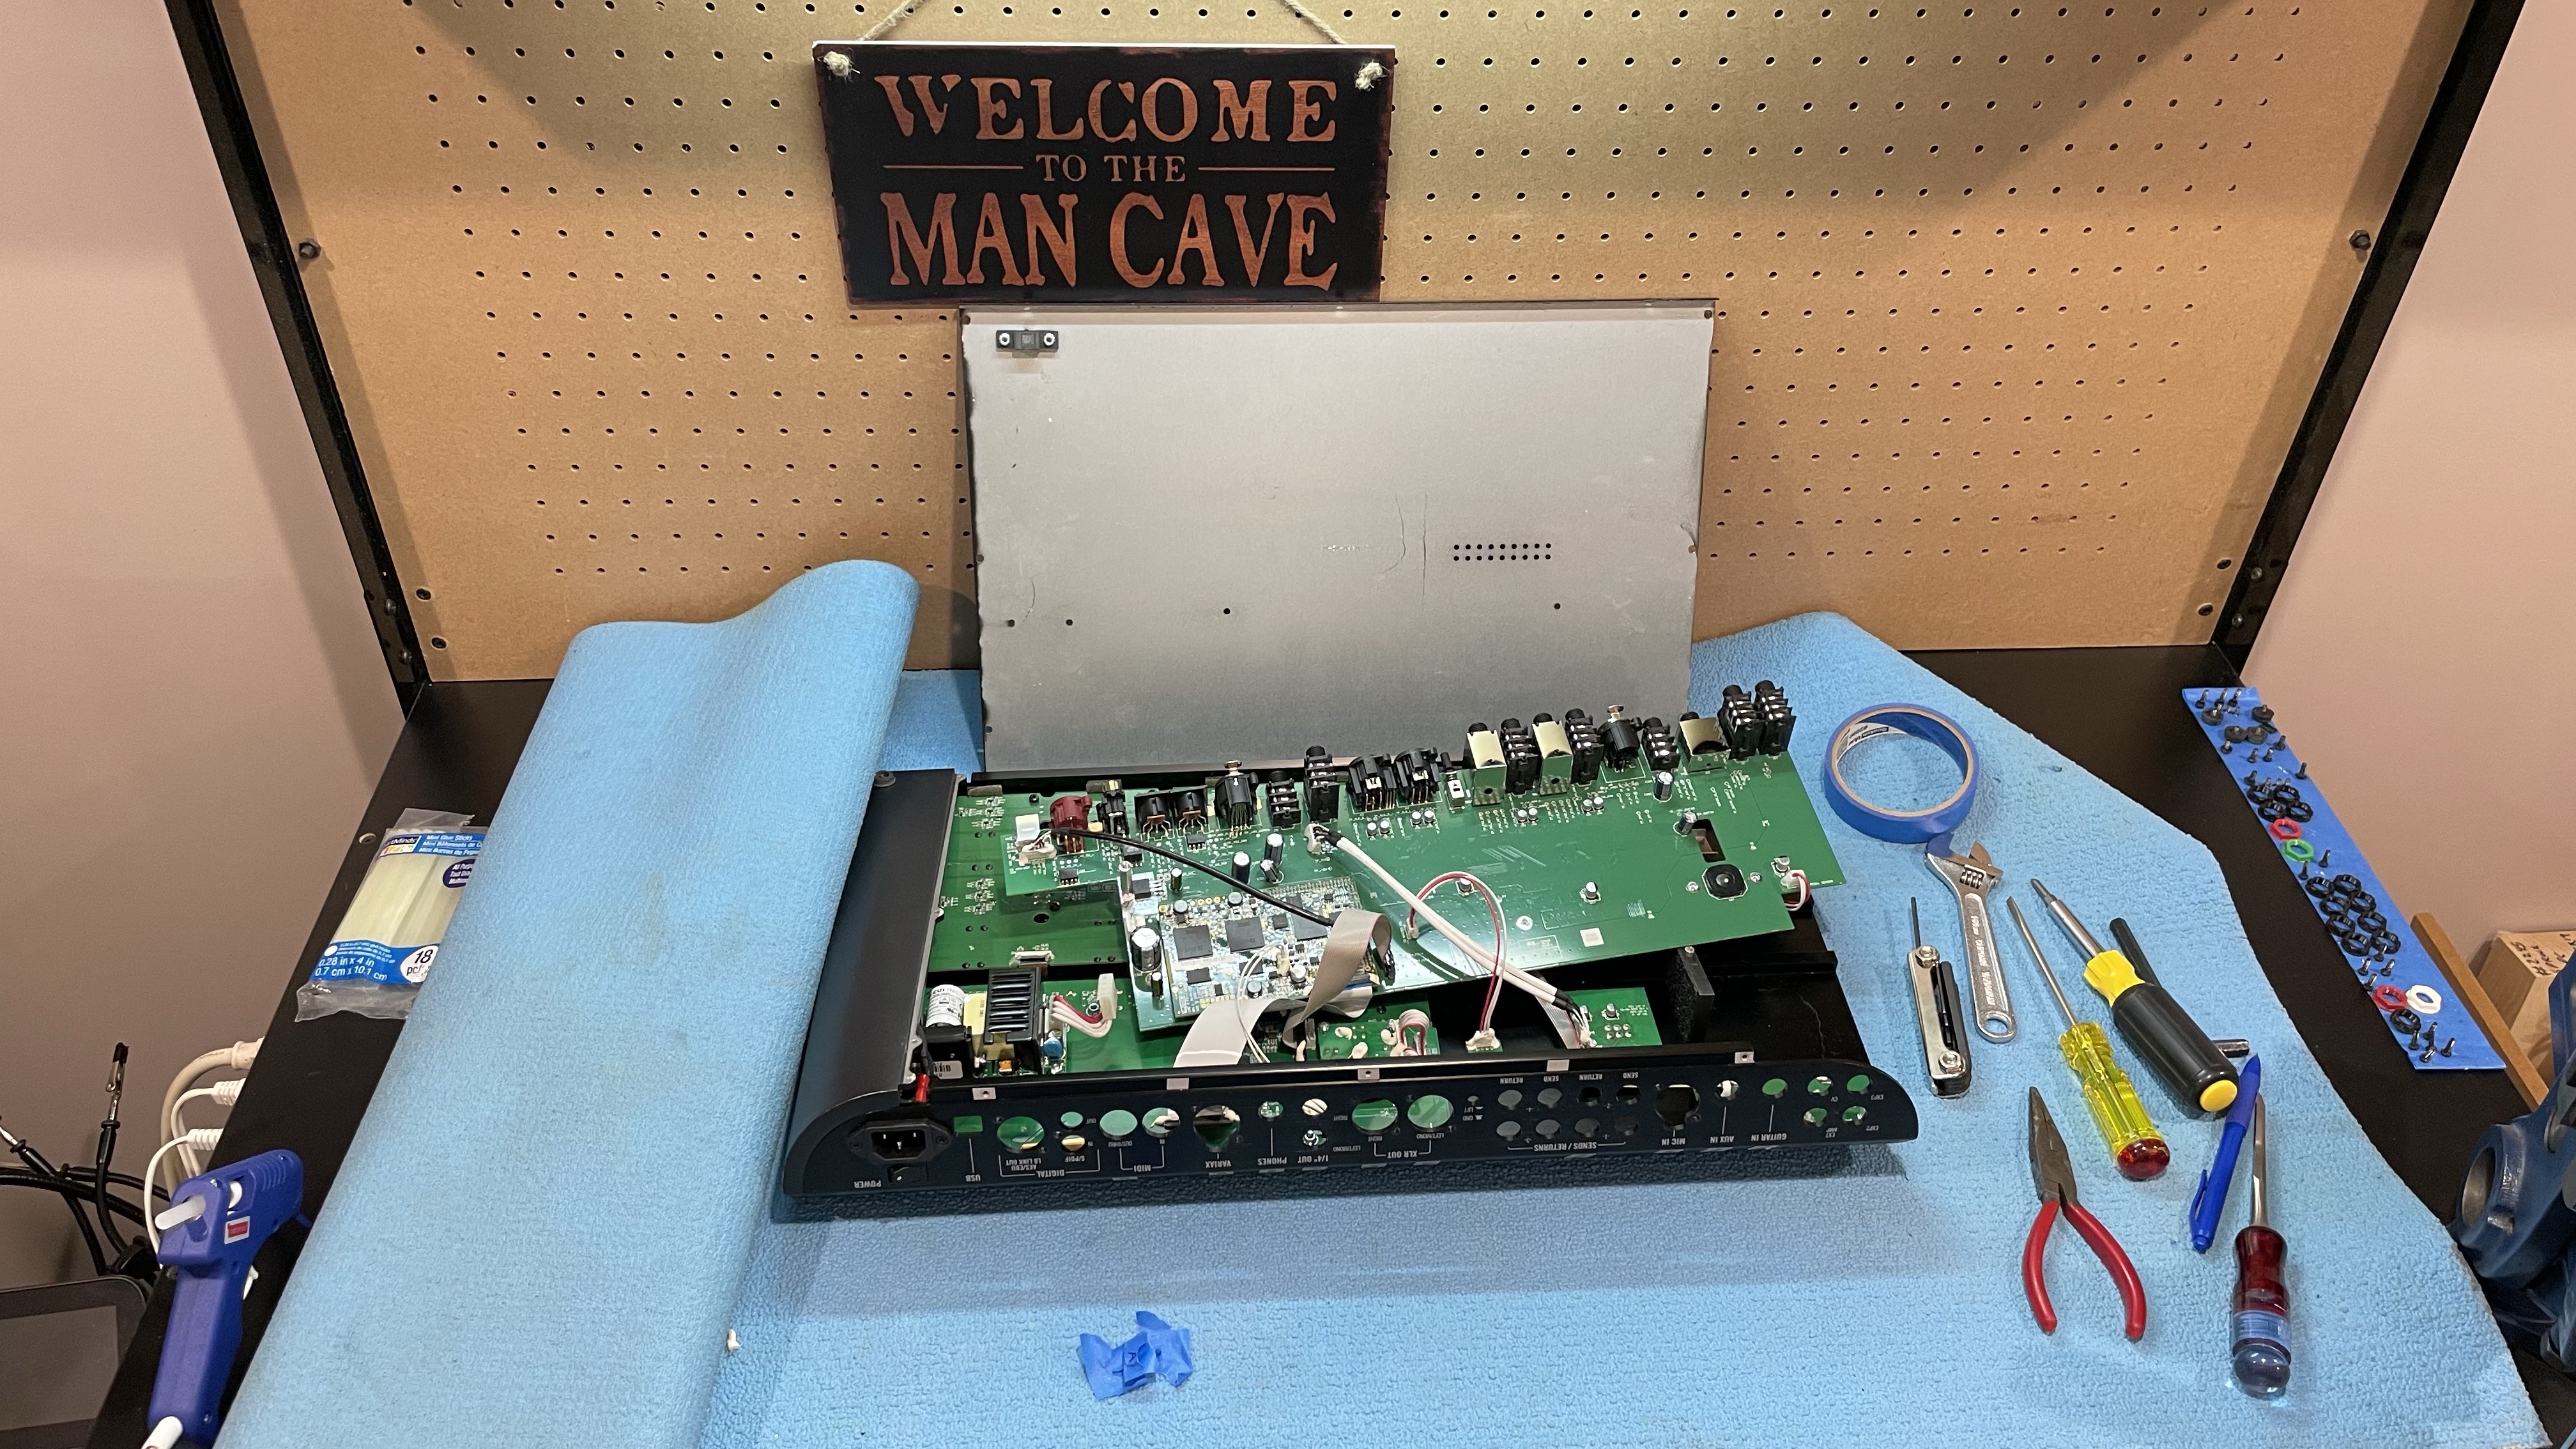
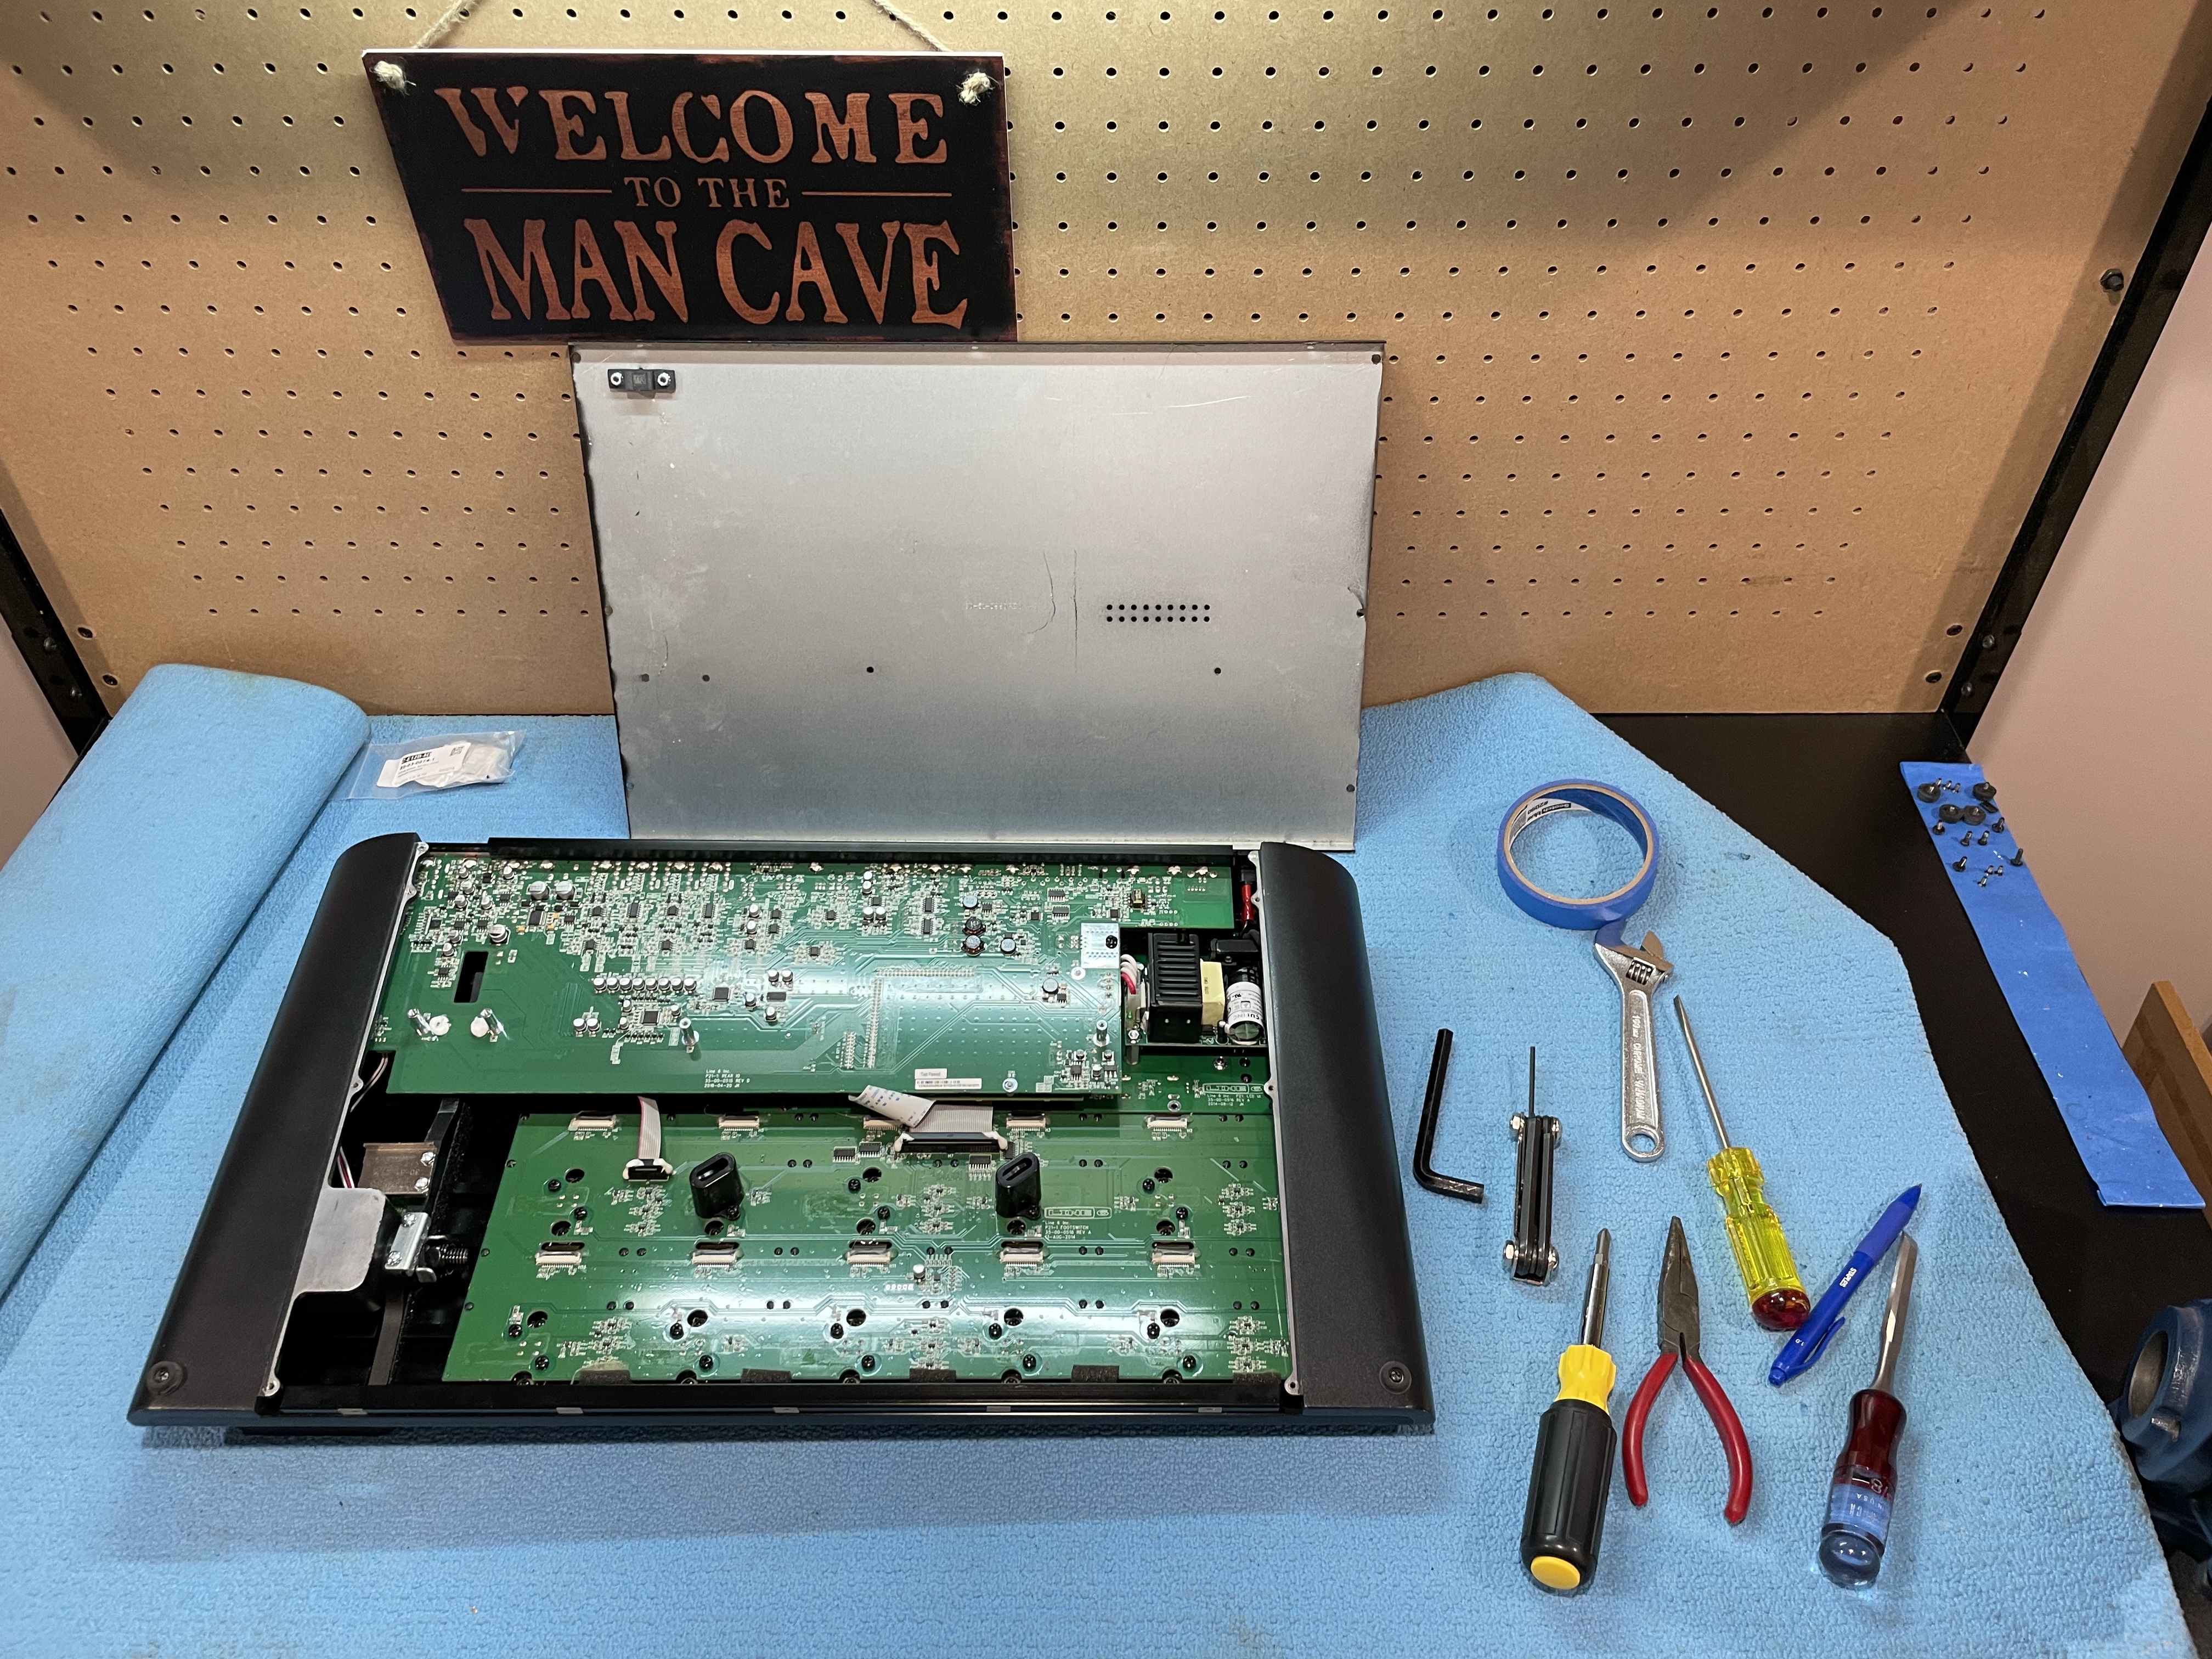
If you ever need to replace the I/O PCB in your Floor, here’s a step-by-step guide. DO NOT DO THIS IF YOUR UNIT IS STILL UNDER WARRANTY. I fried the mic preamp in mine by stupidly plugging in my mic while phantom power was on. Then when I went in to swap out the preamp IC (a $16 part) I compounded the stupidity by rushing the desoldering and lifted one of the pads. So I had to resign myself to swapping out the entire PCB (a $239 part, sigh). The good news is swapping out the PCB isn’t too hard if you’re patient and handy with a screwdriver, hex key, wrench, flush cut pliers and a glue gun.

Step 1) It’s not listed on their site, but you can special order from https://fullcompass.com the *populated* (not blank) I/O board, PCBA REAR/IO HELIX, part # 50-02-0515.

Step 2) WAIT.

Step 3) Unscrew the bottom panel. Keep the screws organized.
img_1140.jpg


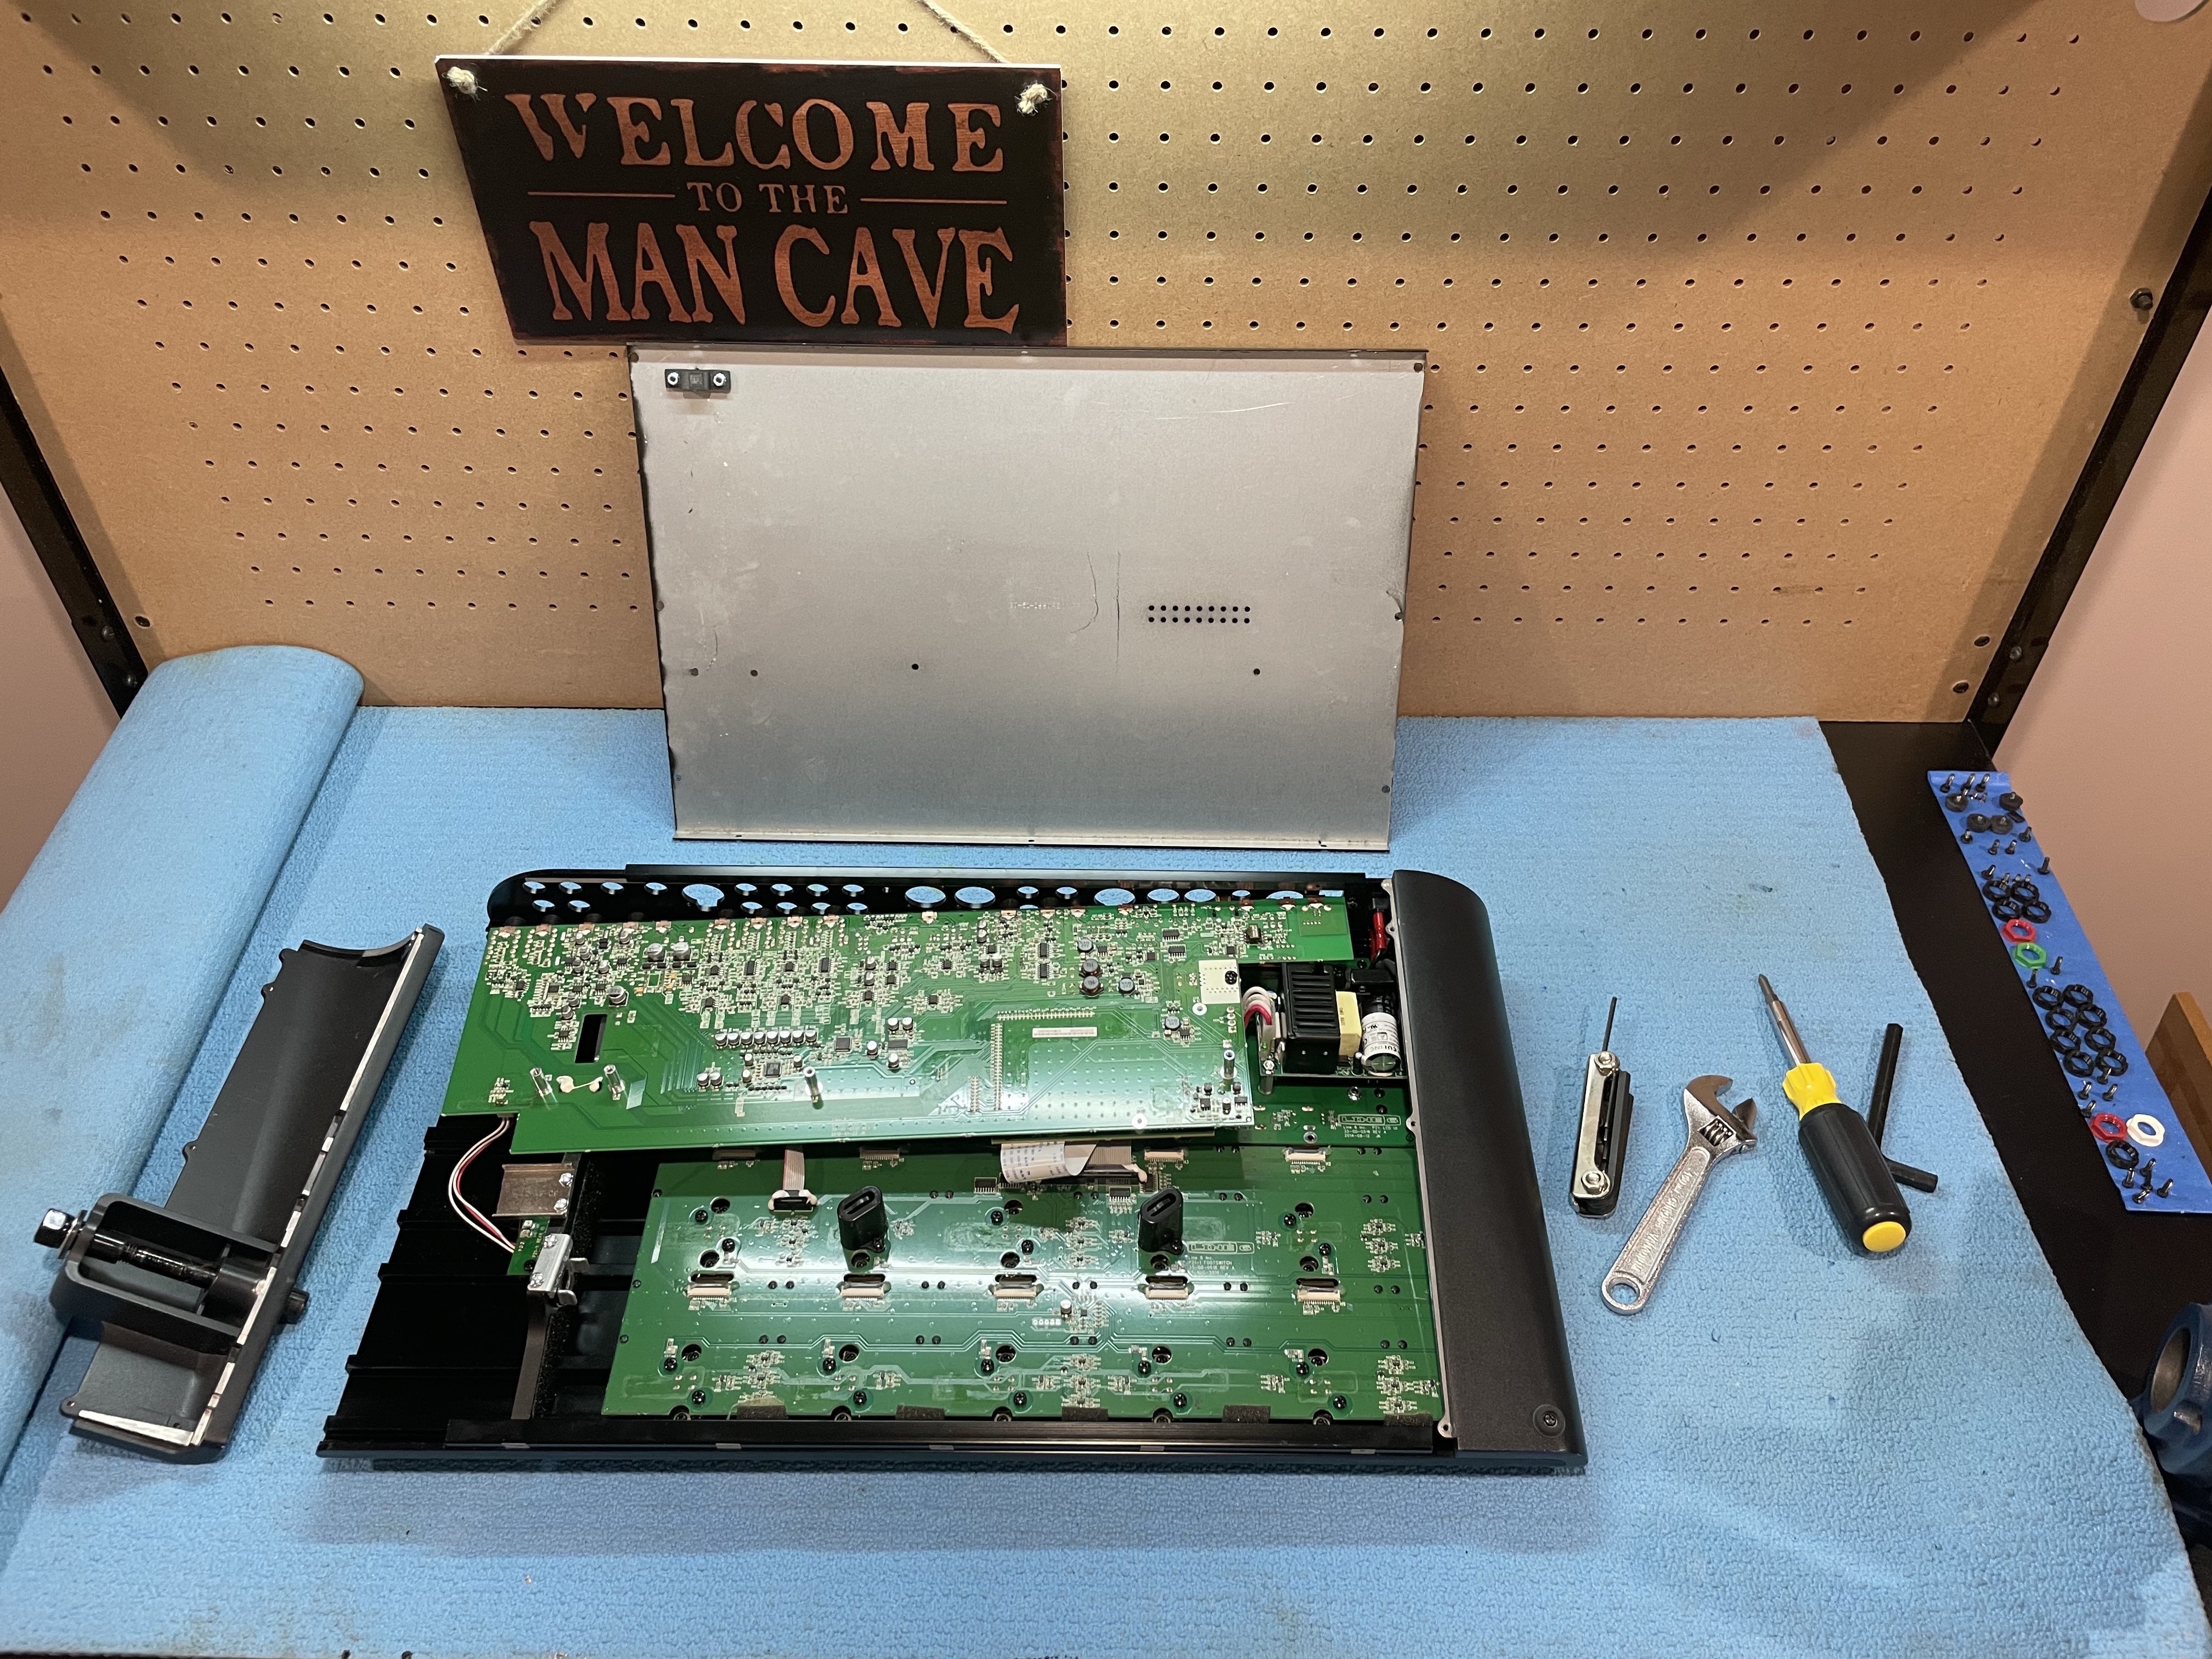
Step 4) Unscrew the expression pedal end cap.

Step 5) Unscrew the rear I/O jacks’ nuts and screws.
img_1142.jpg


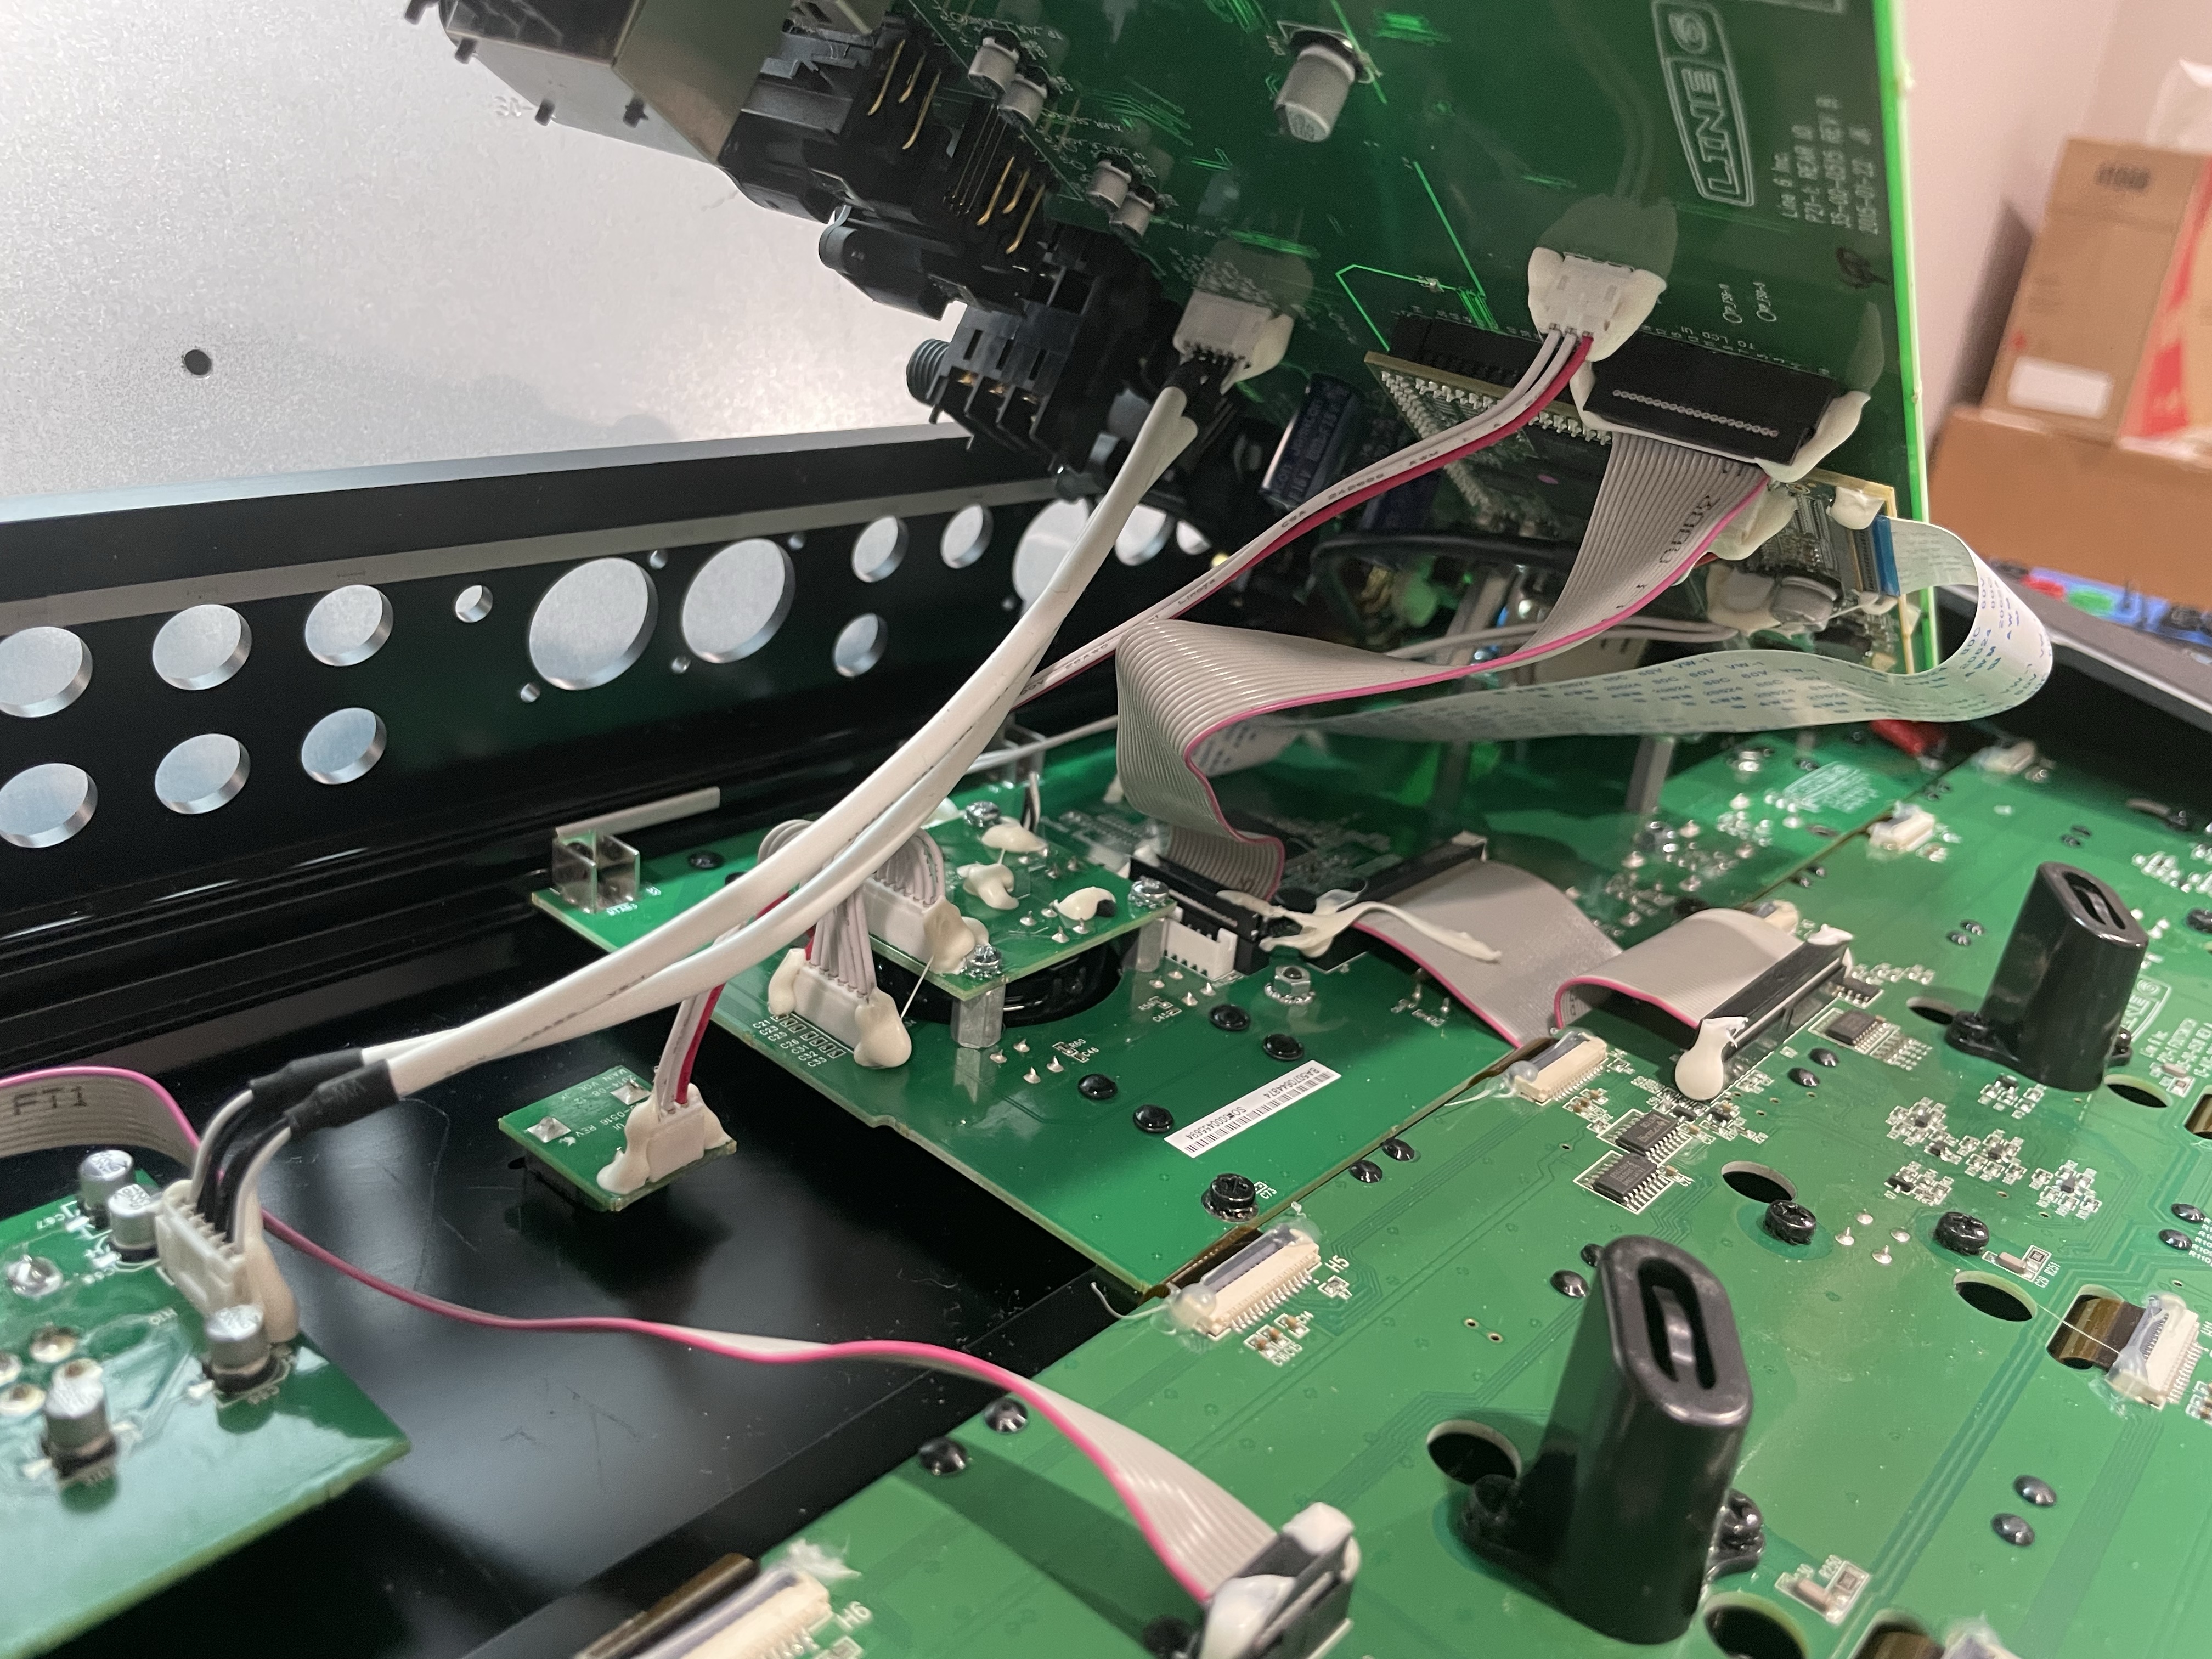
Step 6) Peel off the goop from each molex connection that you need to disconnect (leave the goop on the ones that can stay put). I was able to do most of them with my fingers, but you might have an easier time with pliers.
img_1152.jpg


Step 7) Label each connector and the corresponding header on the new board in the order that you disconnect them (1,2,3… or A,B,C…).
img_1160.jpg

img_1161.jpg
 
Last edited:
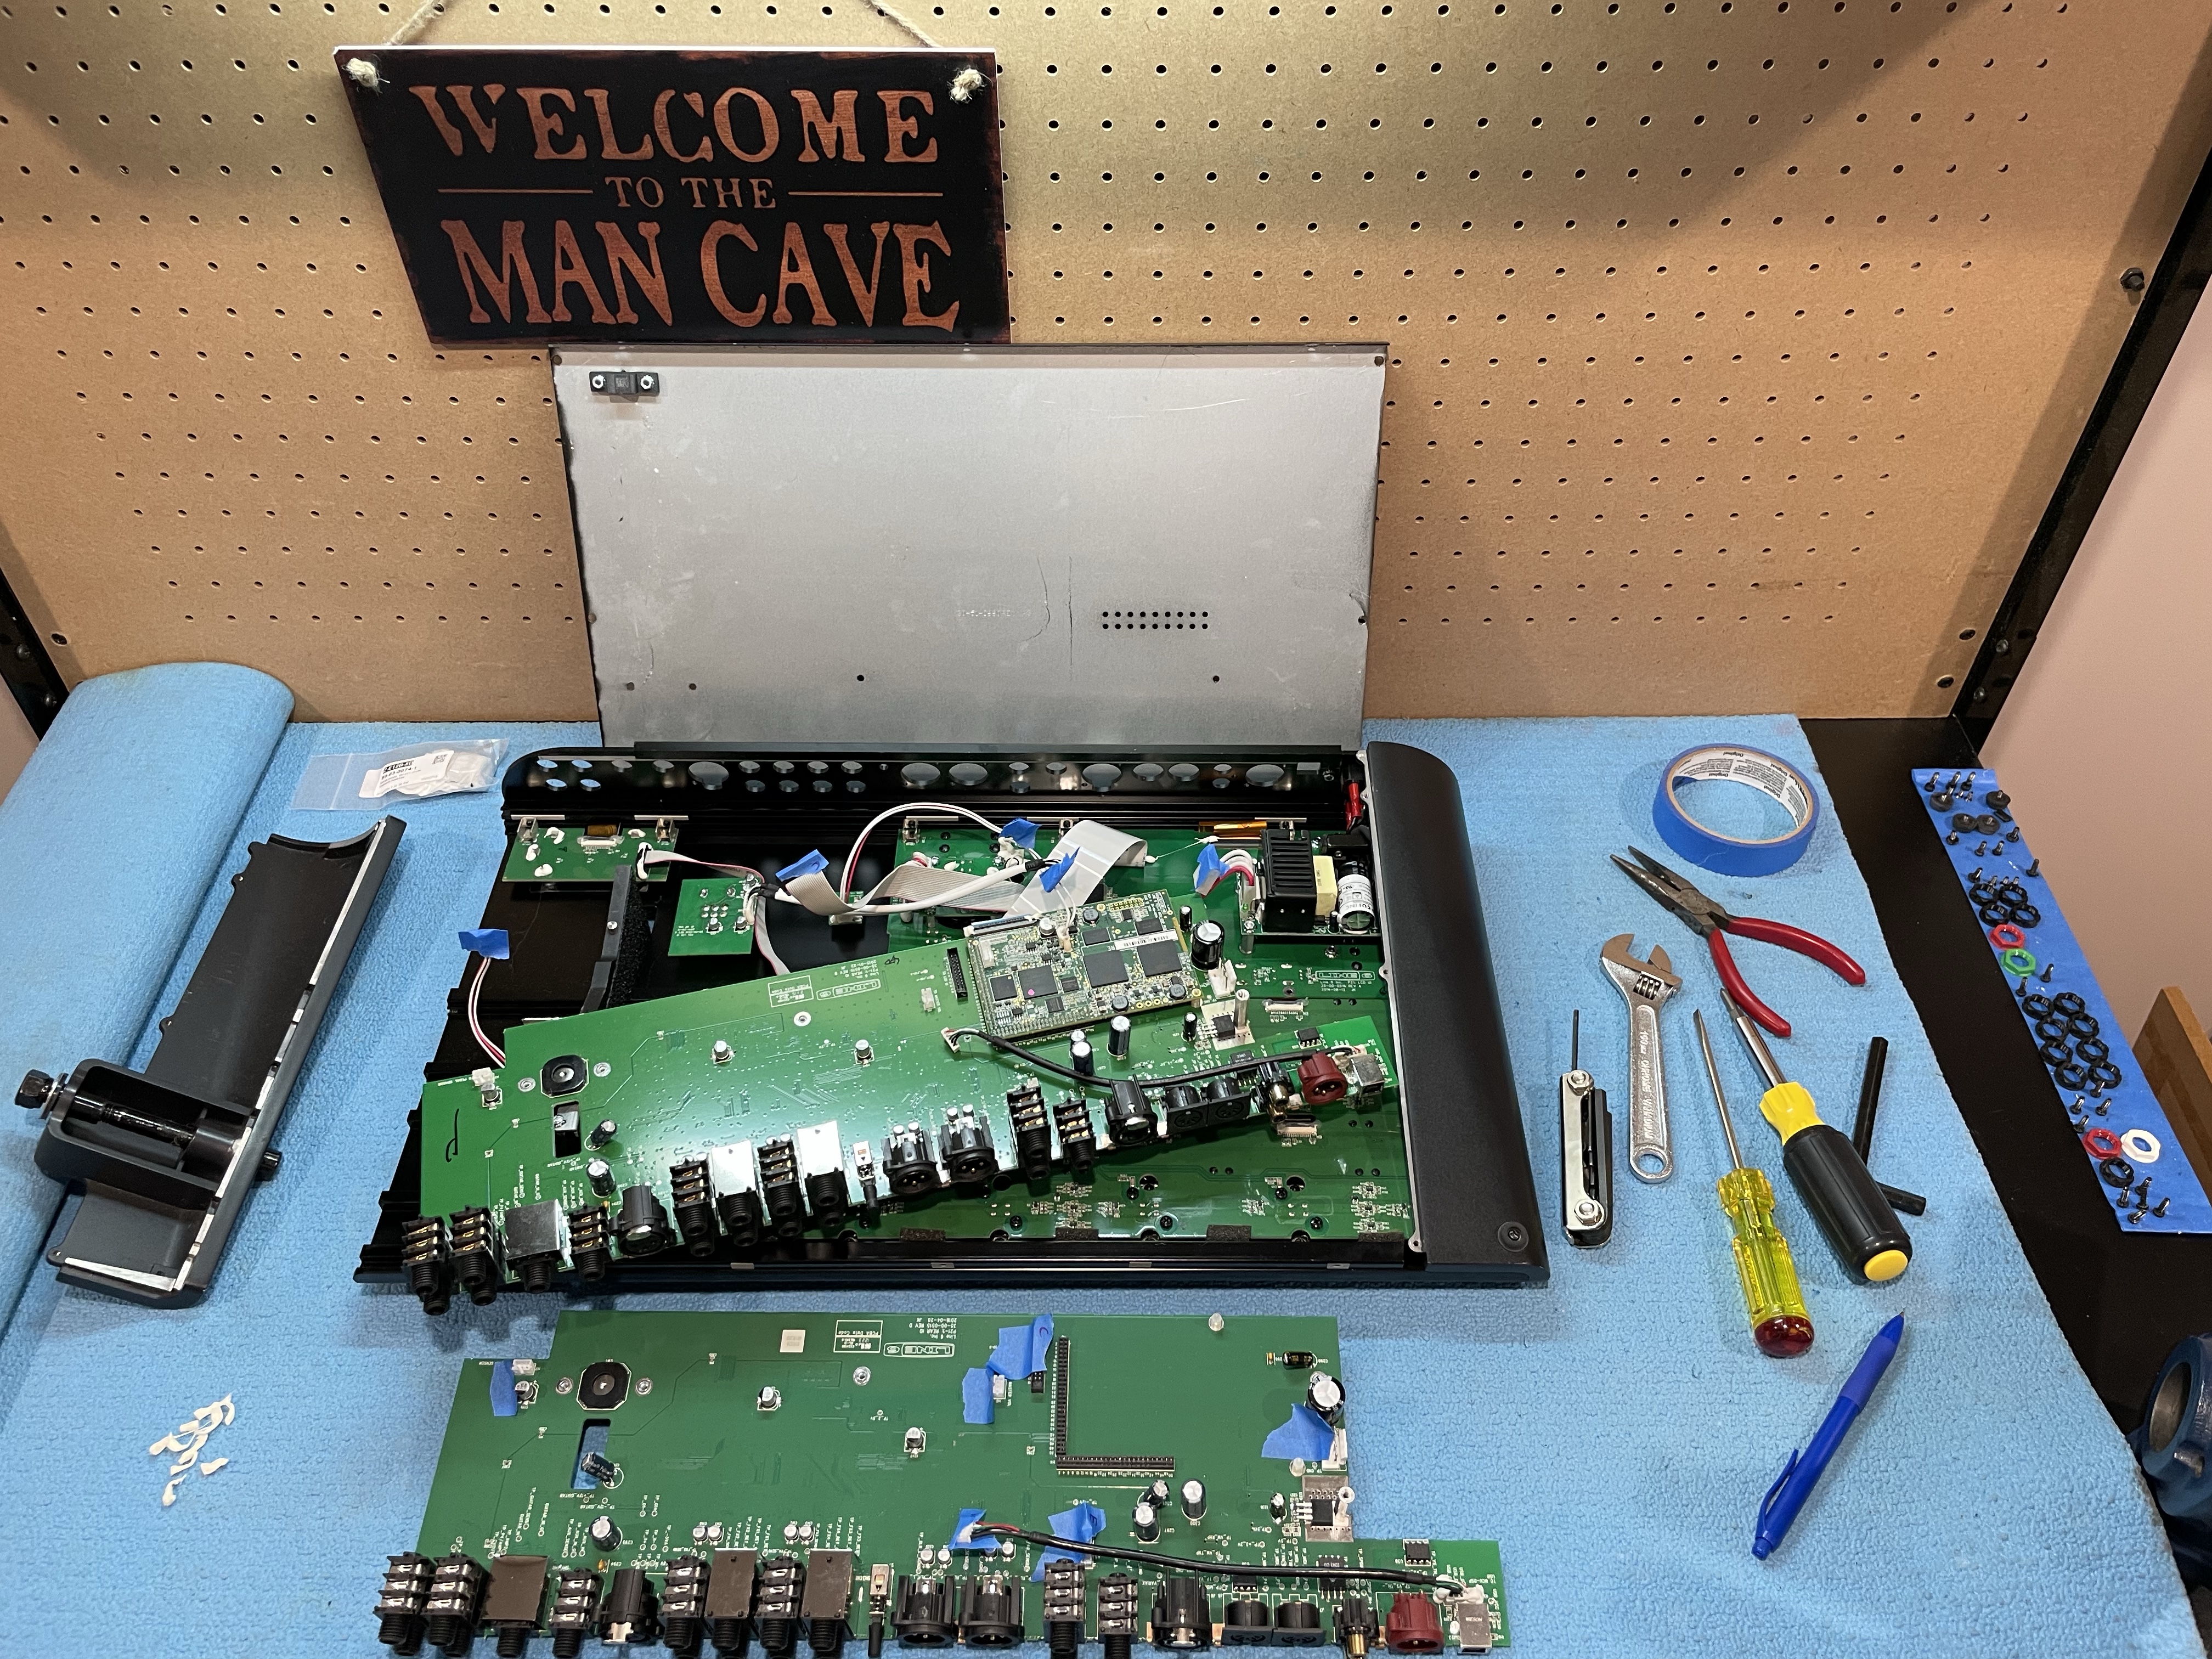
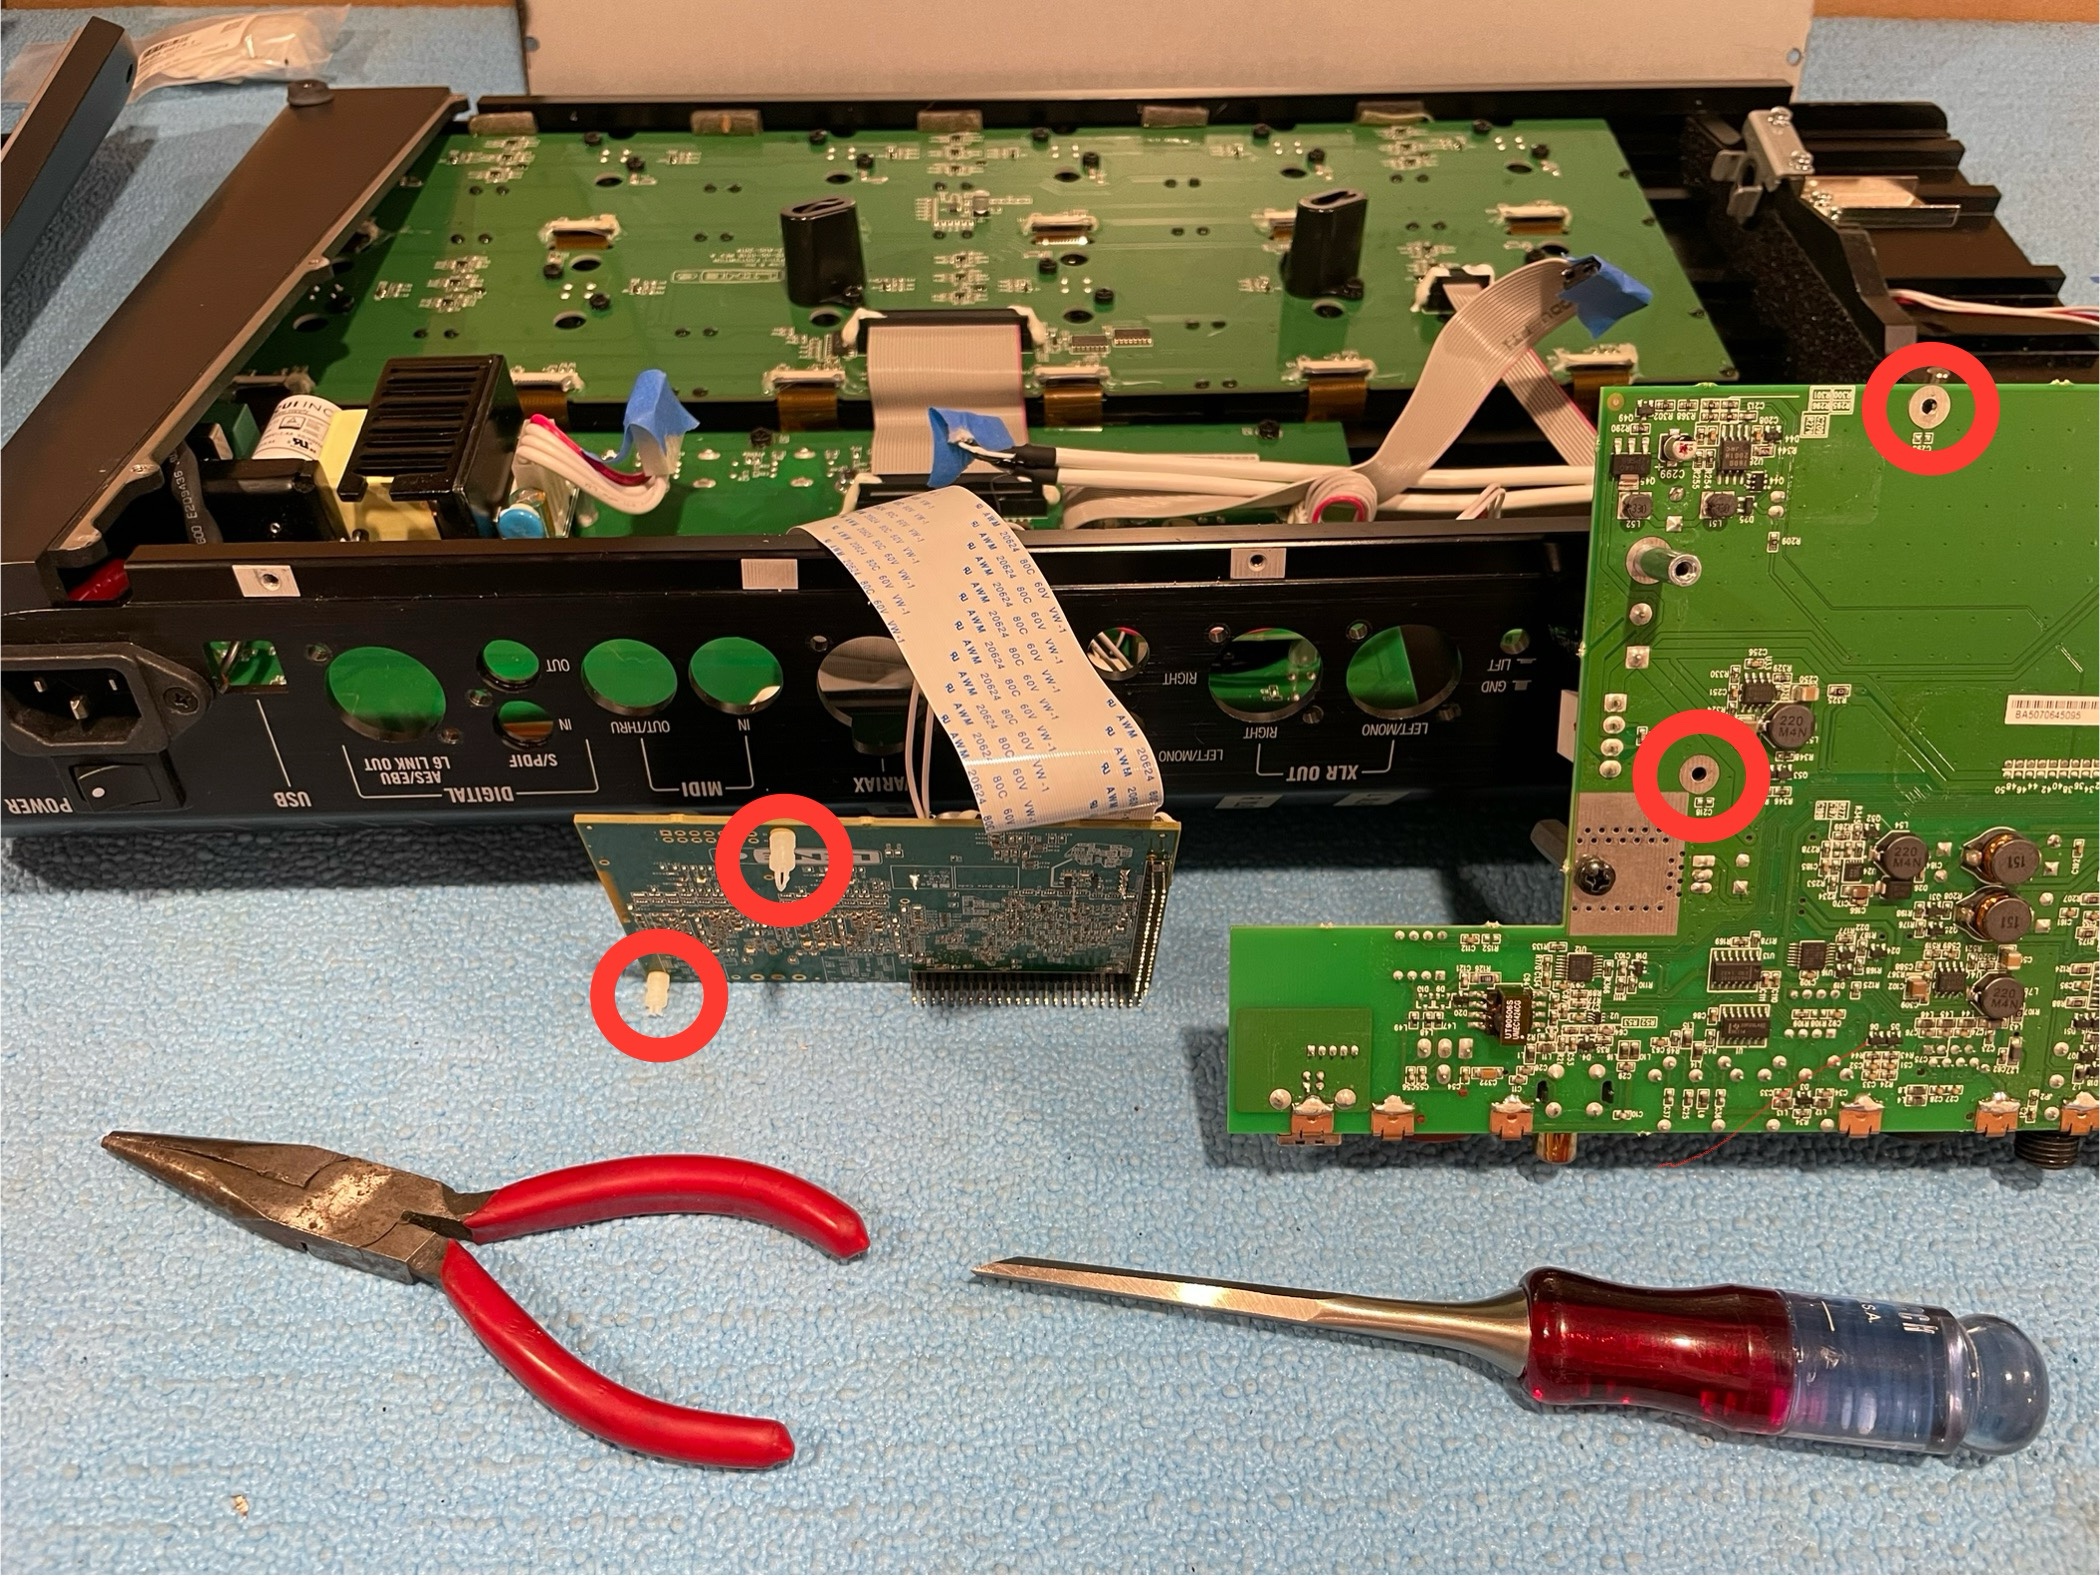
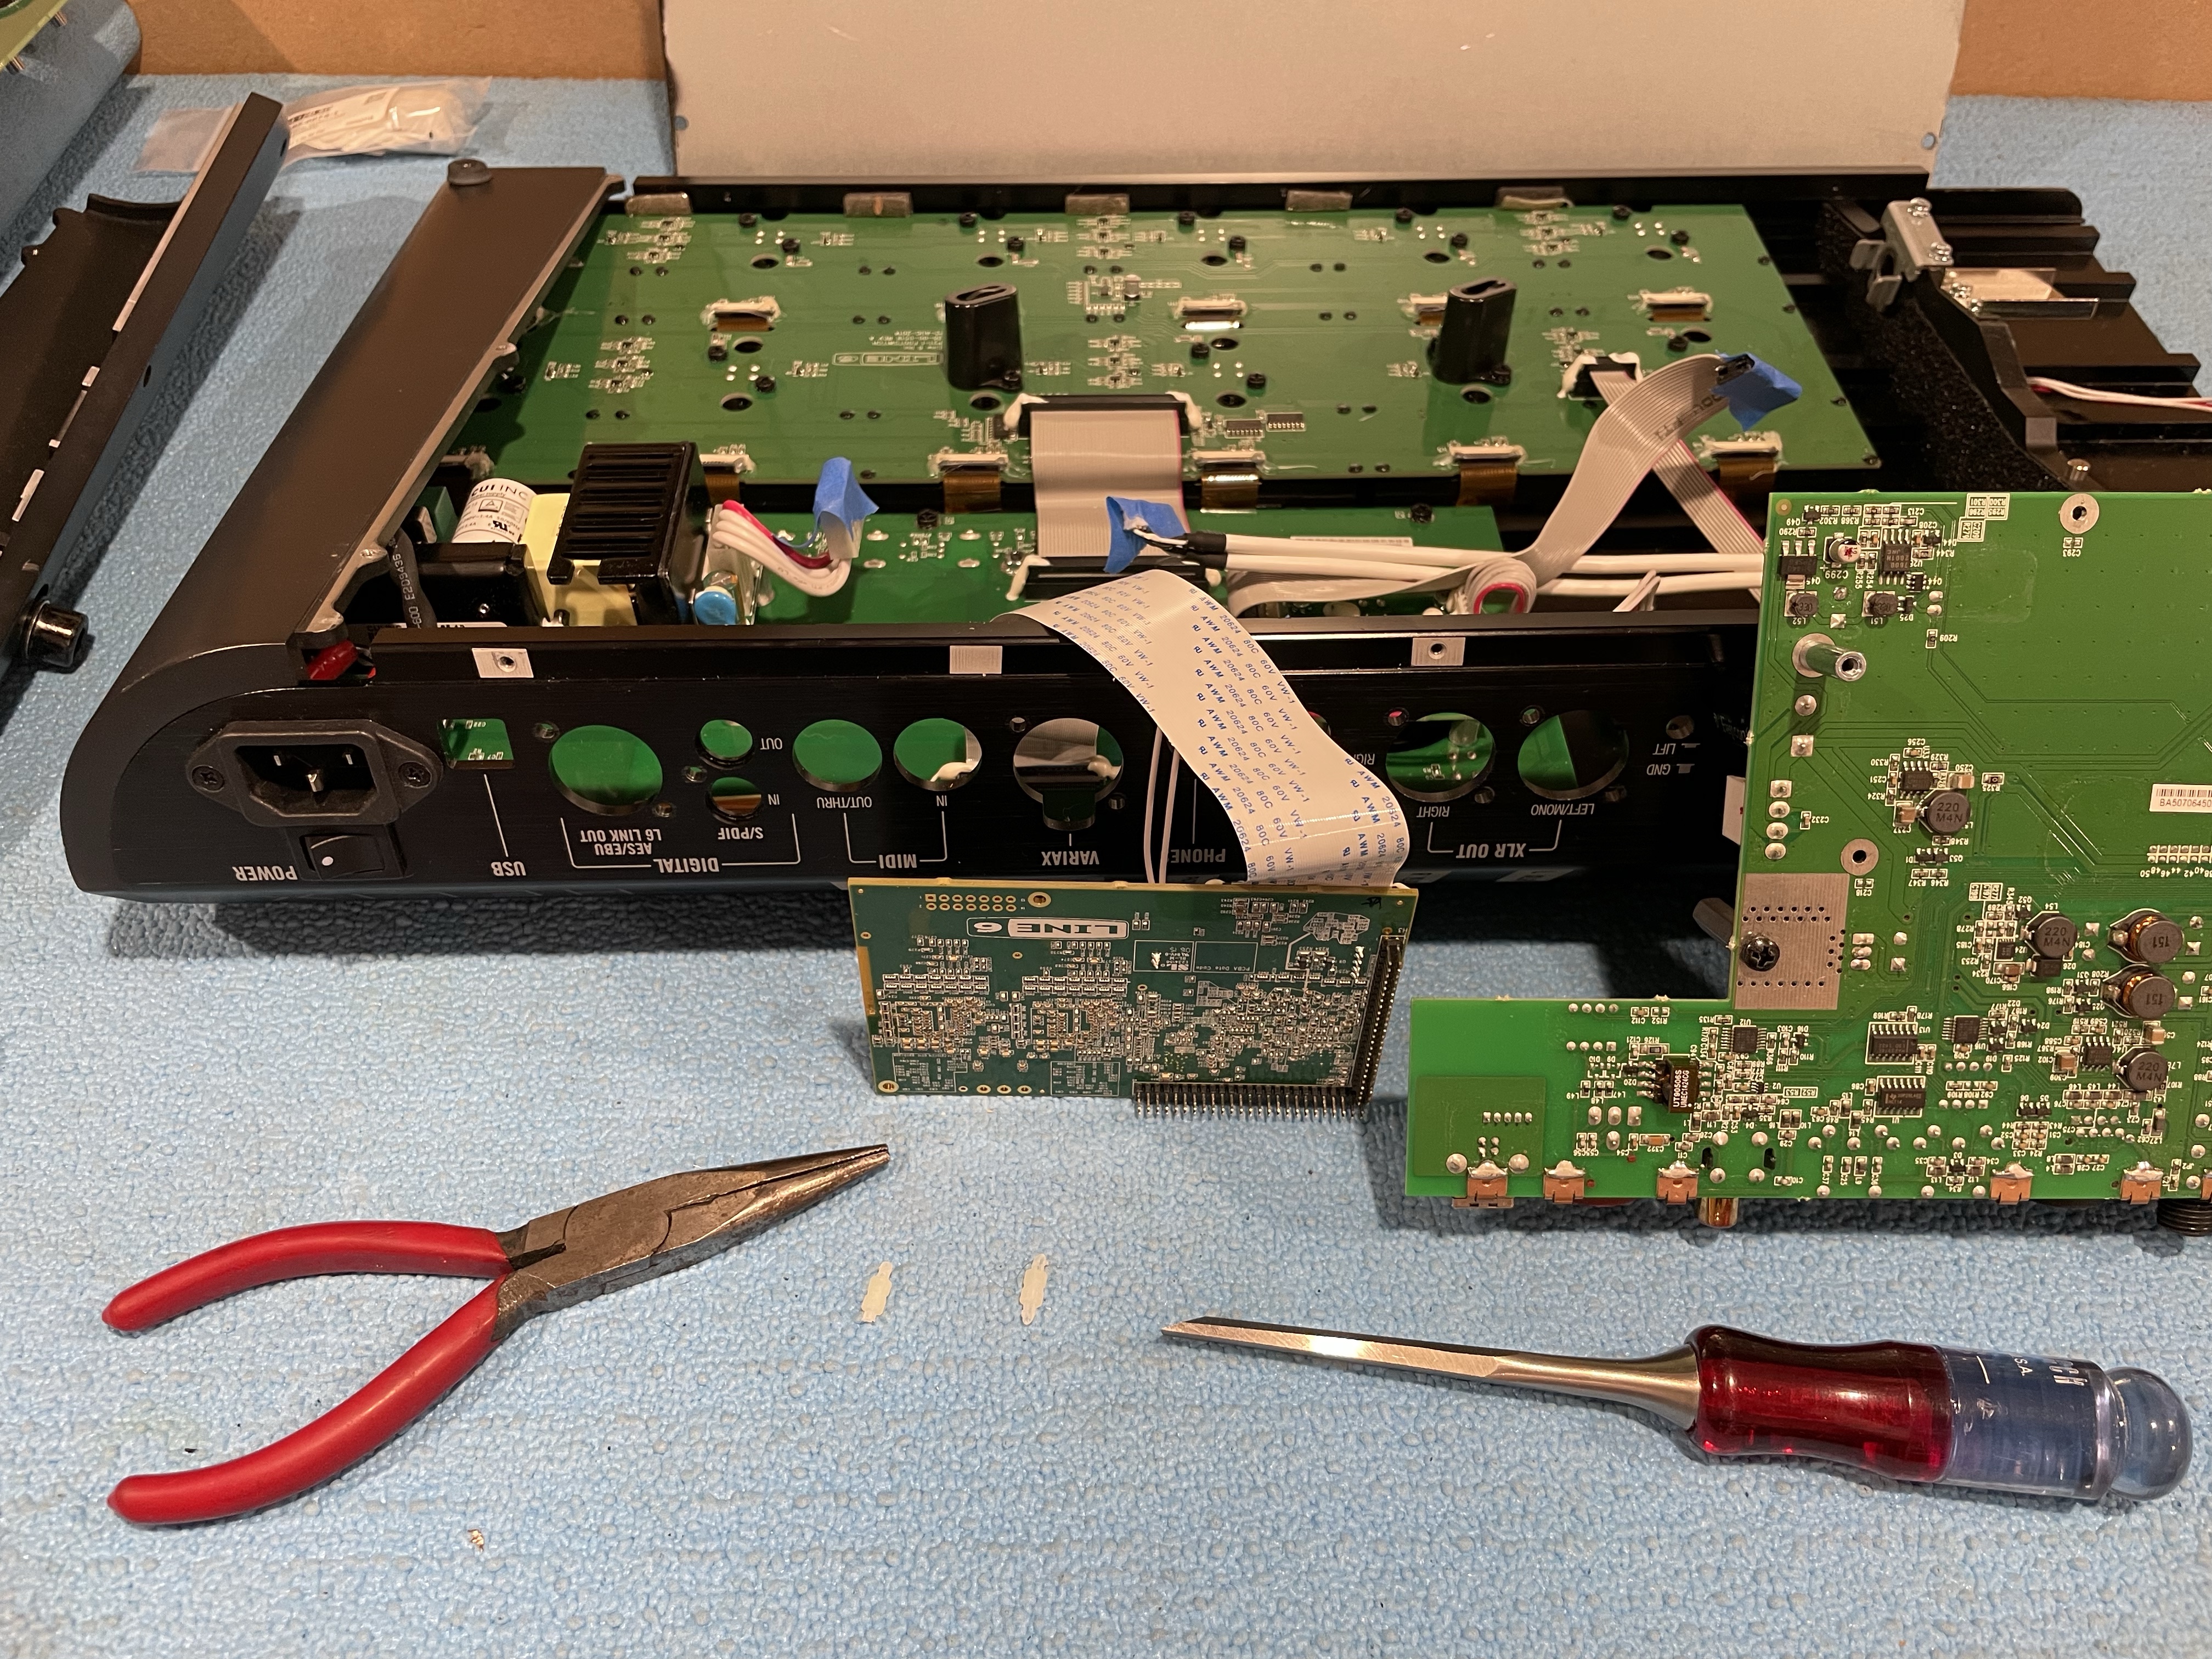
Step 8) Use flush cut pliers to snip the tips off the white daughter board mounting posts. I couldn’t find mine and used pliers and a chisel but wouldn’t recommend it. Carefully pry off the daughter board.
img_1163-1.jpg

img_1164.jpg


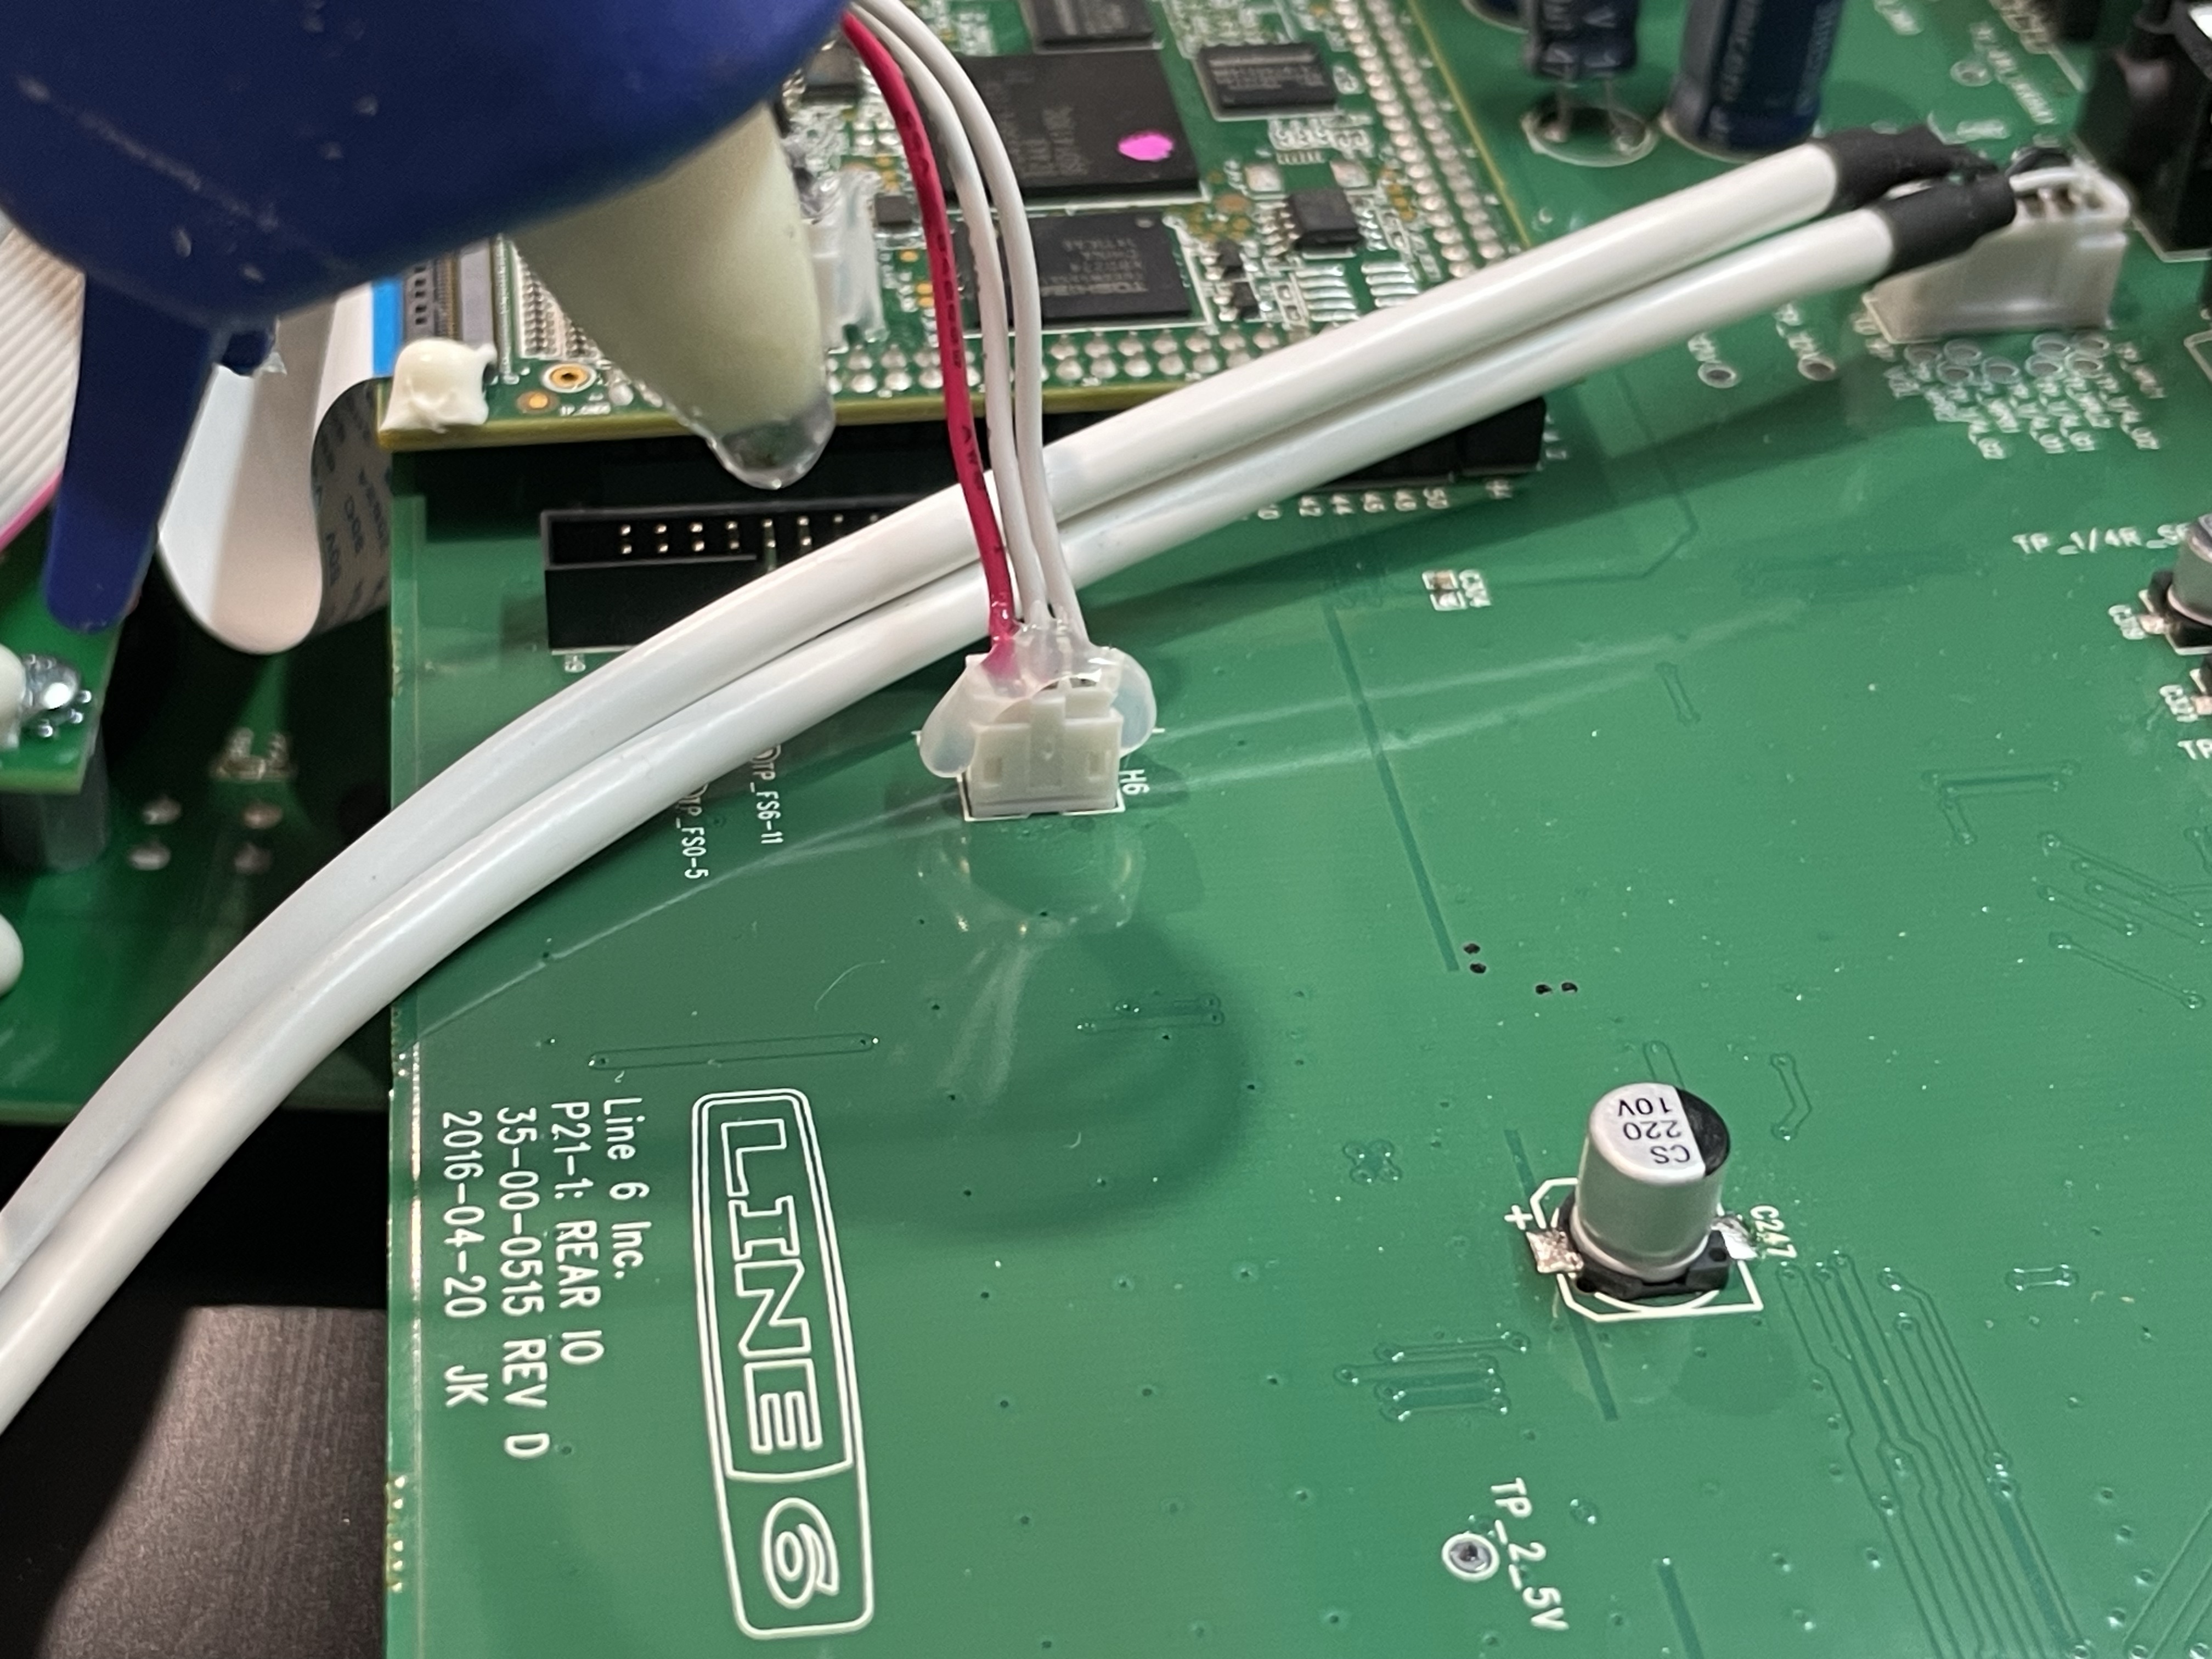
Step 9) Connect the wiring to the new I/O board in reverse order from how you disconnected the old one. Use a glue gun to goop the connections.
img_1171.jpg


Step 10) Snap the daughter board into place.
img_1173.jpg


Step 11) Put everything back together.
img_1174.jpg
 
Back
Top