Cirrus
Roadie
- Messages
- 331
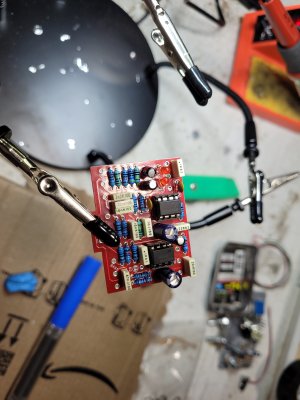
If this is new to you, you might find the quality of your solder joints improves over time (or gets worse as you get tired, bored and frustrated). Just keep at it and eventually you get a feel for how much solder you need to add and how long you need to hold the iron there for to get it to flow evenly around the leg and cover the hole. I sometimes give the component a little wiggle and make sure that the leg on the other side of the PCB isn't moving at all - sometimes the solder sticks to the pcb hole before it sticks to the component leg (especially if the leg's oxidised or covered in sticky residue from tape), and you can have what looks like a solder joint but that actually isn't really.
Do you have a heat sink? They're useful.
Do you have a heat sink? They're useful.

")