NAD Assembly Required - Build Complete

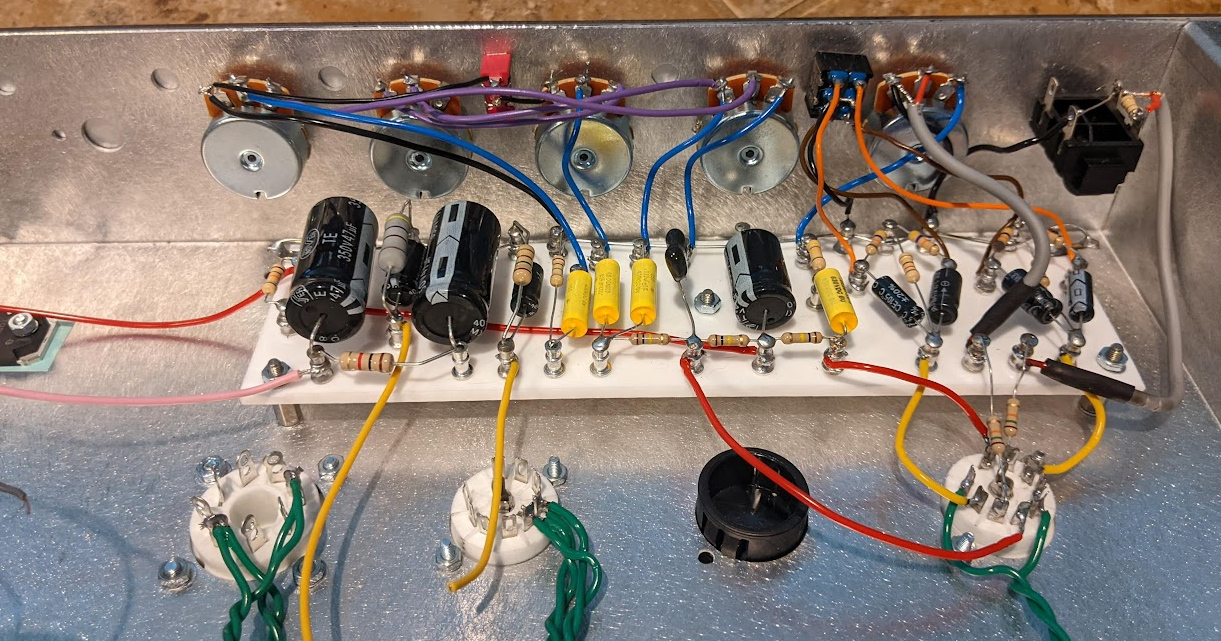
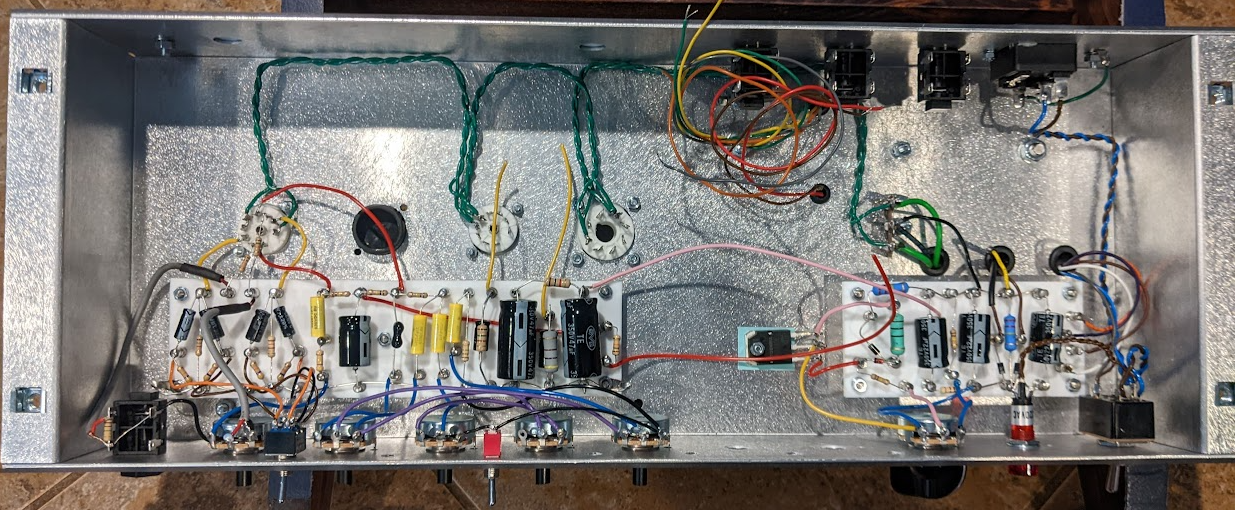
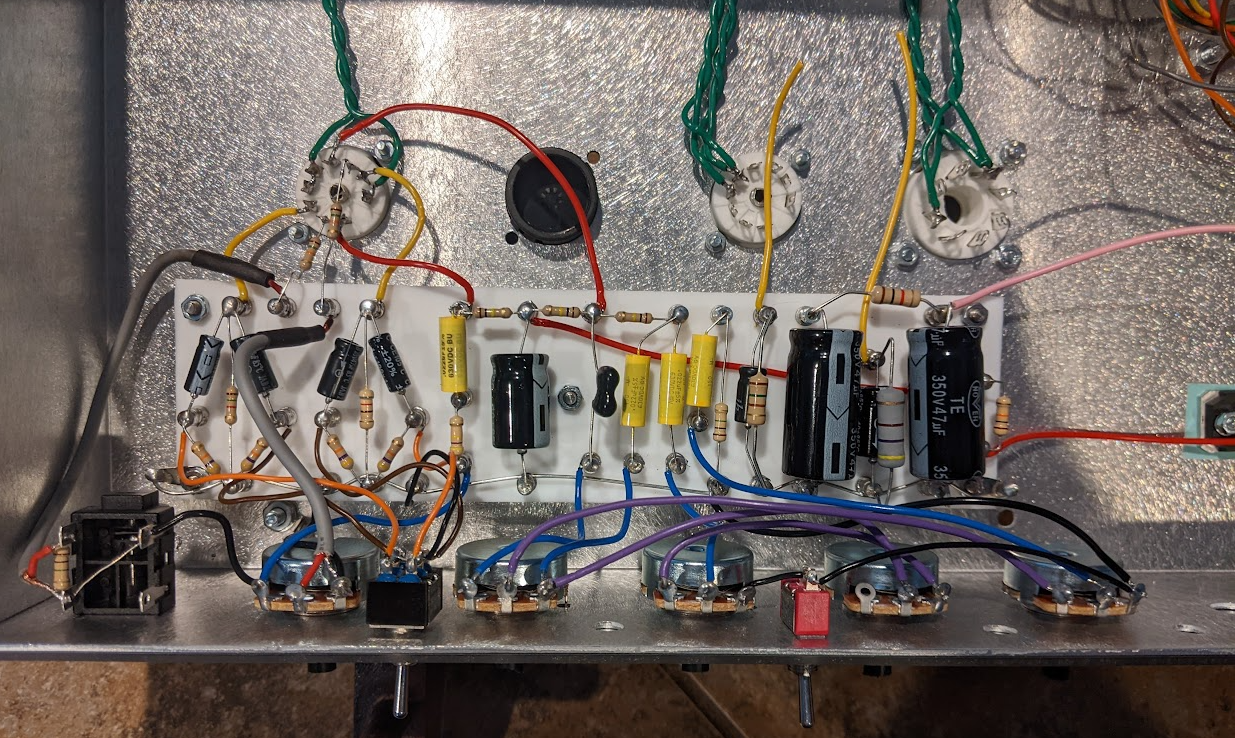
I made a bunch of progress today to the point where I'm nearing completion. Pretty much the whole preamp board is done minus a couple of turrets where resistors connect the board to the tube sockets. I also wired up all the front panel controls. All that's left is to finish wiring up the V2 & V3 sockets, connect the preamp board to the power supply board, and wire the PT to the board and jacks. And of course go through everything to make sure all the solder joints are good, make sure I didn't mis-wire anything, and do some final checks. If all goes well I may be able to finish it off tomorrow.
1690065916670.png


1690065940837.png


1690065982169.png
 
Well shit..... I have a working amp! Finished up all the wiring this morning, did all final checks and fired it up with no troubles. Of course I'm going to be a little biased, but it sounds pretty damn good. It gives that really nice and thick power tube saturation at manageable volumes. It definitely has the classic "British" rock & roll sound. I messed around with a couple of boost and overdrive pedals and was able to get into some decently heavy crunch, but it's not going to make it into full high gain territory. Overall I'm quite pleased with the way it sounds.

One thing that I'm super shocked about is it is dead quiet. Even with everything dimed there is no hum or noise. And for 5 watts it can get decently loud. At full power with gain & master maxed and the tone stack bypassed it moved some air. I don't think it's going to keep up with a loud drummer and/or a full band on it's own, but I think it'd be just fine to gig if it's a small venue or mic'd up. What it will do with no troubles is be perfect for bedroom playing or would work really well in a studio.

On the build side, this was a really fun project. Total build time was around 2-3 days worth of work and it wasn't overly complex. I think anyone with good soldering skills and the ability to follow directions could successfully build one. There was one minor challenge of soldering wires to the power supply board with the board mounted in the chassis and all the components on as the instructions said. Because of that, when I got to the preamp board I skipped around in the instructions a bit. It said to populate the board first then add lead wires. I ended up adding the leads as I populated the board. I found that easier than trying to maneuver the soldering iron around components. I also did it outside the chassis instead of inside like the instructions said. I didn't mount the board until I was at the point of connecting to the sockets and controls. If someone was wanting to build an amp for the first time I'd for sure recommend this kit as a good place to start.

The only thing I have left to do to make this 100% done is finish off the headshell and mount the amp in it. As it stand now it's fully functioning, playable and sounds pretty darn good.

1690146246875.png


1690146000762.png

1690146055656.png


1690146087110.png


1690146118248.png


1690146156490.png


1690146202409.png
 
I finished off the headshell and mounted the chassis over the weekend. I wasn't sure what to do for a badge then came across this metal Cthulhu cutout on etsy that seemed fitting. Not it's 100% complete.

View attachment 9389
That looks pretty damn cool, even if it does evoke some "this is a super high gain 100W amp" vibes.

I'm guessing this is sort of like a power scalable JCM800 type circuit?
 
That looks pretty damn cool, even if it does evoke some "this is a super high gain 100W amp" vibes.

I'm guessing this is sort of like a power scalable JCM800 type circuit?
If I didn't already have the shell 90% complete and already covered I probably would have gone with a more vintage looking wrap. But I didn't have anything else to use that shell with and didn't want it to go to waste.

I'm not sure what the circuit is based on, but it's a lot more simple than a JCM800 or even a plexi. It's also single ended Class A as opposed to a push-pull design. I do like that it has a switch to bypass the tone stack; which is the way I've been playing it mostly so far. But yes it is power scalable from less than 1 watt to 5 watts. I calculated a little over 7 watts of dissipation on mine.

Running it full bore can get decently loud. At least loud enough to move a little air but not so much to destroy your ears after 1 chord. If I really wanted to push more volume I'd just run it through my power station.

Tone-wise it's a British style amp. With an EL34 it has a similar character to vintage Marshall. With an EL84 it gives off a little more of a VOX vibe. I haven't tried it with a 6l6 or 6v6. Personally I like it with the EL34. It sounds fuller when everything is being pushed. The EL84 doesn't sound bad, but comparatively a little thin. I just like that I can get power tube tone/saturation from it at home without making my ears bleed.
 
Back
Top