burningyen
Roadie
- Messages
- 135
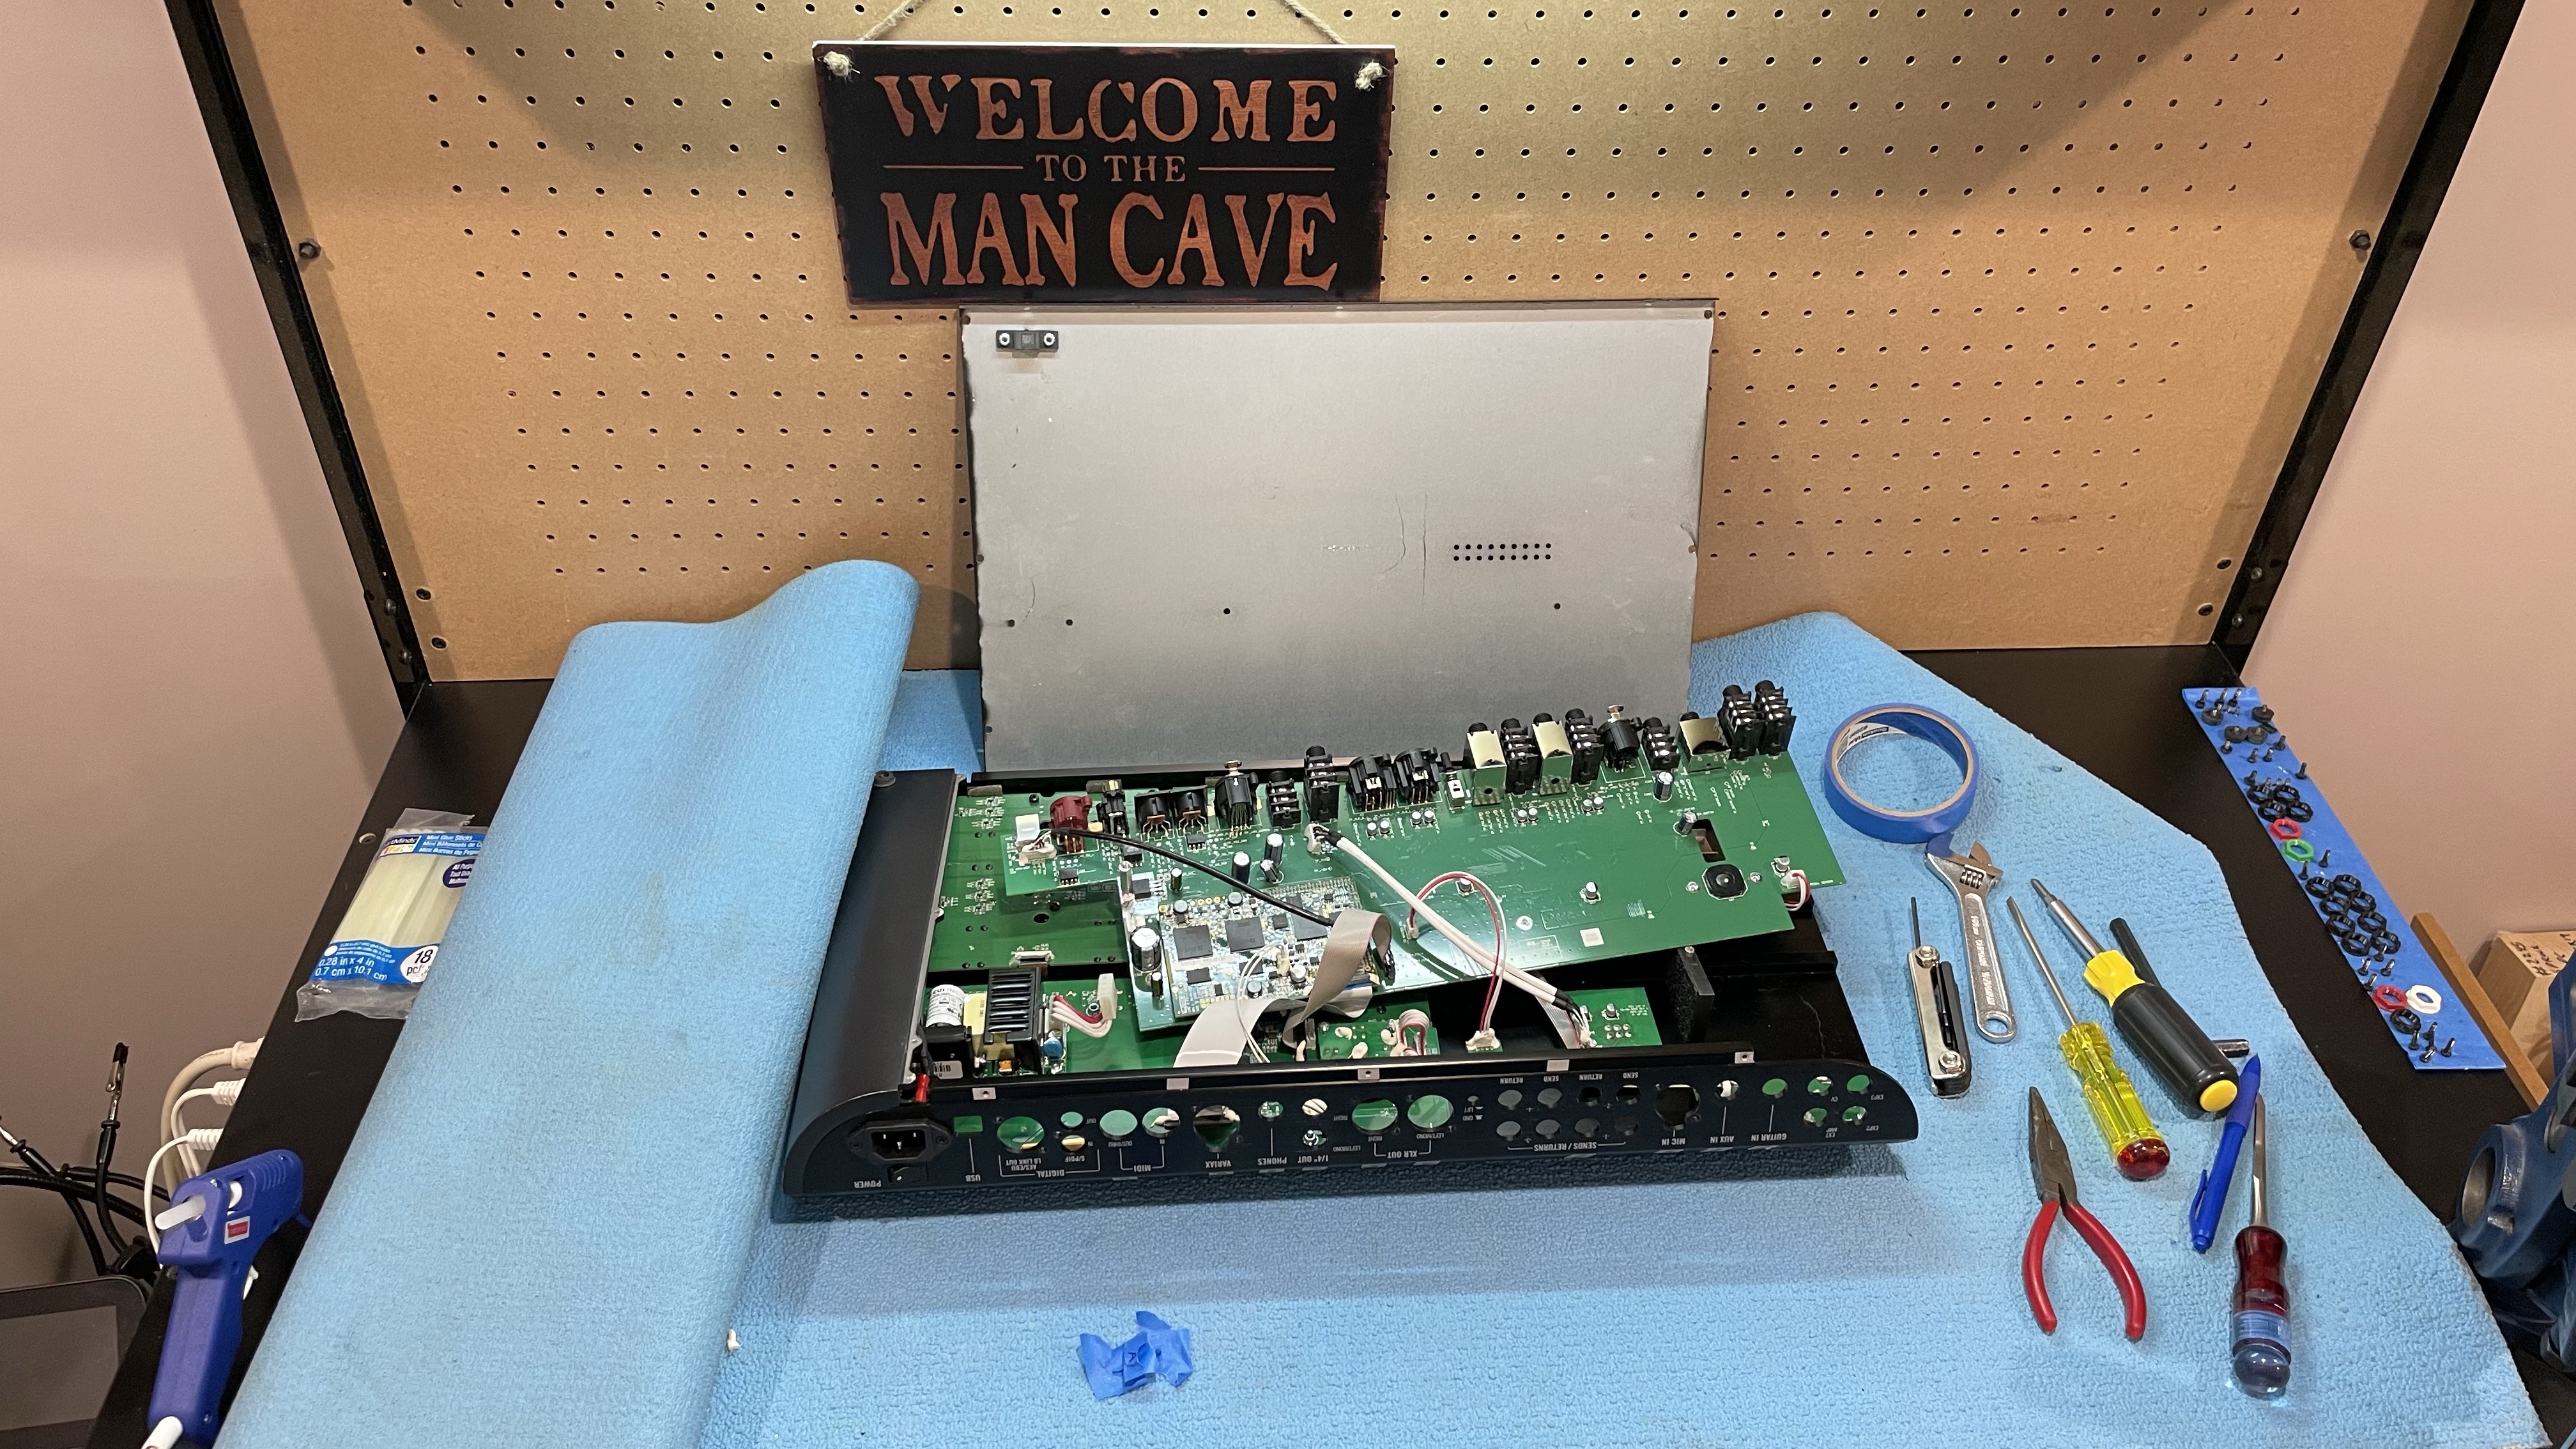
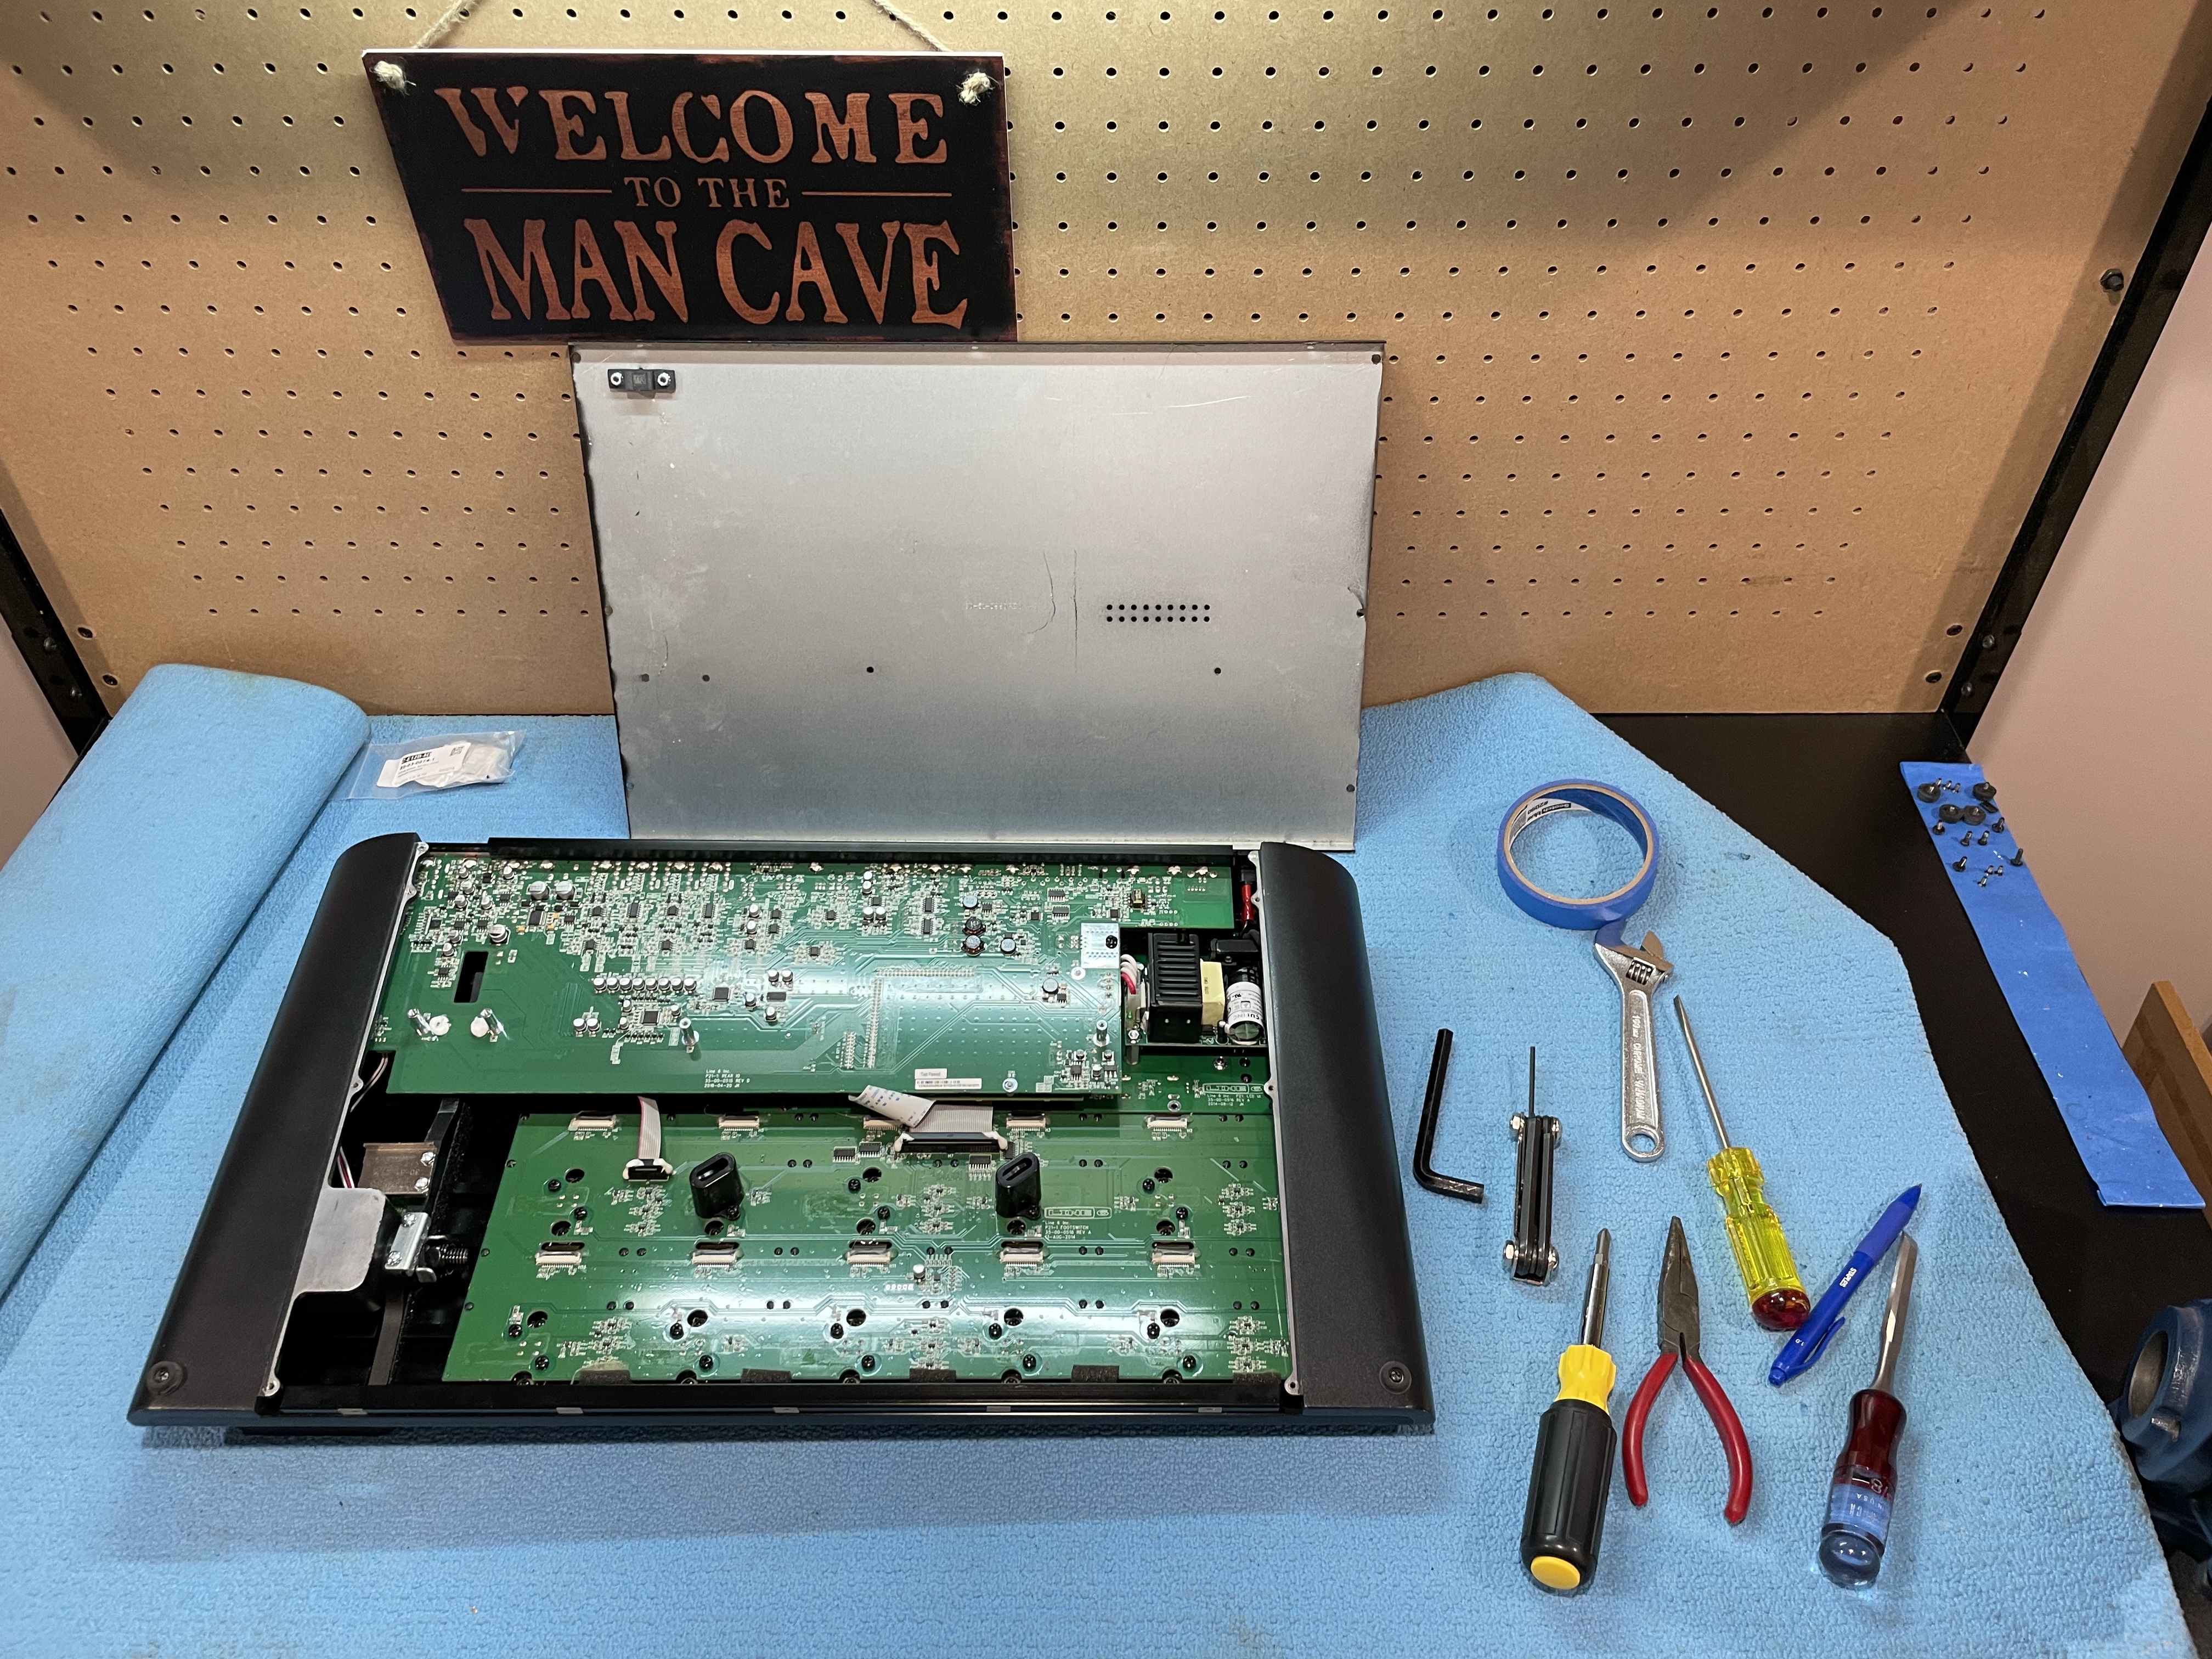
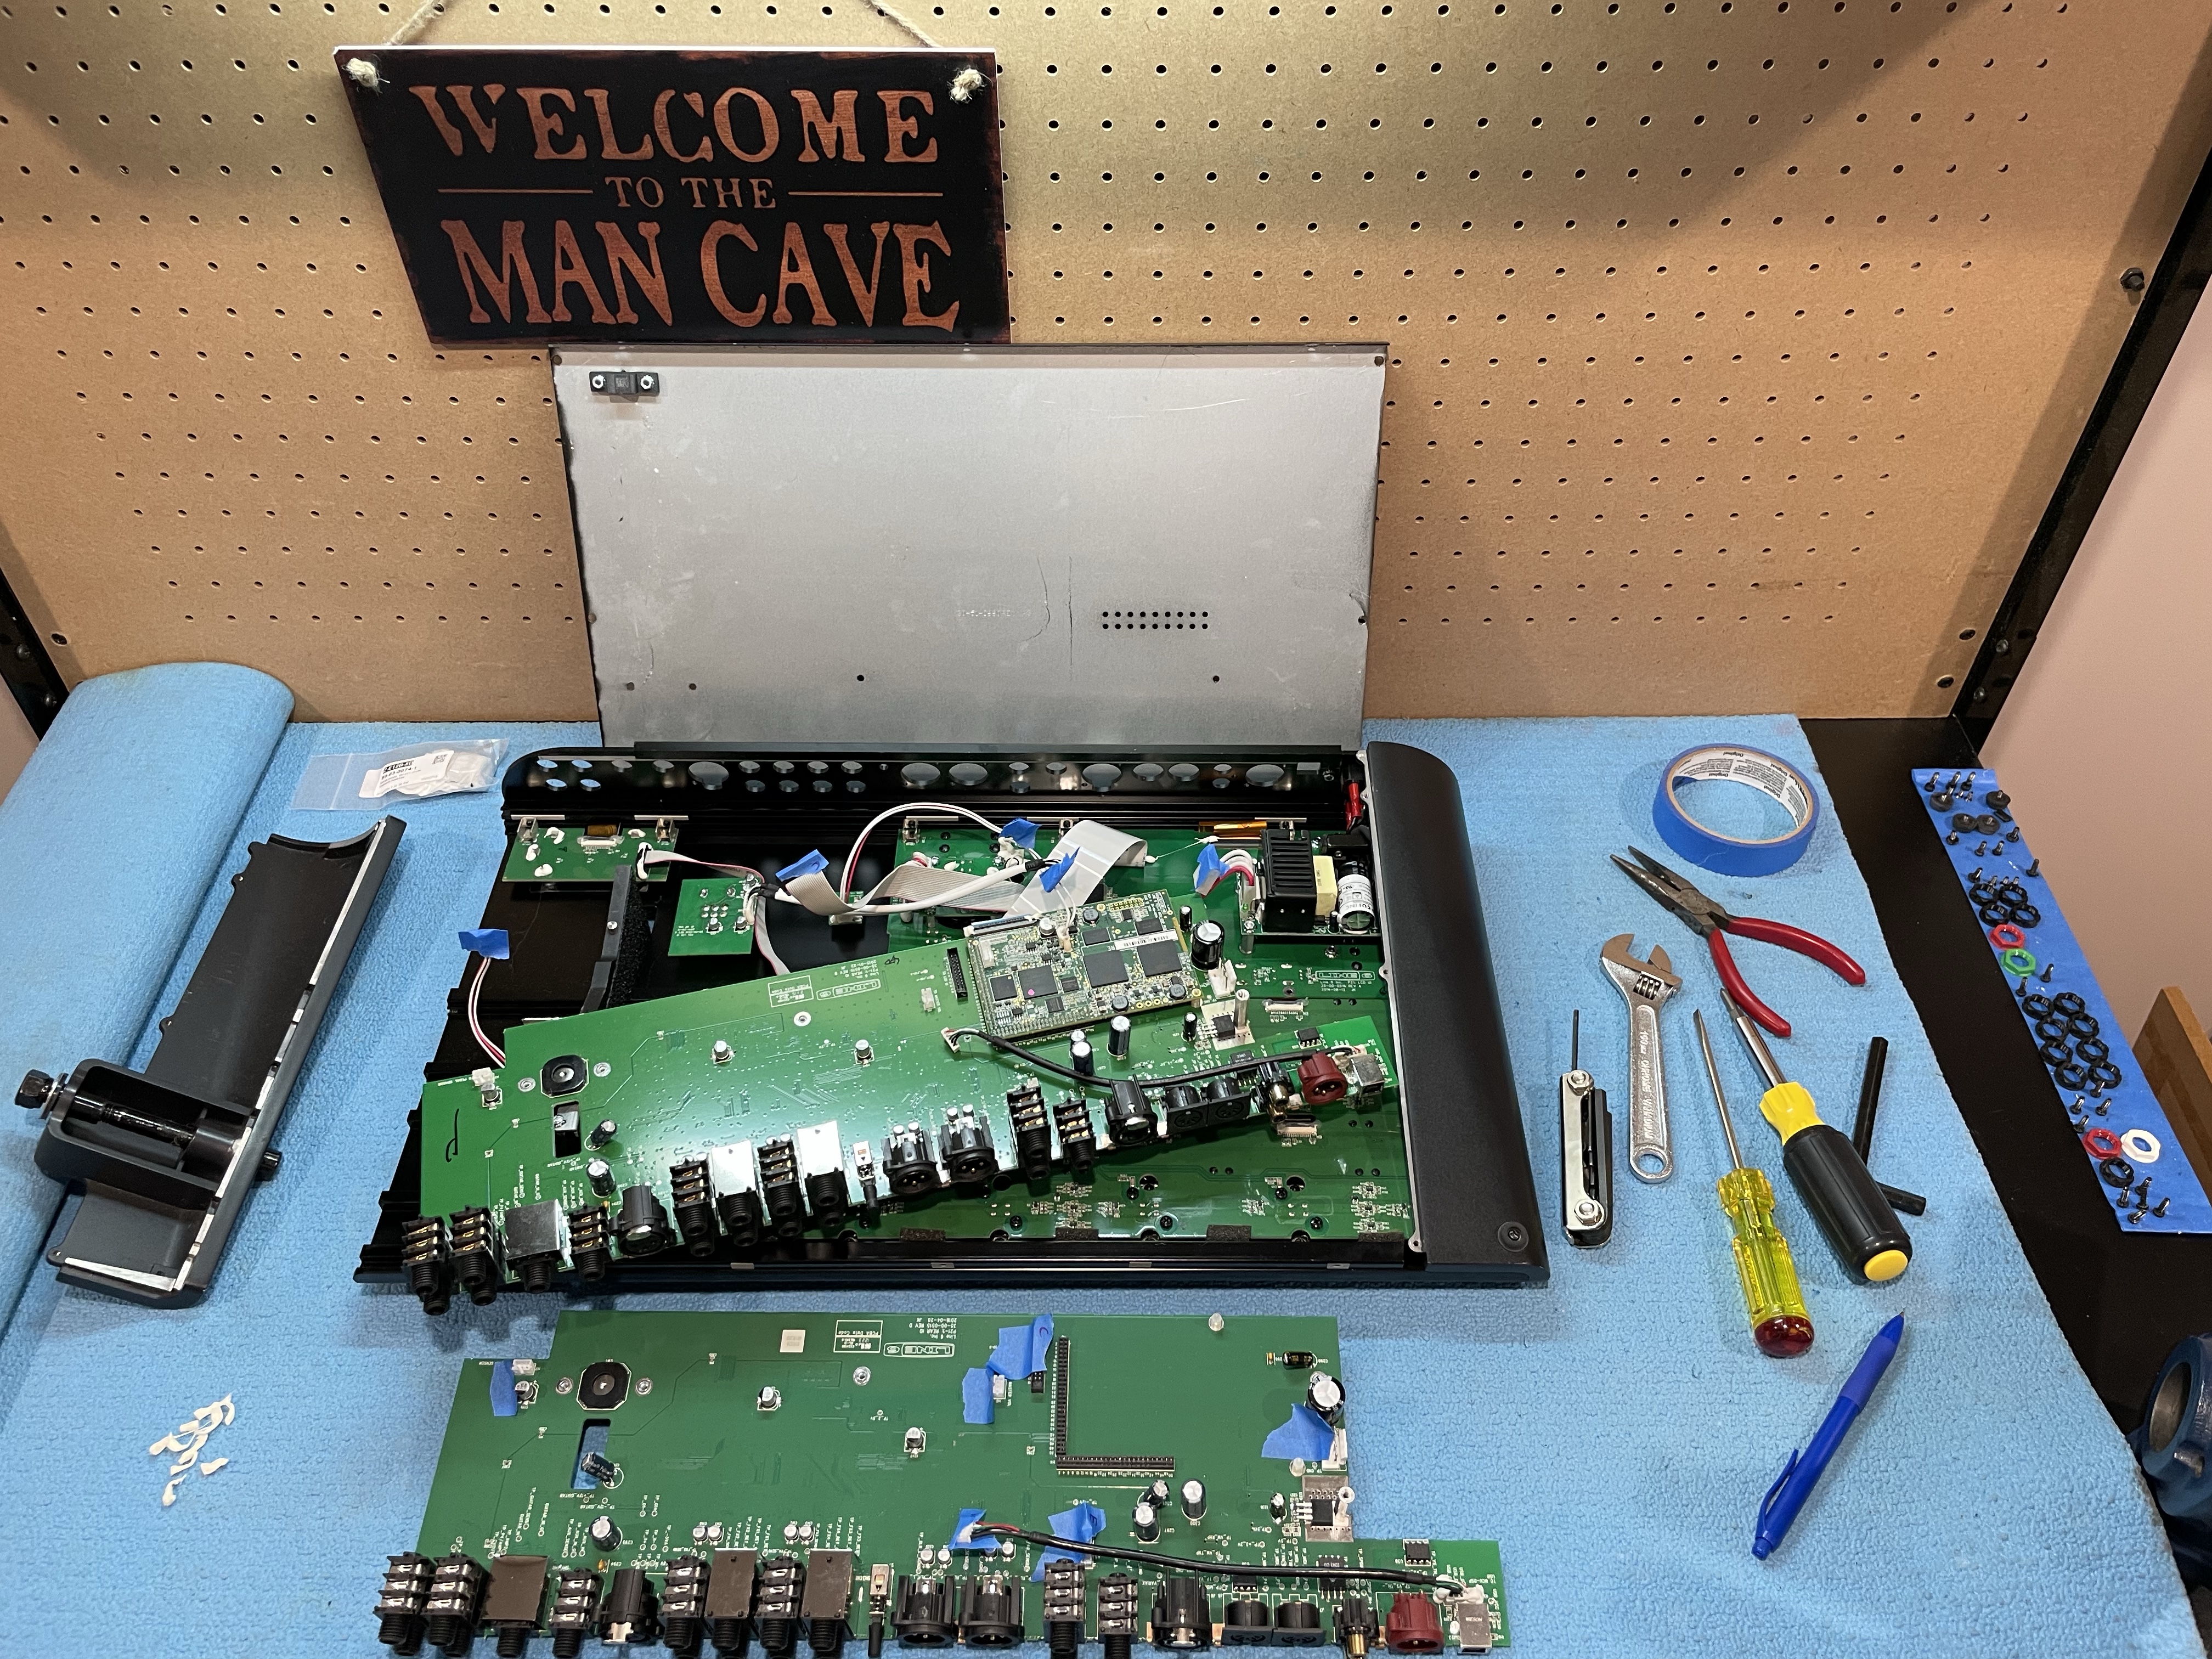
If you ever need to replace the I/O PCB in your Floor, here’s a step-by-step guide. DO NOT DO THIS IF YOUR UNIT IS STILL UNDER WARRANTY. I fried the mic preamp in mine by stupidly plugging in my mic while phantom power was on. Then when I went in to swap out the preamp IC (a $16 part) I compounded the stupidity by rushing the desoldering and lifted one of the pads. So I had to resign myself to swapping out the entire PCB (a $239 part, sigh). The good news is swapping out the PCB isn’t too hard if you’re patient and handy with a screwdriver, hex key, wrench, flush cut pliers and a glue gun.
Step 1) It’s not listed on their site, but you can special order from https://fullcompass.com the *populated* (not blank) I/O board, PCBA REAR/IO HELIX, part # 50-02-0515.
Step 2) WAIT.
Step 3) Unscrew the bottom panel. Keep the screws organized.
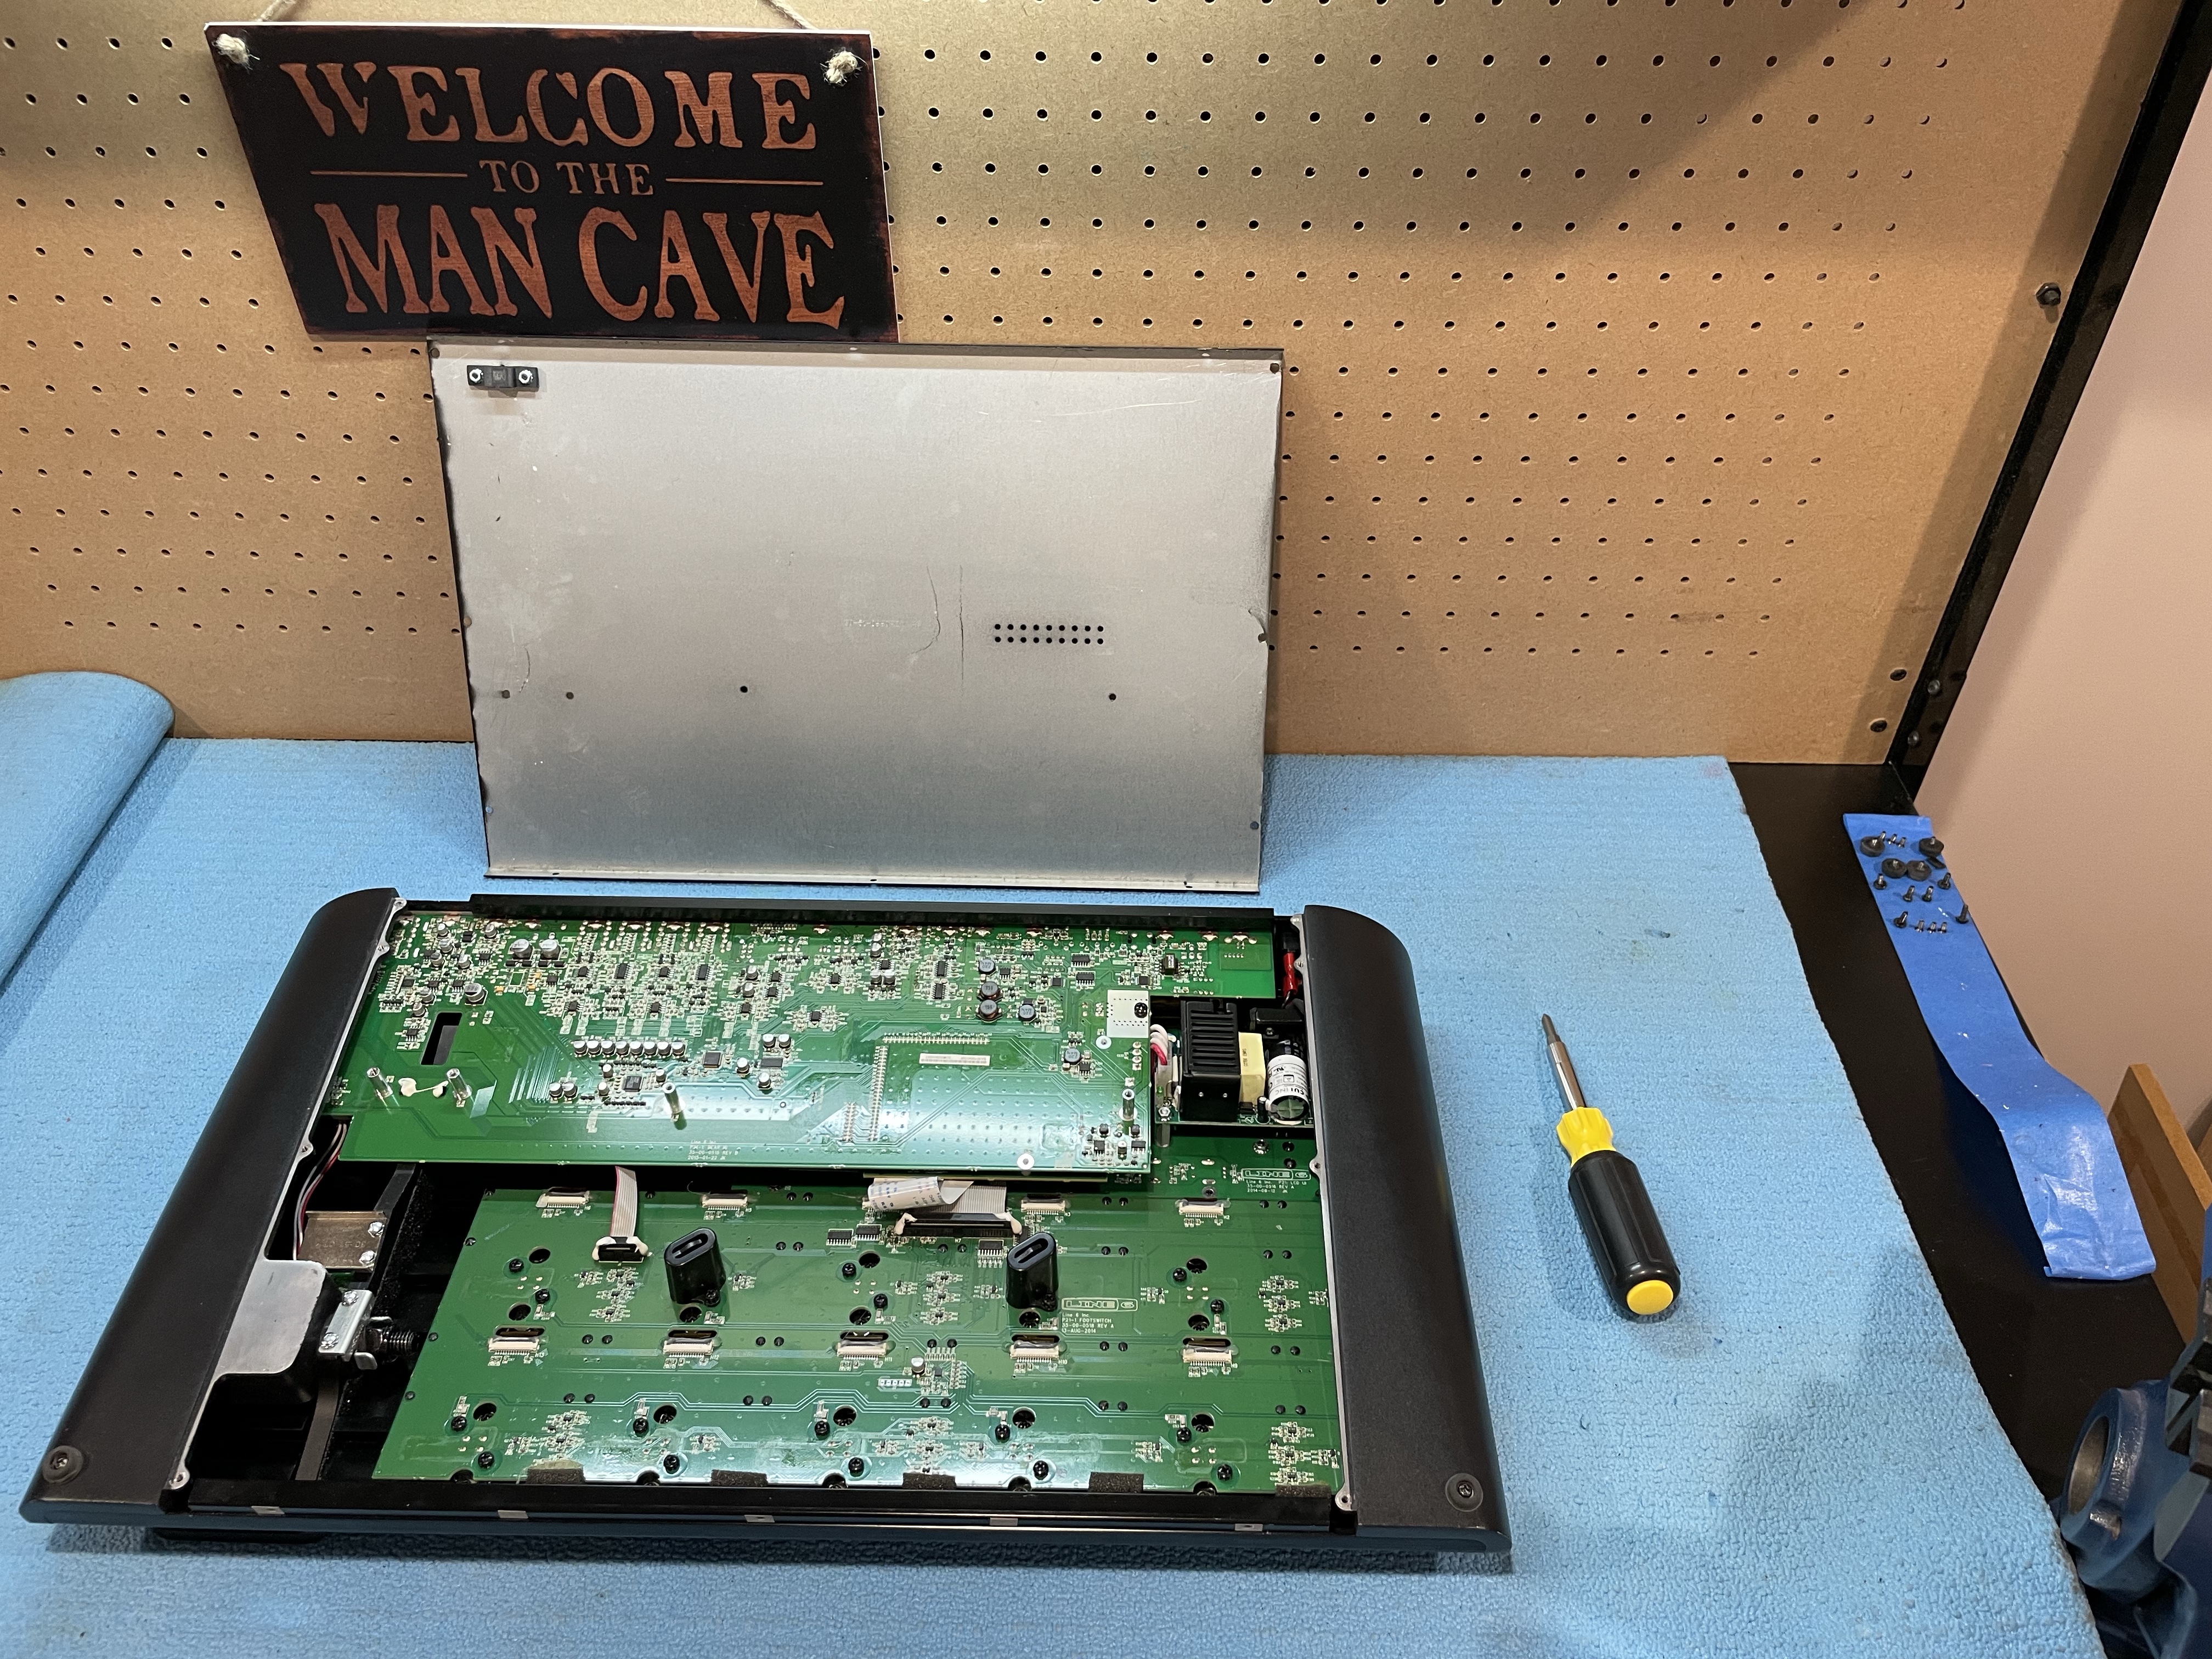
Step 4) Unscrew the expression pedal end cap.
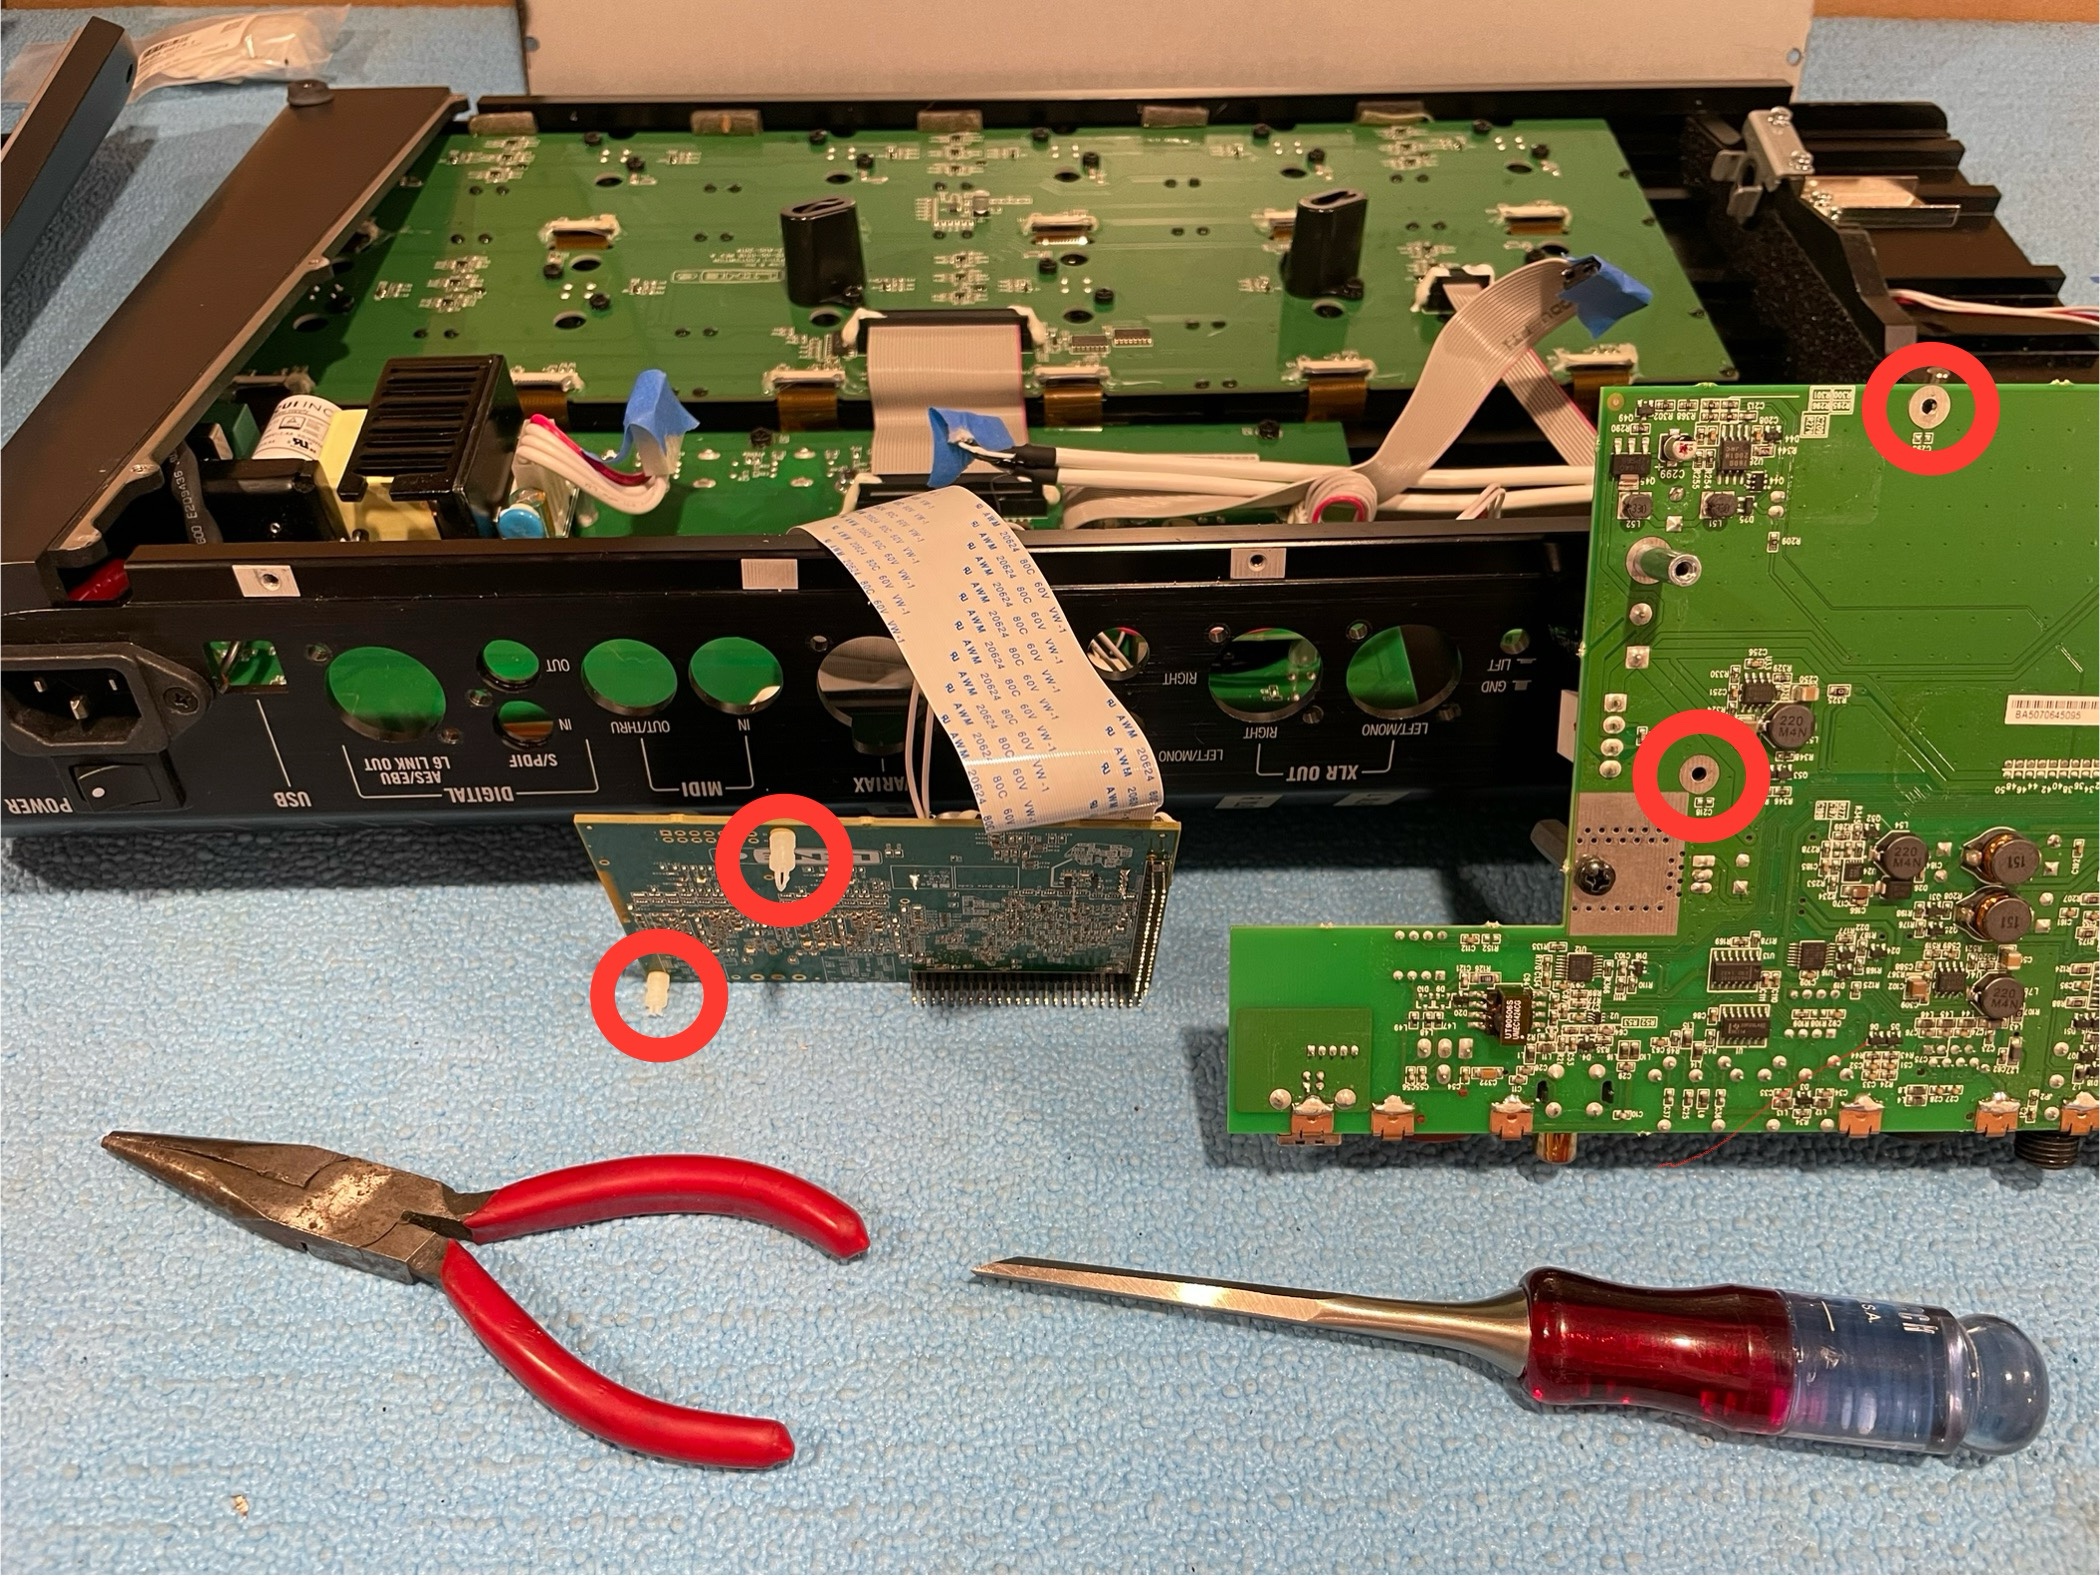
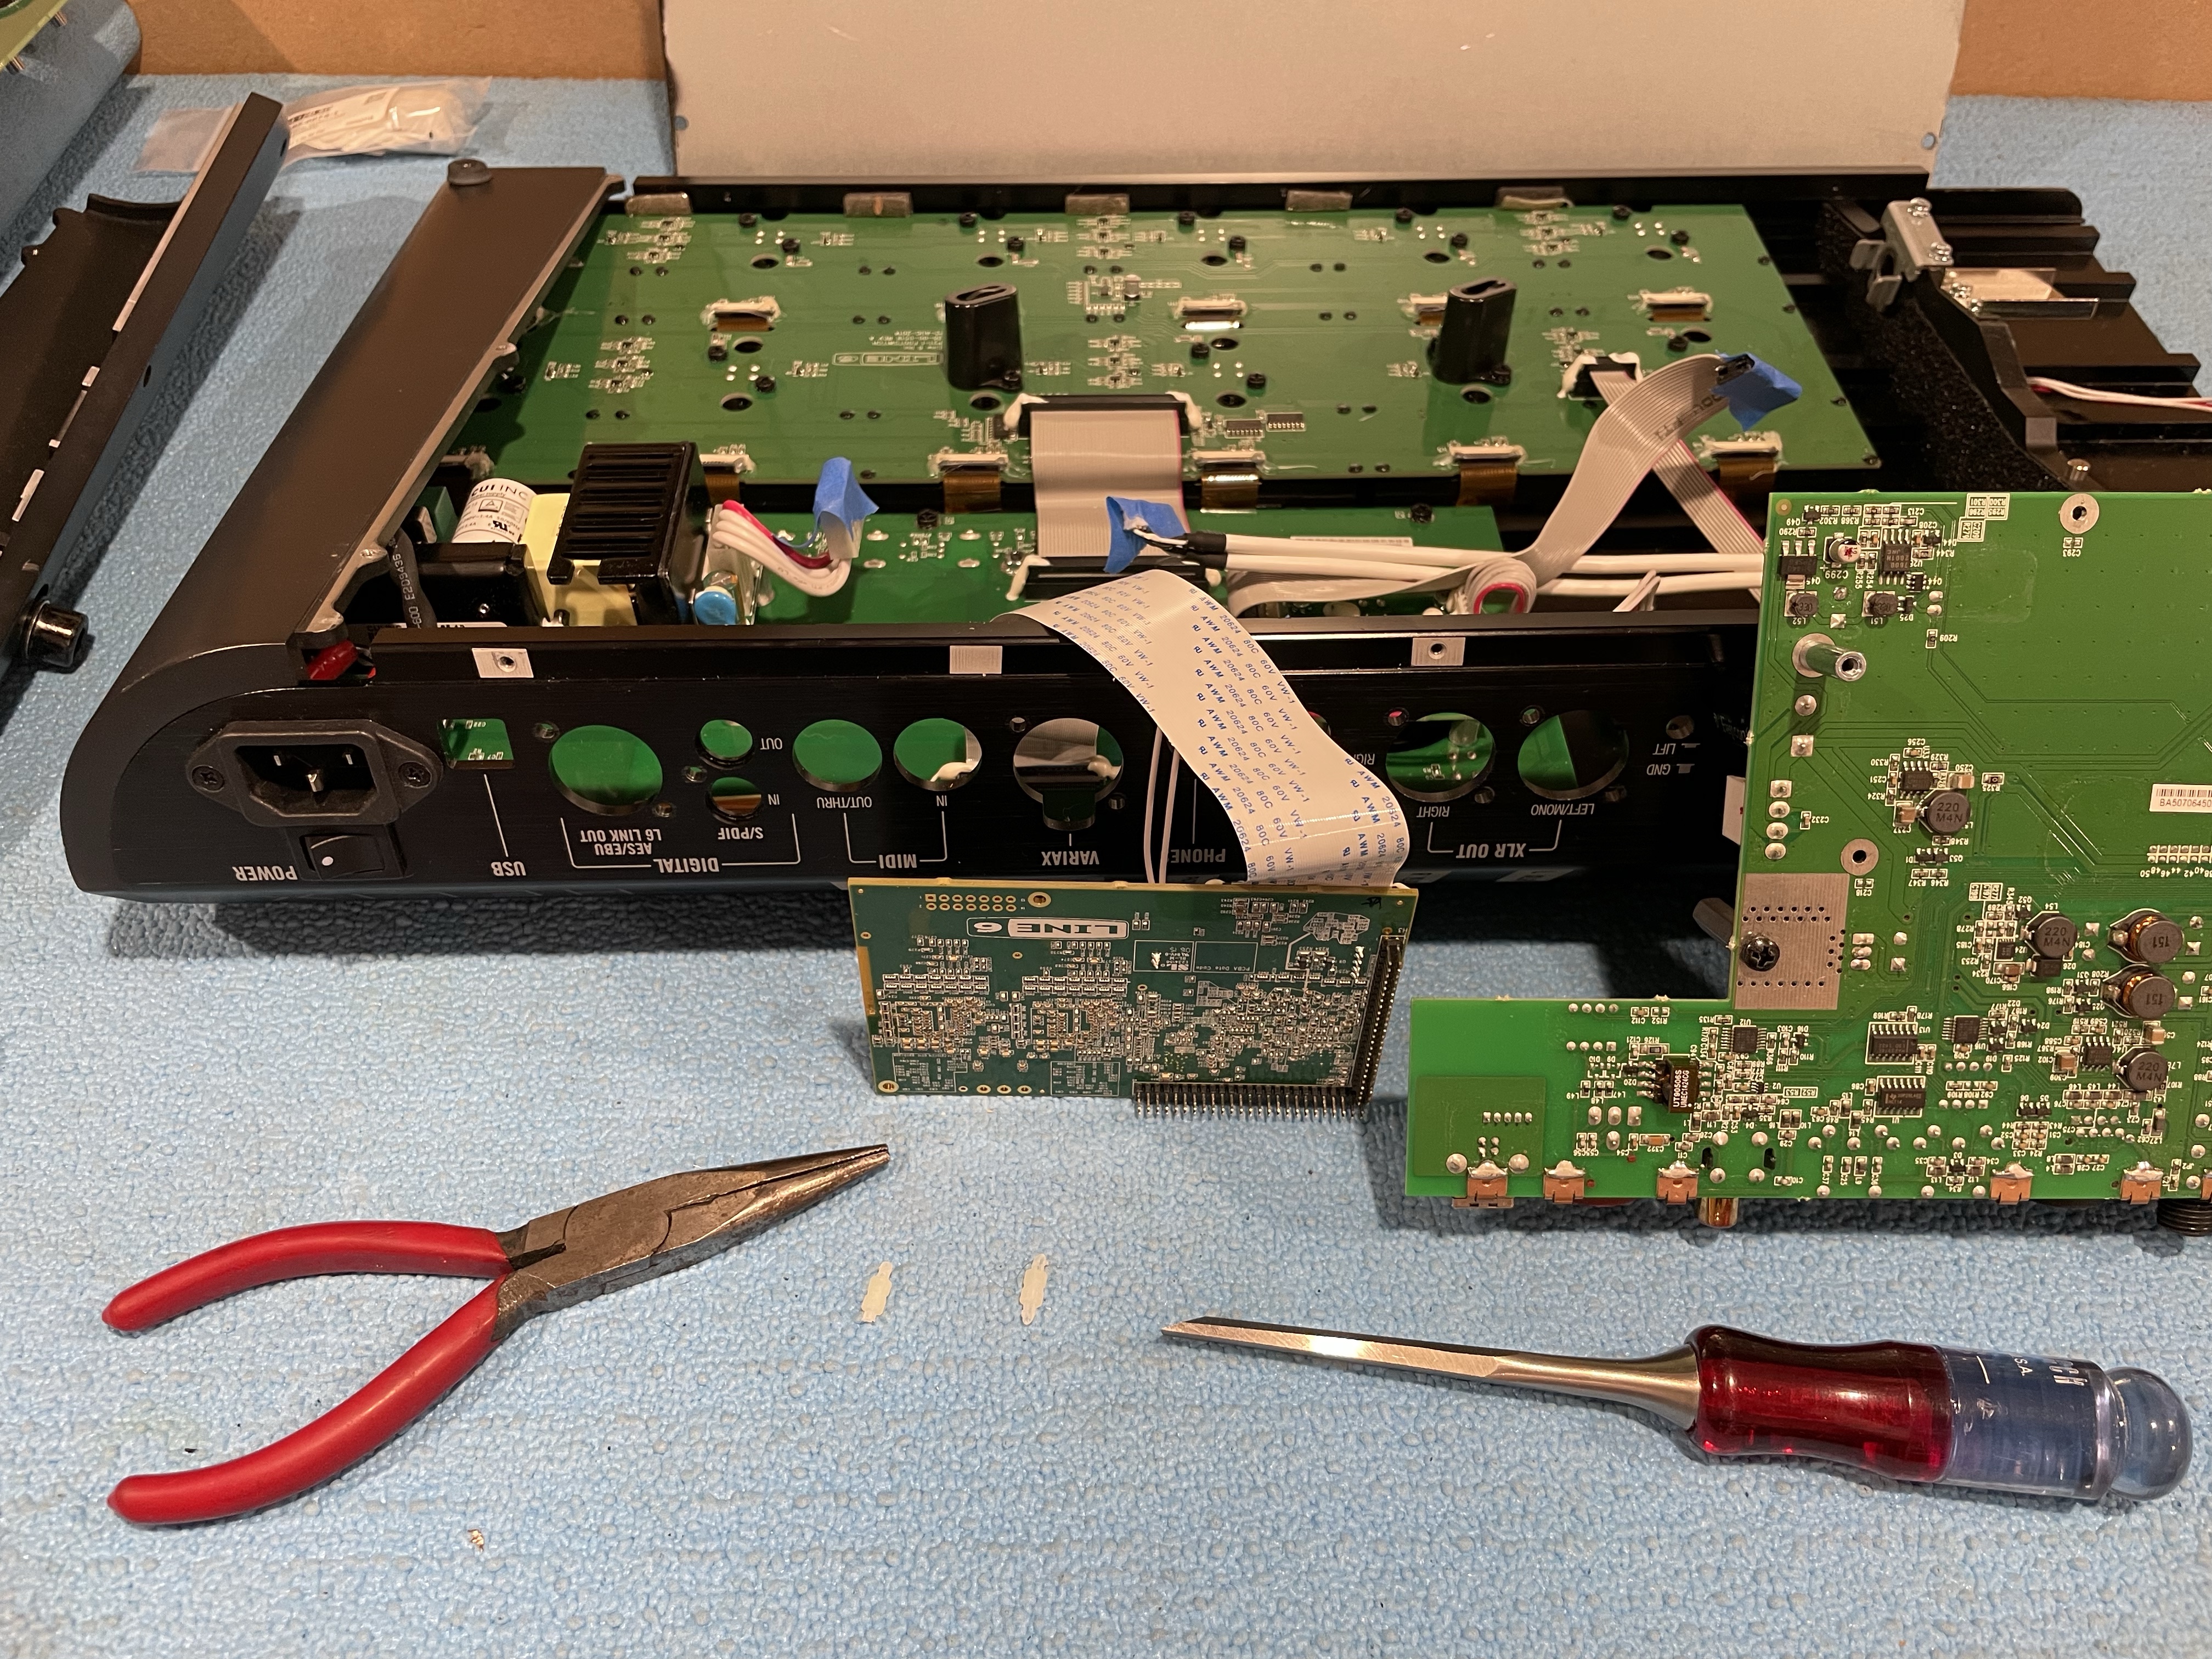
Step 5) Unscrew the rear I/O jacks’ nuts and screws.
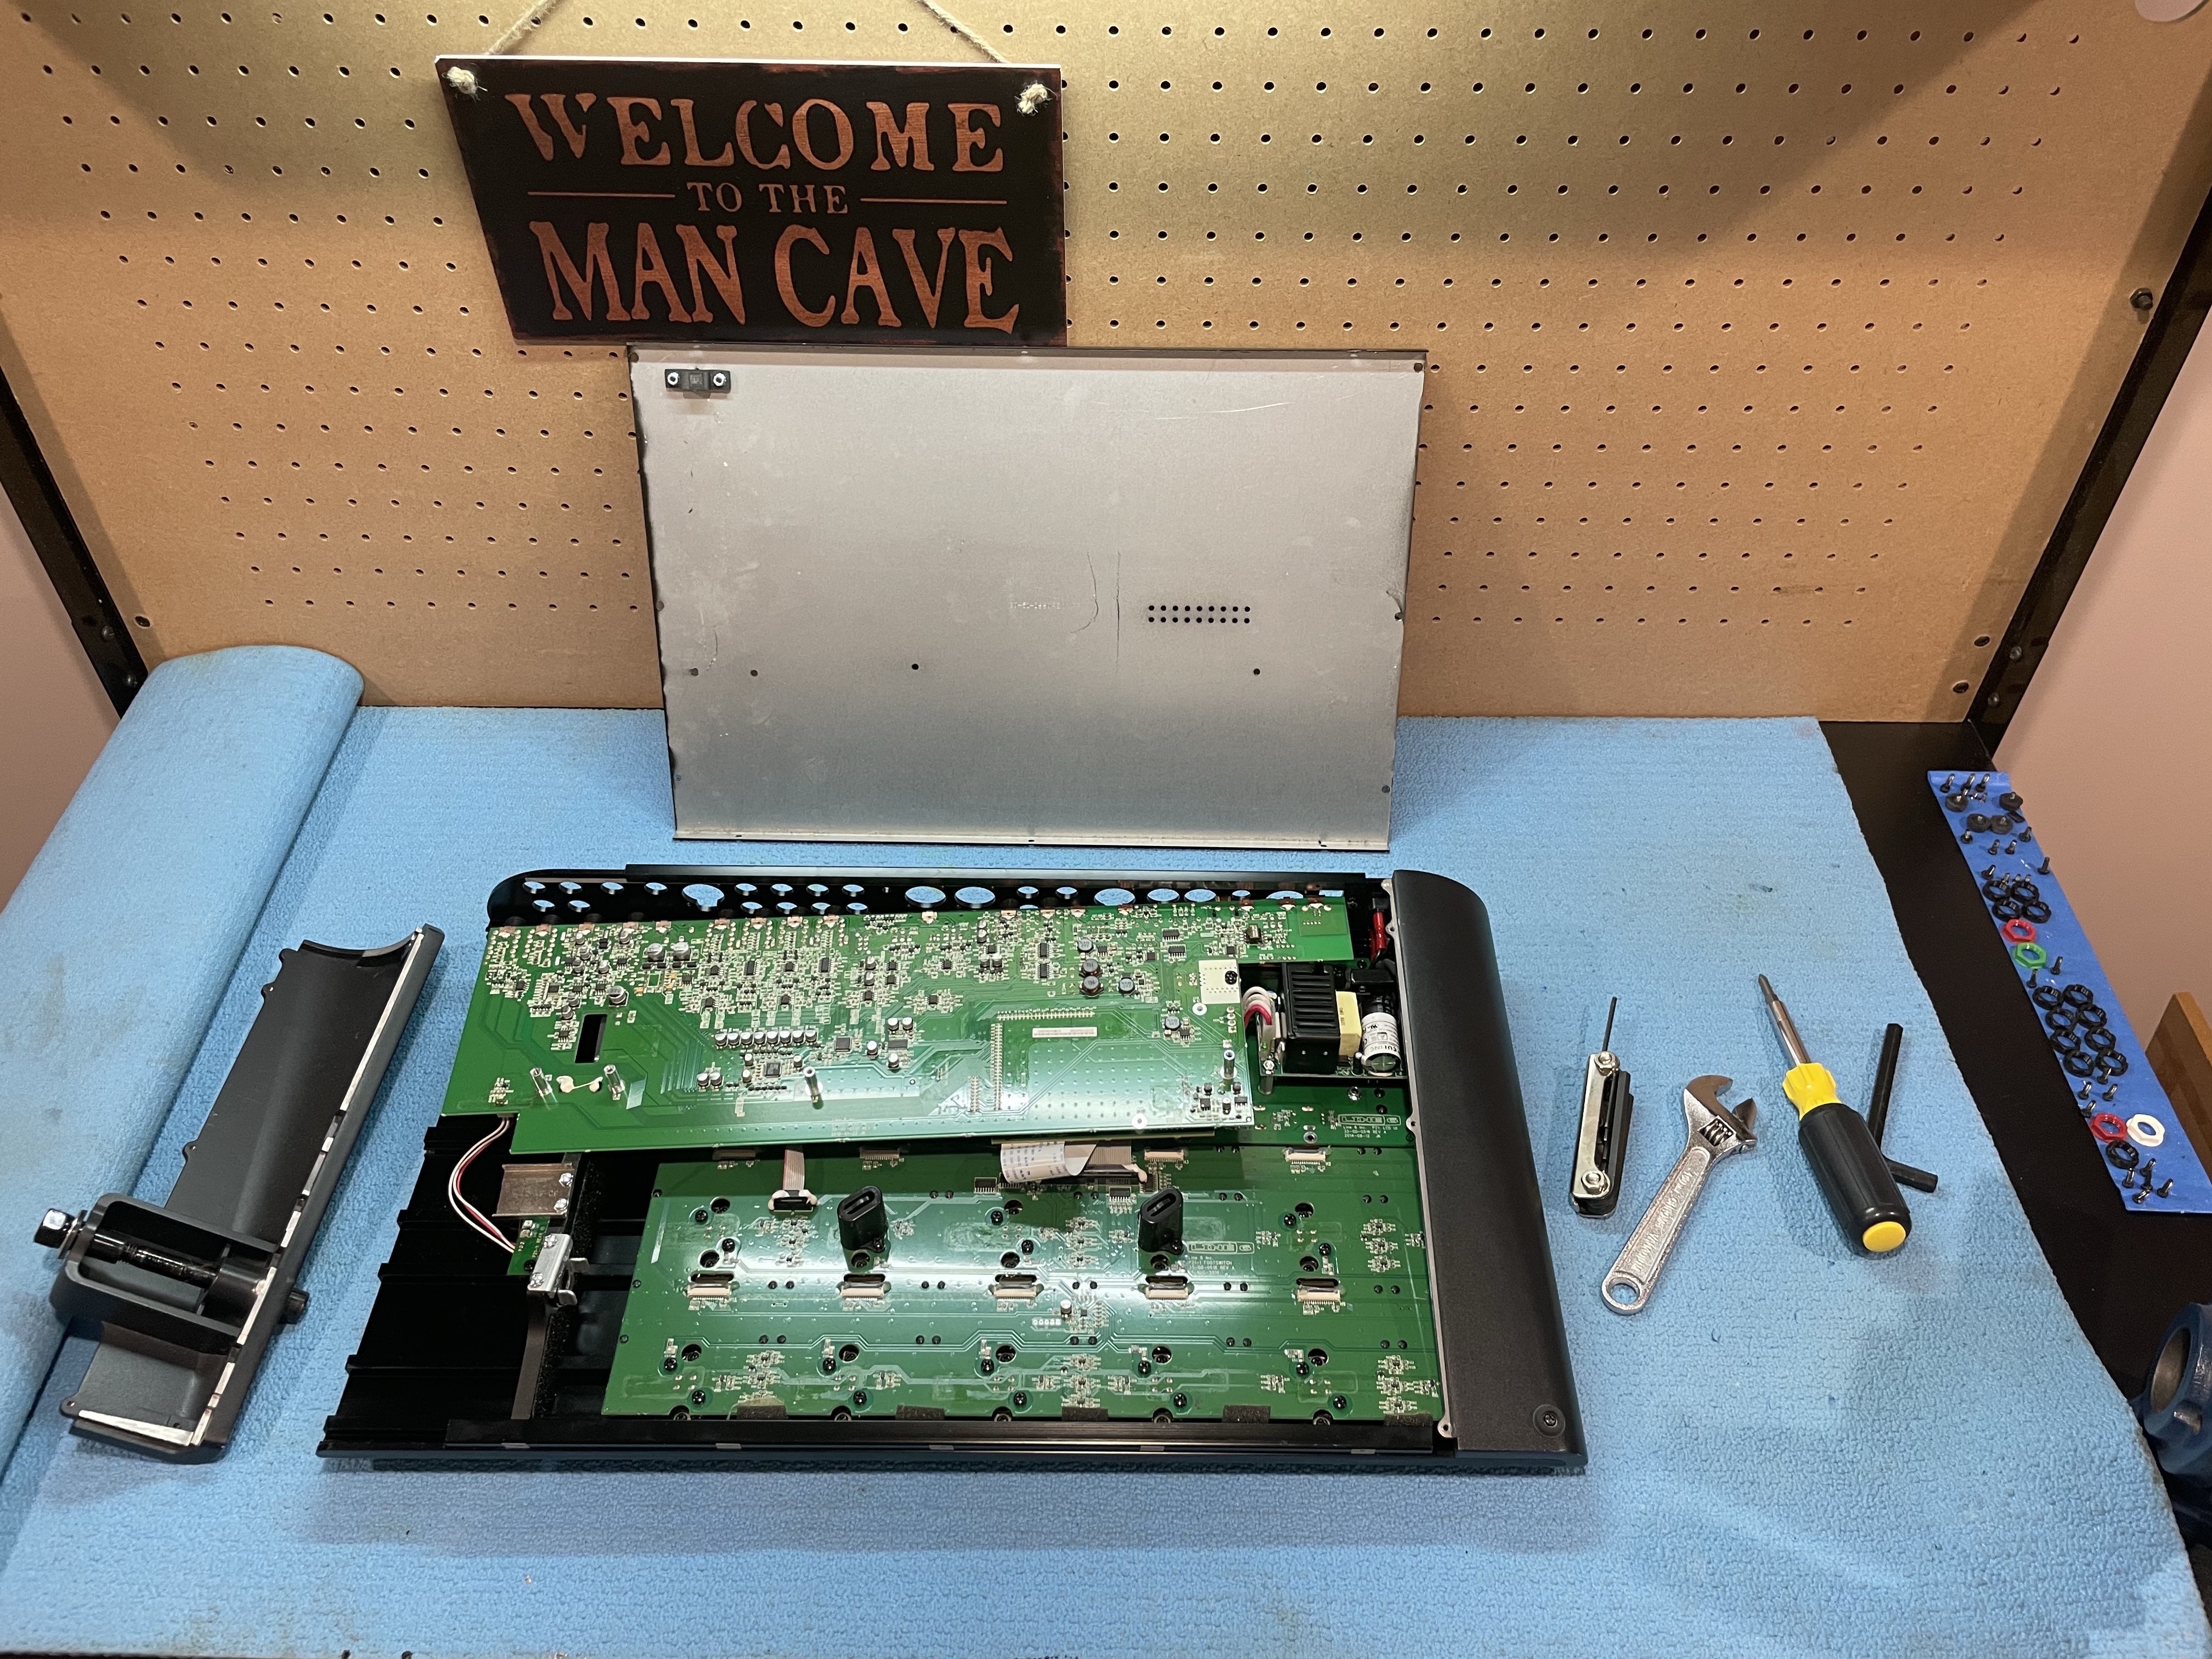
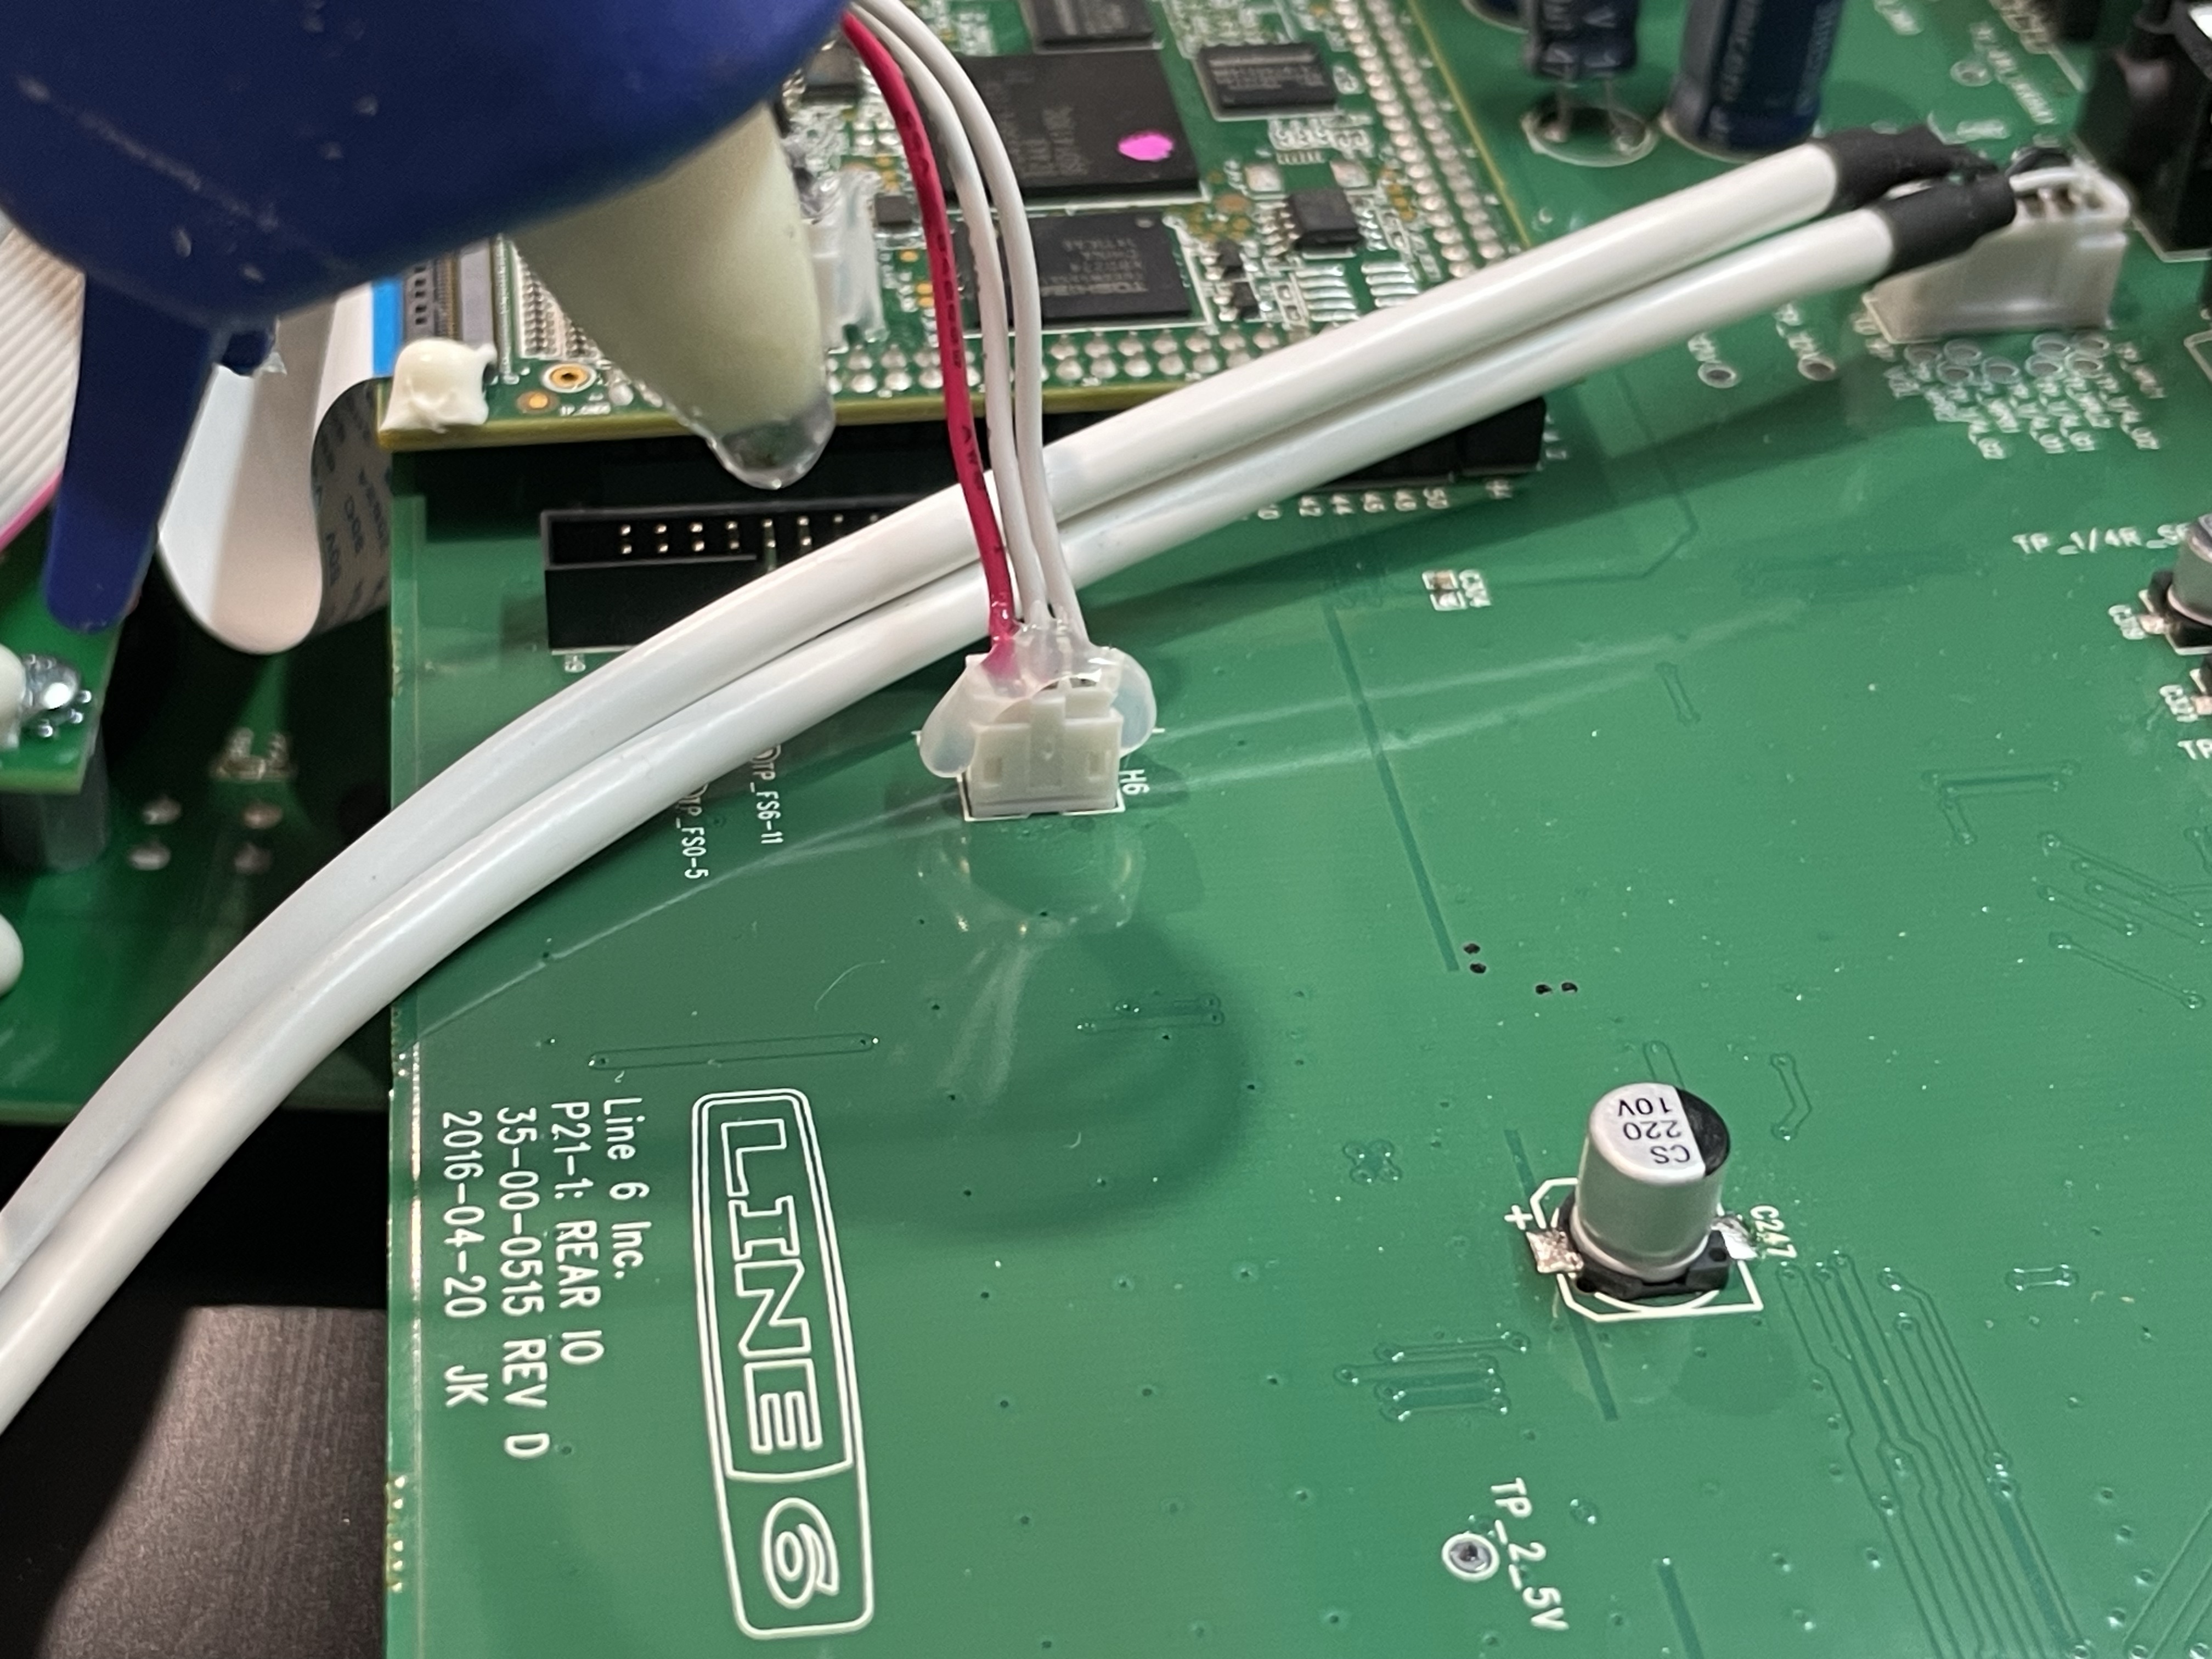
Step 6) Peel off the goop from each molex connection that you need to disconnect (leave the goop on the ones that can stay put). I was able to do most of them with my fingers, but you might have an easier time with pliers.
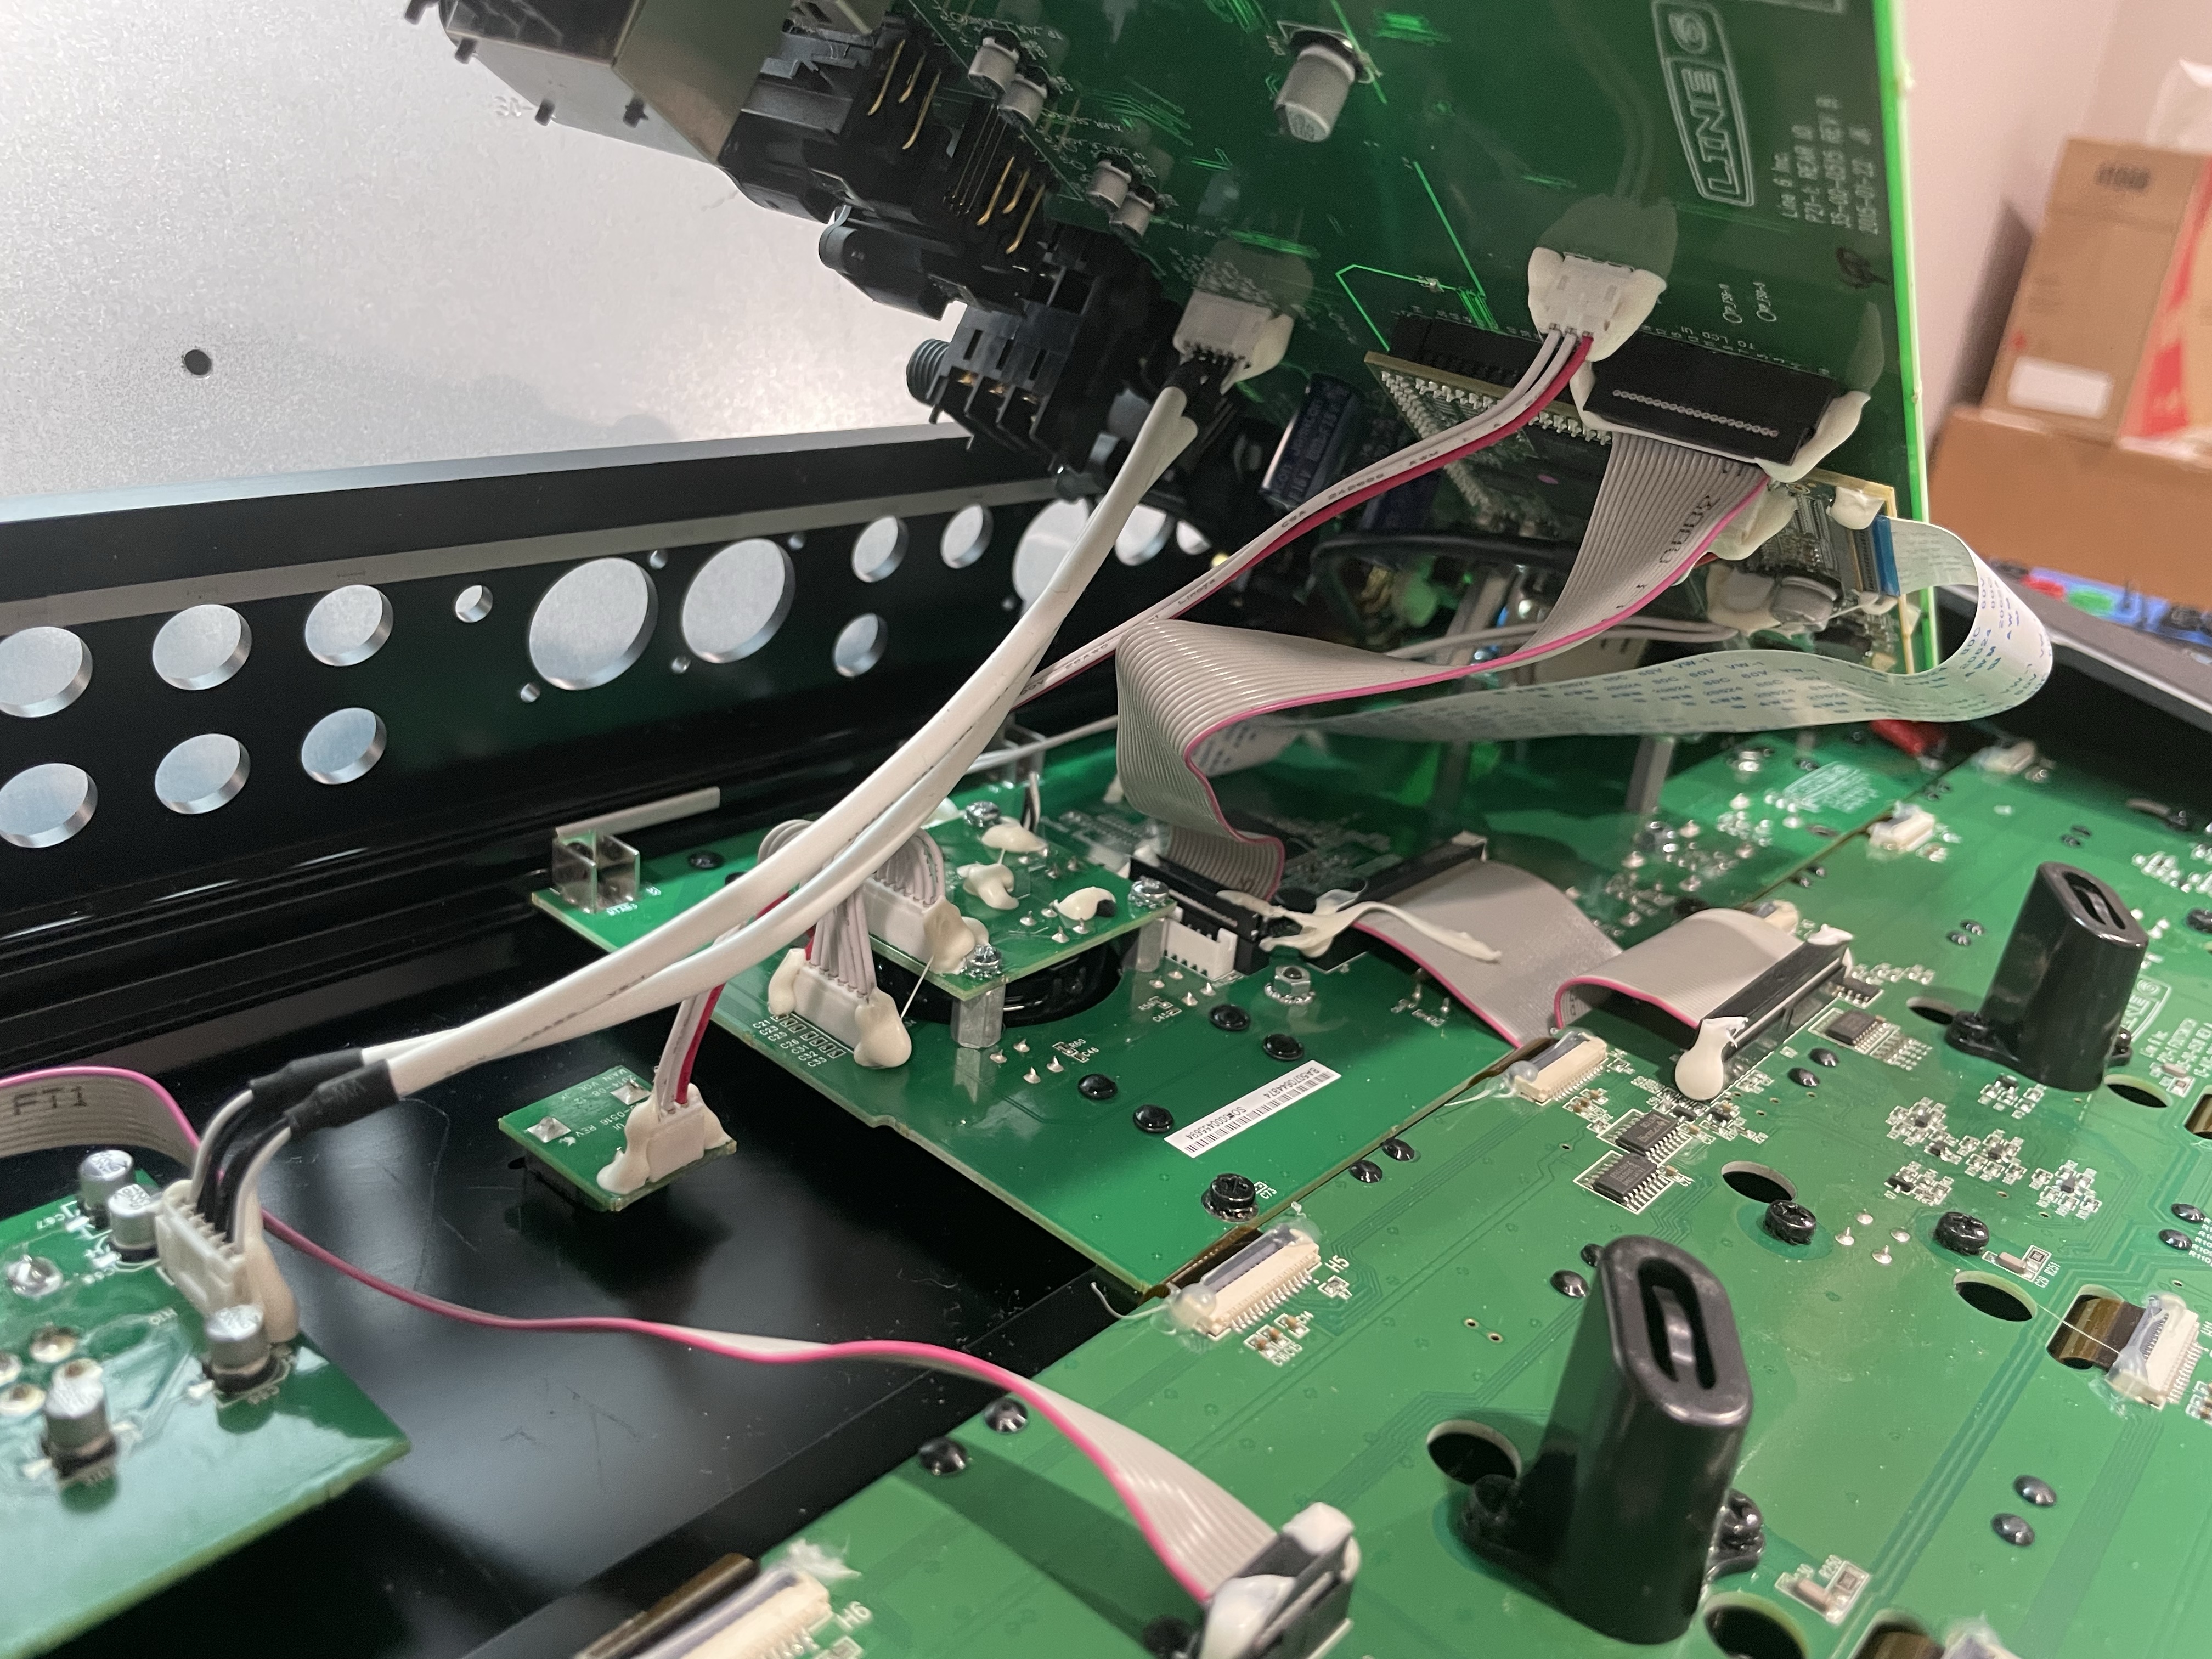
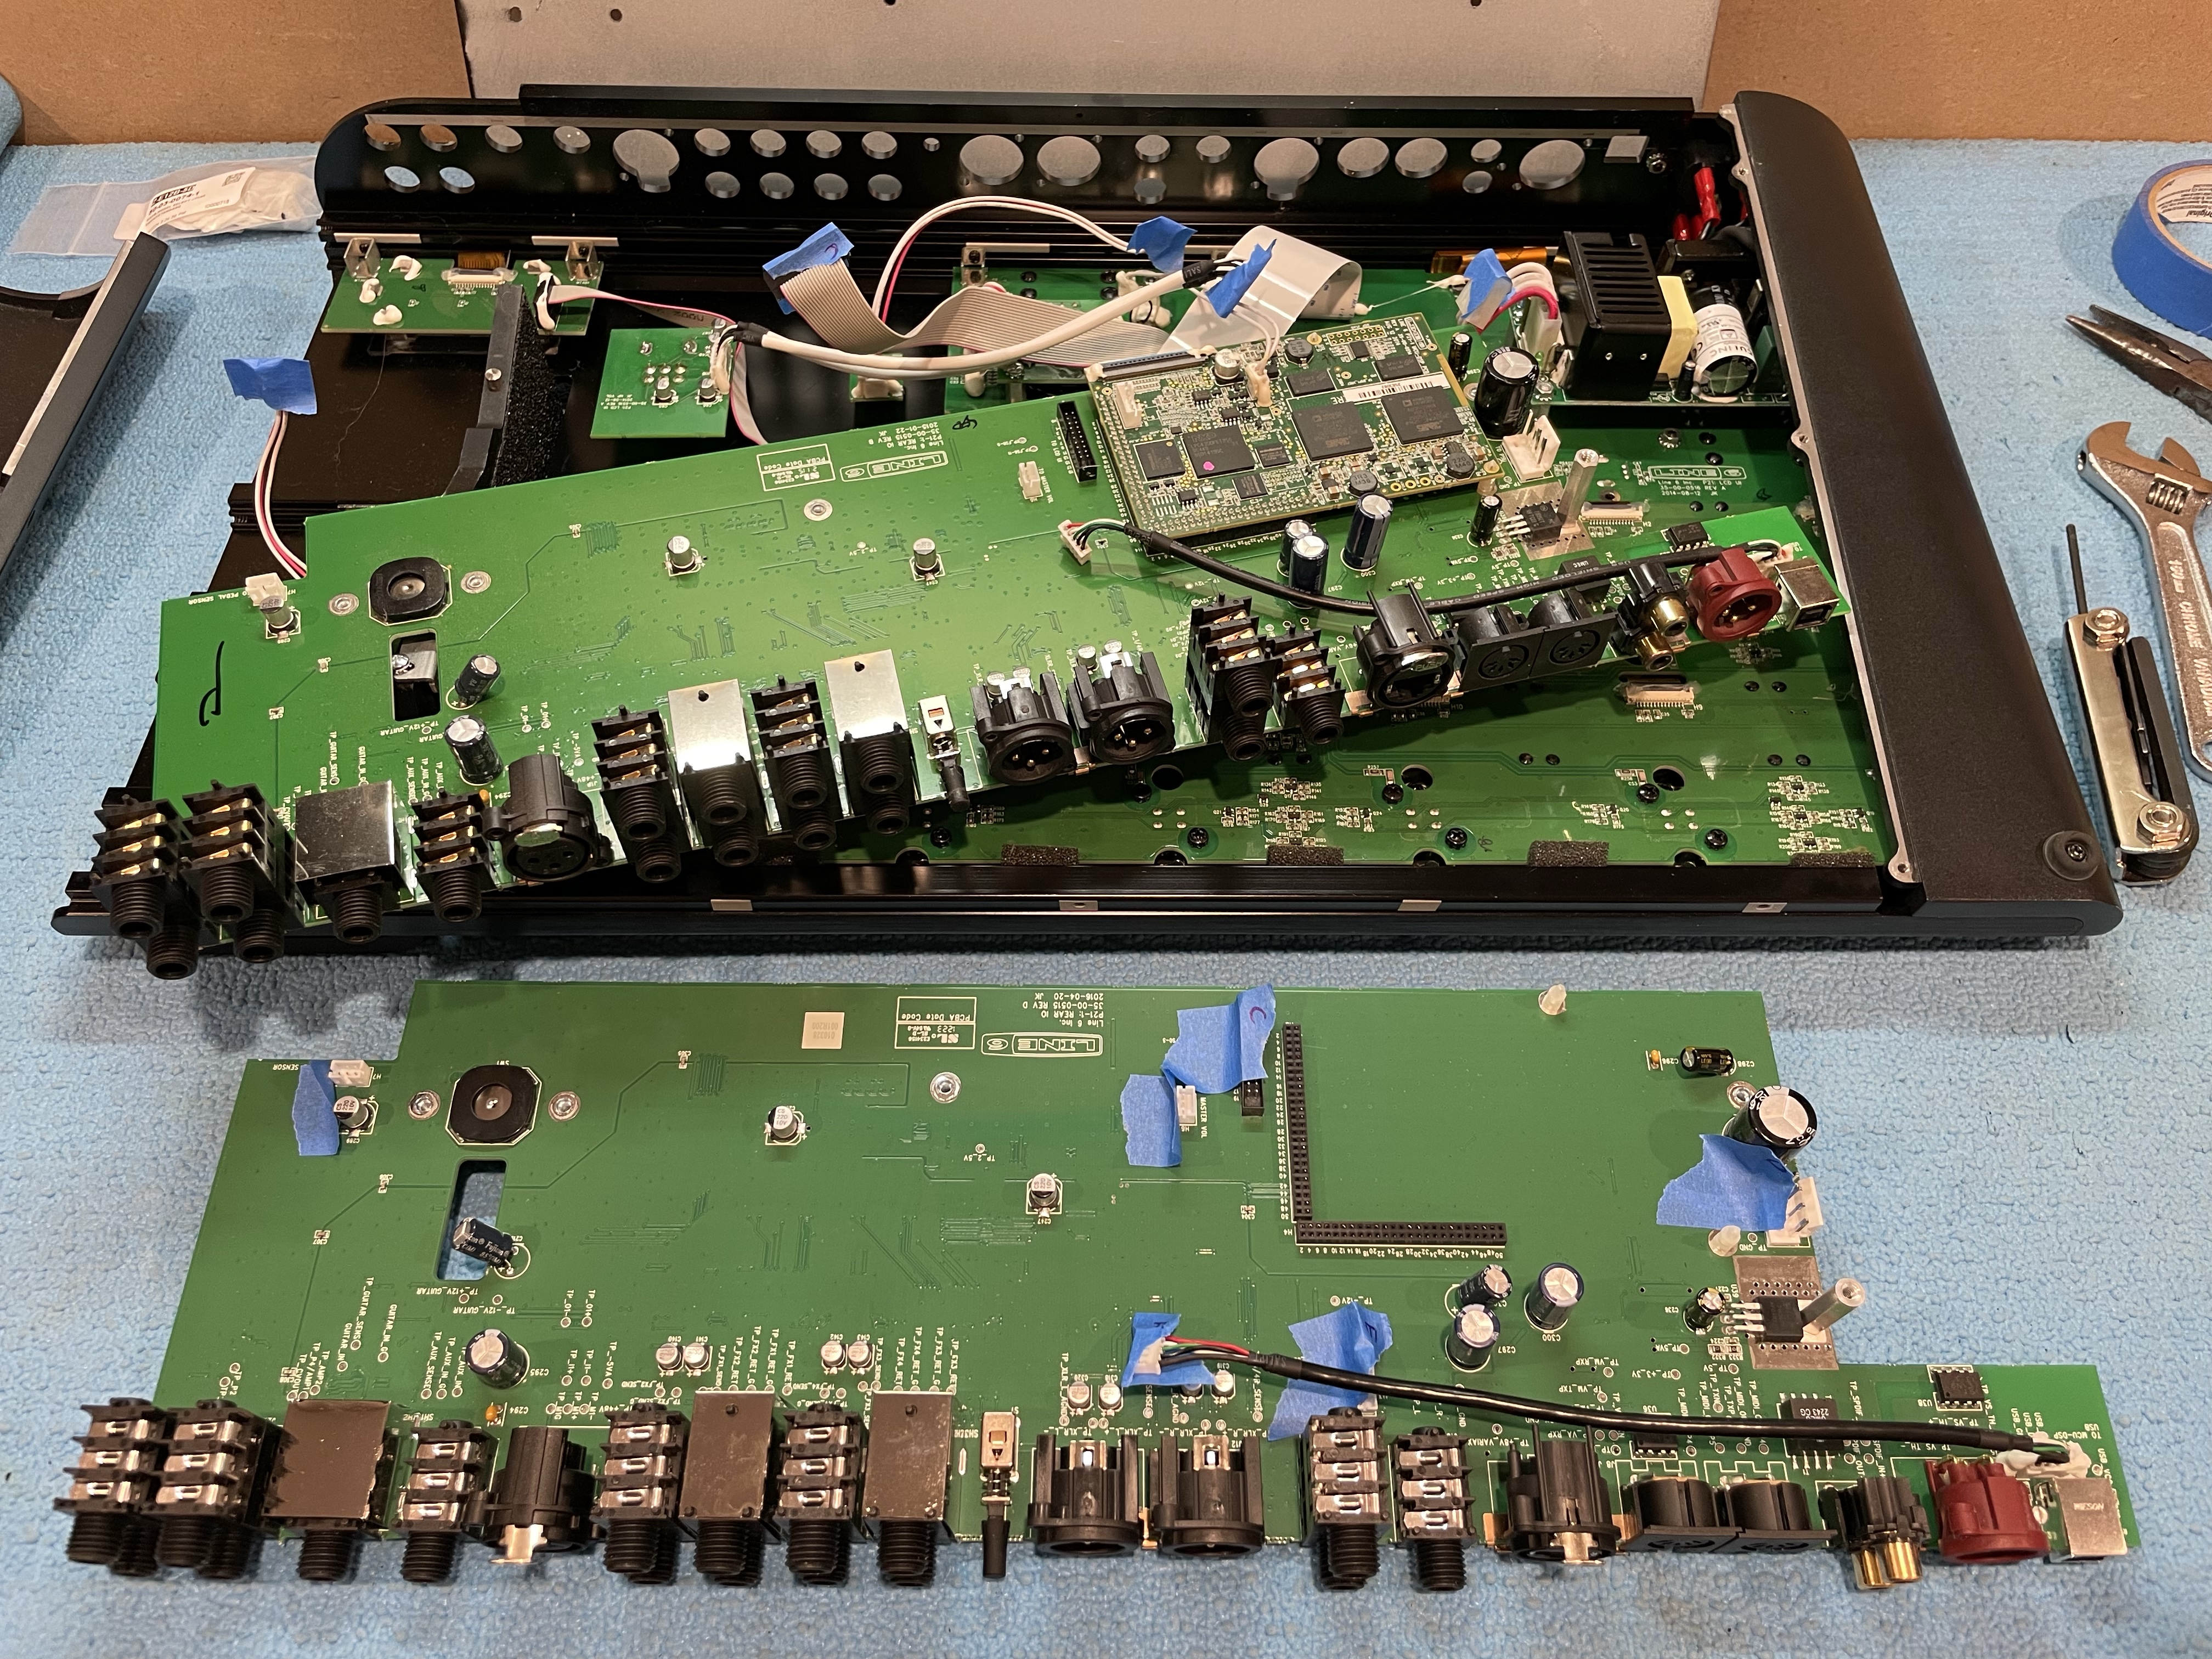
Step 7) Label each connector and the corresponding header on the new board in the order that you disconnect them (1,2,3… or A,B,C…).
Step 1) It’s not listed on their site, but you can special order from https://fullcompass.com the *populated* (not blank) I/O board, PCBA REAR/IO HELIX, part # 50-02-0515.
Step 2) WAIT.
Step 3) Unscrew the bottom panel. Keep the screws organized.
Step 4) Unscrew the expression pedal end cap.
Step 5) Unscrew the rear I/O jacks’ nuts and screws.
Step 6) Peel off the goop from each molex connection that you need to disconnect (leave the goop on the ones that can stay put). I was able to do most of them with my fingers, but you might have an easier time with pliers.
Step 7) Label each connector and the corresponding header on the new board in the order that you disconnect them (1,2,3… or A,B,C…).
Last edited: