Boudoir Guitar
Rock Star
- Messages
- 5,816
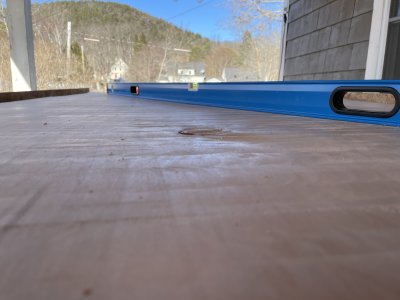
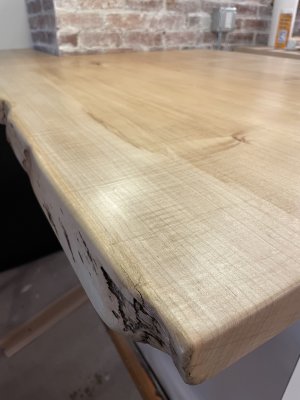
I’ve got one side done / just the cupping across the face of the board, no significant bowing or twist. This MFer is heavy and flipping it solo is…not something I wanna do anymore than necessary.I occasionally use a table saw to straighten an edge of a board. First pass I'll use a chalk line, then flip it and use that edge against the fence. Each time I flip it, I'm using a straighter edge against the fence, so it gives me a straighter cut.
Even though you can't use a chalk line on this, I'd use that same kind of thinking- plane the obvious high parts, then flip it and use that planed section to rest on, shimming where it's not making contact, and repeat.
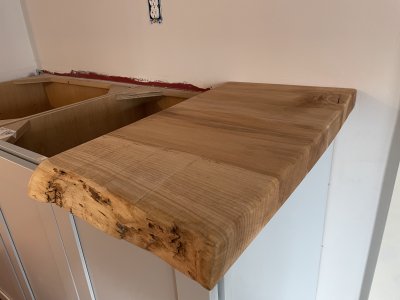
Plus, it looks like you have plenty of thickness to work with, and it appears fairly flat to begin with.
Took four passes just because I wanted to be careful to take as little material as possible. Lost maaaaaybe 3/8” total on this side? Other side might sneak up above 1/4” or so. Still not quite sure what I want to target for final thickness, but nothing thicker than 2 1/8” which this should allow for.